How to Wash Your Face (Teens) — keeping your skin clean is important for everyone, but during your teenage years your skin can change quickly and you may feel more sensitive about your appearance than you did as a child or will as an adult. The good news is that clean skin is healthy skin, and taking care of it doesn’t need to be complicated. Use products that suit your skin type, be gentle instead of scrubbing too hard, and you’ll already be doing an excellent job of washing your face properly.
Steps
🟩 Part 1: Preparing to Wash Your Face
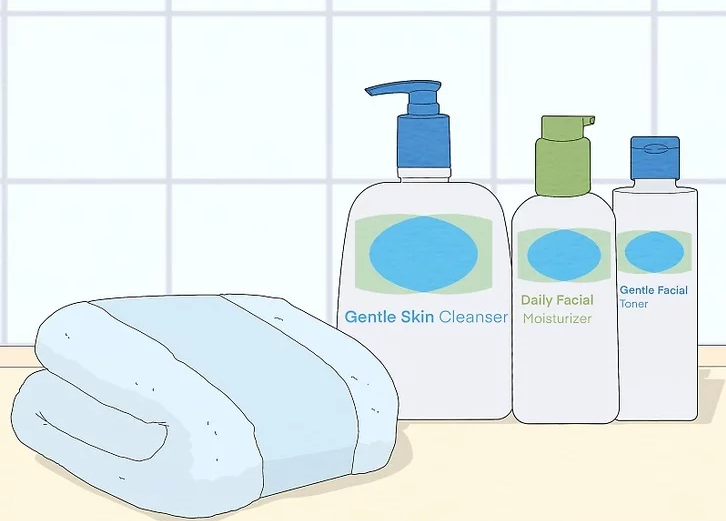
Step 1: Gather Your Skincare Products
Have your cleanser, toner, moisturizer, and a fresh towel ready. If you prefer mild facial soap, that works as well. You may skip toner or use one recommended by your dermatologist. Soft face cloths or cotton pads are helpful for cleansing.
External Links / References:
- American Academy of Dermatology — Choosing a Cleanser
https://www.aad.org/public/everyday-care/skin-care-basics/care/cleanser - NHS — Skin Care Tips
https://www.nhs.uk/live-well/healthy-body/skin-care-tips/
🟩 Part 2: Washing Your Face
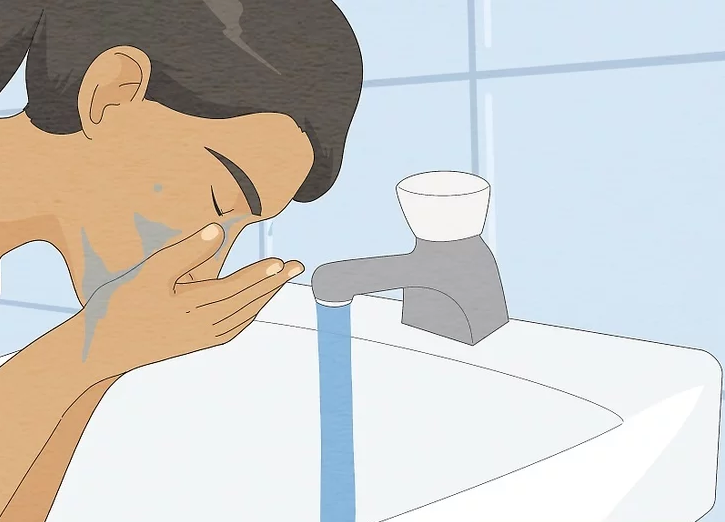
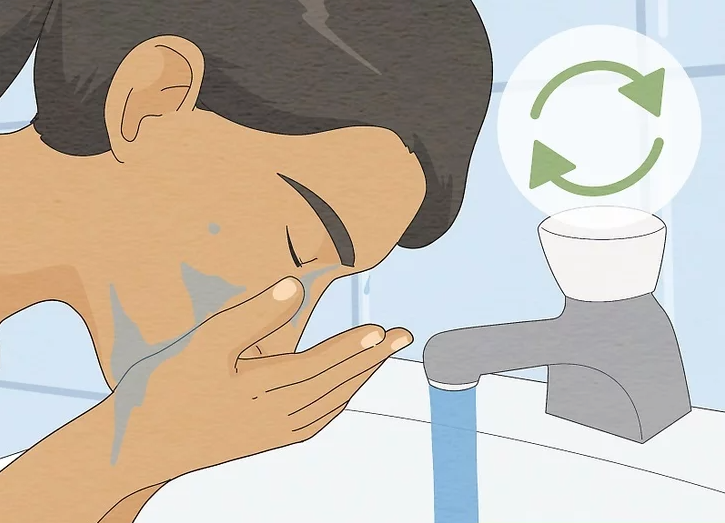
Step 2: Rinse with Warm Water
Rinse your face several times with warm (not hot) water. Warm water helps open your pores gently, allowing your cleanser to work more effectively.
References:
- Cleveland Clinic — Best Water Temperature for Washing Your Face
https://health.clevelandclinic.org/washing-your-face/
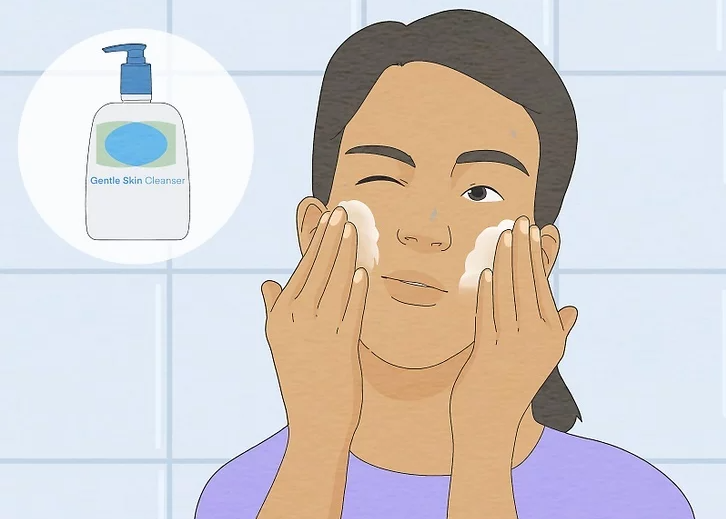
Step 3: Apply Your Cleanser Properly
Apply the cleanser evenly to your entire face, avoiding the eye area. Use eye makeup remover for mascara or eyeliner. If you do not use eye makeup, clean around the eyes gently with a damp cotton pad or soft cloth.
References:
- Mayo Clinic — Skin Care Advice
https://www.mayoclinic.org/healthy-lifestyle
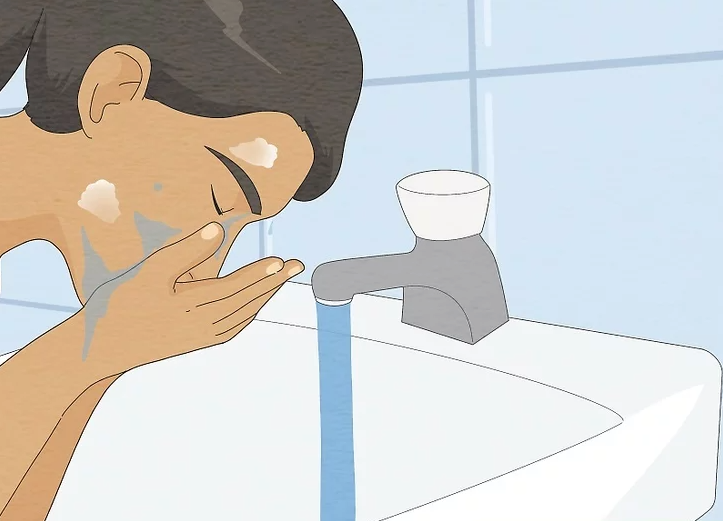
Step 4: Rinse Off All Cleanser Residue
Make sure to rinse away all traces of cleanser. Residue can irritate your skin or clog pores. Unless directed otherwise, always rinse thoroughly.
References:
- American Academy of Dermatology — Face-Washing Steps
https://www.aad.org/public/everyday-care/skin-care-basics/wash/face-washing-steps
Step 5: Optional Cold-Water Rinse
If desired, finish with a splash of cold water. Cold water can help tighten the surface of your skin and reduce buildup in pores.
References:
- Healthline — Benefits of Cold Water on Skin
https://www.healthline.com/health/beauty-skin-care
🟩 Part 3: Aftercare

Step 6: Pat Dry with a Soft Towel
Gently pat your face dry using a clean, soft towel. Avoid rubbing, which can irritate the skin. Apply toner if you choose to use one.
References:
- DermNet — Skin Drying Methods
https://dermnetnz.org/
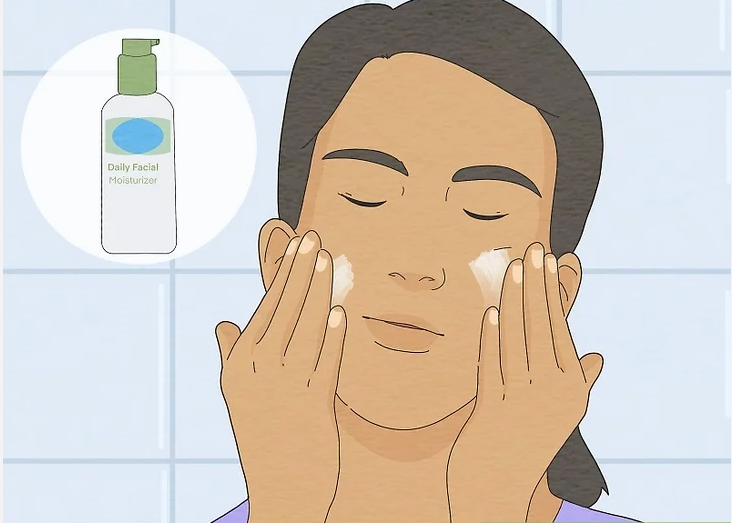
Step 7: Apply Moisturizer
Apply moisturizer to keep your skin hydrated. If it is daytime, choose one that contains SPF for sun protection.
References:
- Skin Cancer Foundation — Sun Protection Basics
https://www.skincancer.org/skin-cancer-prevention/sun-protection/
🟩 Part 4: Smart Skincare Habits
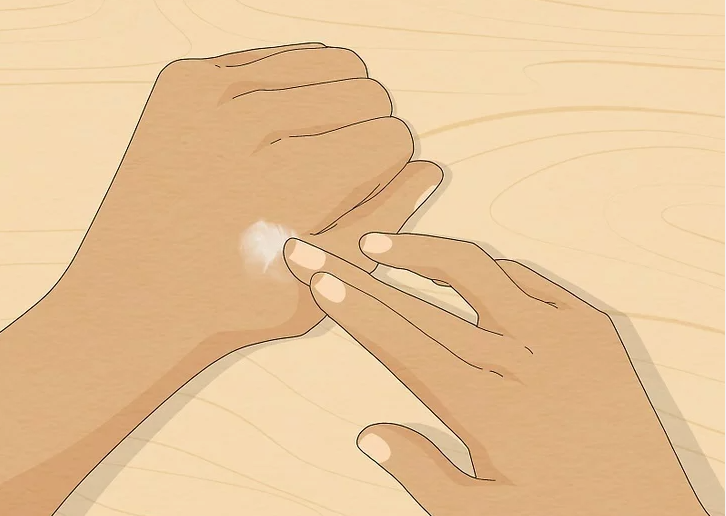
Step 8: Give New Products Enough Time
New skincare products take time to work. Use the product consistently for at least six weeks—unless it causes irritation such as redness, burning, or itching.
References:
- American Academy of Dermatology — How Long Skin Products Take to Work
https://www.aad.org/public/everyday-care/skin-care-secrets/face/skin-care-works
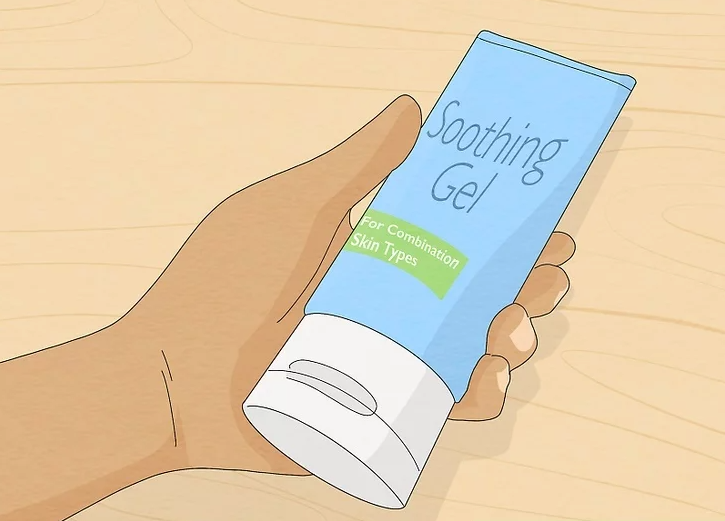
Step 9: Use Products That Match Your Skin’s Condition
Your skin may vary from day to day. Avoid using dry-skin products when your face feels oily, and vice versa. If possible, keep a few options on hand or use products designed for combination skin.
References:
- WebMD — Caring for Different Skin Types
https://www.webmd.com/beauty/skin-type-care