How to Use a Calligraphy Pen: Modern & Classic Styles
Calligraphy is a writing style that has thrived for thousands of years across various cultures worldwide. Whether you’re an artist, a writer, or simply a hobbyist, mastering the use of a calligraphy pen is a valuable and fulfilling skill to develop.
Part1 .Choosing a Calligraphy Pen
1. Understand the Four Most Common Types of Calligraphy Pens
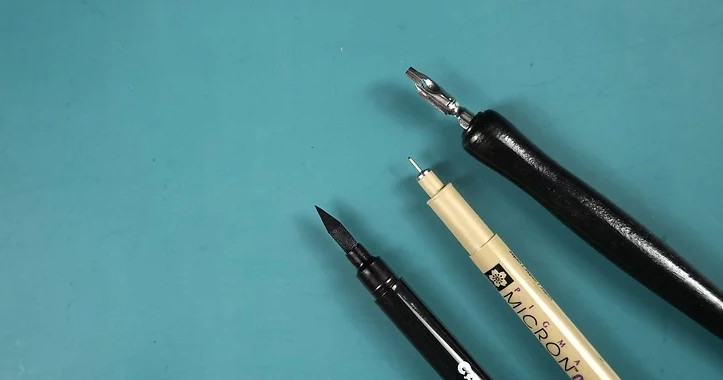
Each calligraphy pen type has a different ink and specific features that affect how the writing will appear. Choosing the right pen is a personal decision based on comfort, ink compatibility, and your writing style. Here are four types of pens commonly used in calligraphy:
- Felt Tip Pens: Ideal for beginners due to their ease of use and low cost. However, they tend to run out of ink quickly and may cause ink to soak through the paper, making them unsuitable for important work.
- Fountain Pens: Preferred by intermediate and advanced calligraphers. These pens have changeable nibs and ink cartridges, providing more flexibility and consistency in writing.
- Dip Pens: Suitable for advanced calligraphers, dip pens offer more control and creative freedom with interchangeable nibs and reservoirs for ink. They do require more maintenance and patience.
- Brush Pens: These pens have a brush head made of nylon or sable bristles. They offer a more fluid and dynamic writing experience but may require more control and be messier than other options.
Related Resource: Choosing the Right Calligraphy Pen
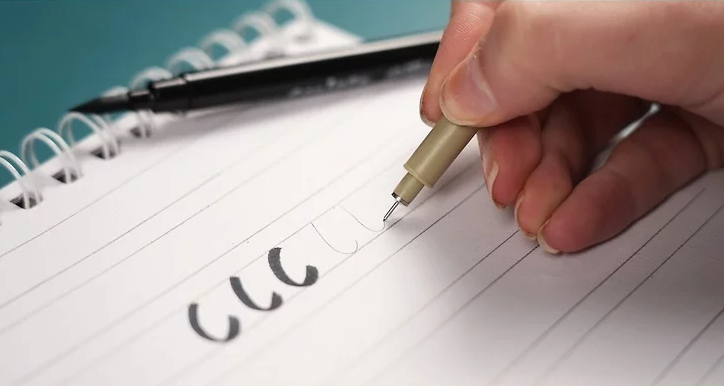
2. Try One to Two Different Pens at a Time
Choosing the right calligraphy pen may require some experimentation. Start by trying one or two pens to get a feel for how they handle. For example, you might experiment with a felt tip pen and a fountain pen to compare their writing smoothness and ink flow.
Consider how messy you want the writing process to be and how easy you want your setup to be. A brush pen requires constant ink dipping, but it offers smoother lines than a felt tip pen, which requires no preparation. Fountain pens are convenient but less flexible compared to dip pens. Dip pens provide more customization but can be messier.
Related Resource: How to Choose the Best Pen for Calligraphy
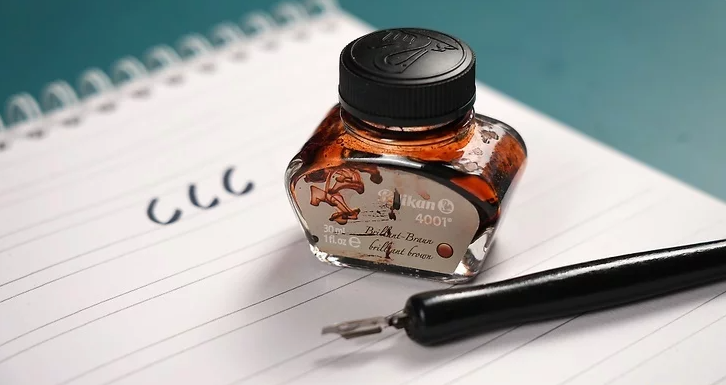
3. Buy the Ink for a Dip Pen or Brush Pen
If you’re using a dip pen or a brush pen, you’ll need to buy calligraphy-specific ink. Unlike fountain pen ink, calligraphy ink is thicker, offering better control as it adheres to the nib.
Look for inks like India ink or Chinese stick ink, but avoid those containing shellac, as it can damage your nibs over time. Many brush and dip pen kits include ink and nibs, which makes them a good option for beginners.
Related Resource: Best Inks for Calligraphy
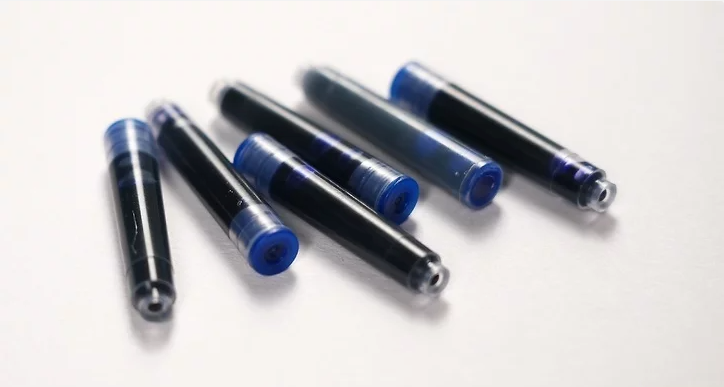
4. Get Ink Cartridges for a Fountain Pen
Fountain pens usually come with ink cartridges, which are convenient for beginners. Once you become comfortable with fountain pen ink, you may explore using converters to fill the pen with different inks. Fountain pen ink is thinner, reducing the risk of clogs but limiting flexibility compared to dip or brush pens.
Some fountain pens, like piston pens, have internal converters that allow you to dip the pen in ink and automatically fill the cartridge, eliminating the need for separate cartridges.
Related Resource: How to Use Fountain Pen Ink
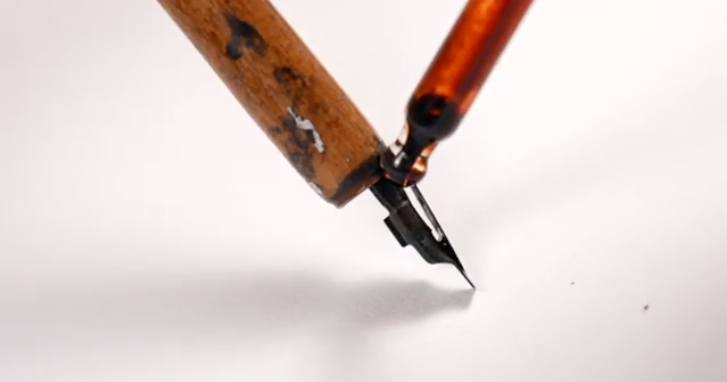
5. Choose a Nib for Your Pen
The nib is the key element in holding and dispensing ink during calligraphy. Avoid dipping the pen directly into an ink pot, as this leads to ink blots. Instead, invest in the right nib for your pen type. There are two main types of nibs:
- Italic Nibs: Ideal for Gothic and Italic styles, these nibs are rigid and blunt, creating sharp, consistent lines but lacking flexibility.
- Flex Nibs: Commonly used in calligraphy, these nibs feature rounded tines that split, allowing for varying line widths. The more pressure applied, the wider the stroke.
Related Resource: Understanding Calligraphy Nibs
Part2 Putting Ink in the Pen & Choosing Your Paper

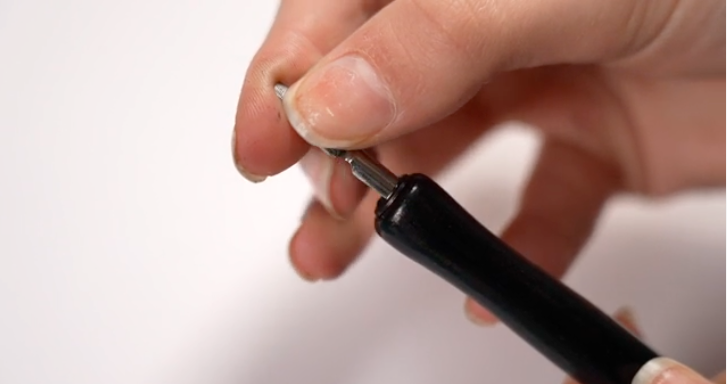
1. Load the Fountain Pen with an Ink Cartridge
To start using your fountain pen, you must load it with an ink cartridge. The fountain pen consists of three parts: the cap, the nib, and the barrel. To load the ink cartridge:
- Remove the cap and twist the barrel off the nib by turning it clockwise.
- Insert the ink cartridge into the nib, pressing the non-pointed side of the cartridge firmly into place. You should hear a slight click when it is securely attached.
- As you become more experienced with calligraphy, you can switch between ink cartridges and bottled ink.
Tip: Always ensure the cartridge is fully seated to avoid ink leakage.
2. Use an Eyedropper for Dip Pens and Brush Pens
For dip pens and brush pens, the ink reservoir must be reloaded frequently as you write. Here’s how to refill it:
- Hold the pen horizontally in your dominant hand.
- Use an eyedropper to draw ink and then place several drops into the pen’s reservoir.
- Continue to hold the pen horizontally while you apply ink to avoid any ink stains on your hands or paper.
- When the pen runs out of ink, simply reload it and continue writing.
Tip: Test the ink flow on scrap paper before beginning your main calligraphy work.
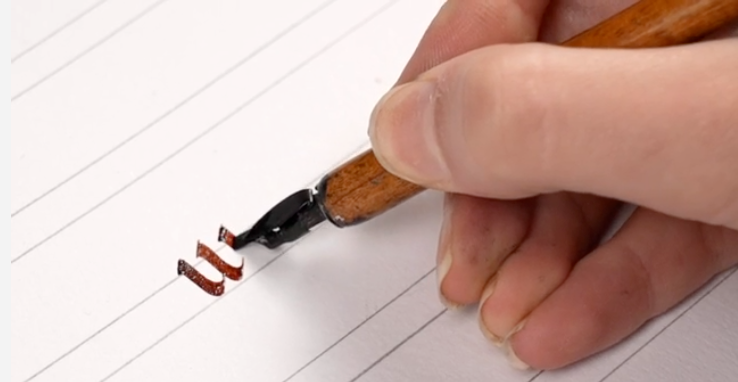
3. Write on Fountain Pen Paper, Not Regular Office Paper
Using the right paper is essential for calligraphy. Ordinary office paper is too thin and will cause ink to bleed, ruining your writing.
- Look for fountain pen-friendly paper at your local craft store. This paper is typically thicker and designed to prevent feathering and bleeding.
- If you’re new to calligraphy, practice using paper with lines and margins. These practice sheets will help you control your writing and maintain consistent size and spacing.
- After you feel confident, try writing on calligraphy paper without lines to enhance your technique.
Tip: Higher-quality paper helps maintain clean, crisp lines in your writing.