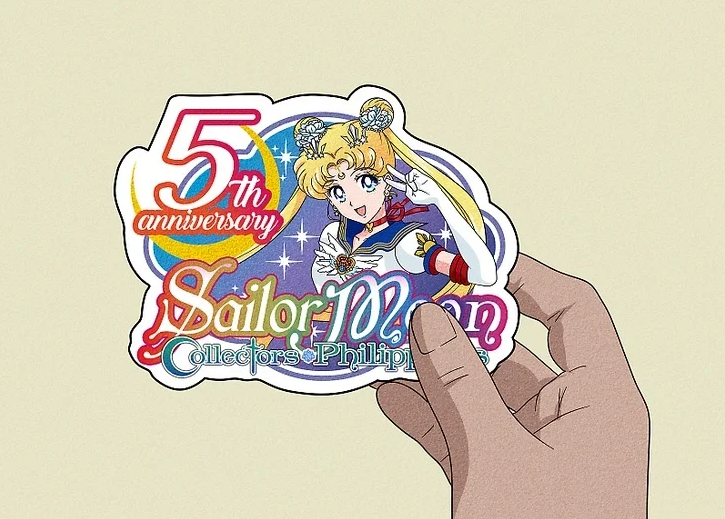
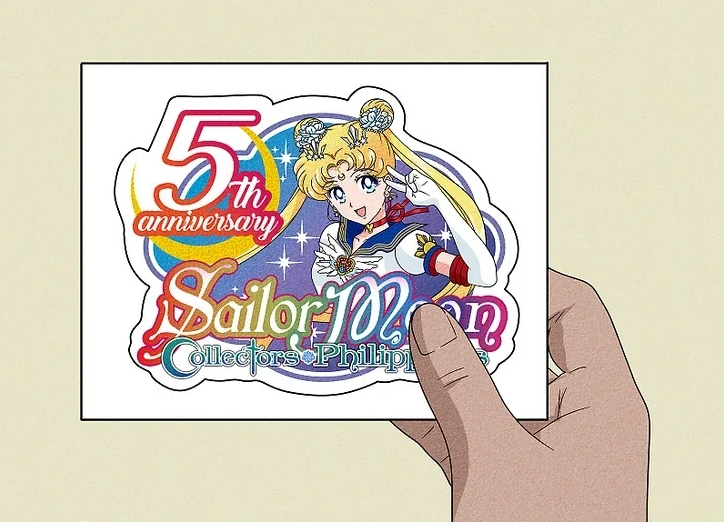
Stickers are always a hit—whether they’re adorning your planner, laptop, water bottle, or even your locker, they add a fun personal touch to anything! If you’re looking to create custom stickers for digital planning apps like GoodNotes or printable sticker sheets, Procreate is the ultimate tool for bringing your ideas to life on your iPad or tablet. Follow these simple steps to transform your Procreate creations into a sheet of stickers ready for printing or sharing digitally!
Drawing a Sticker in Procreate
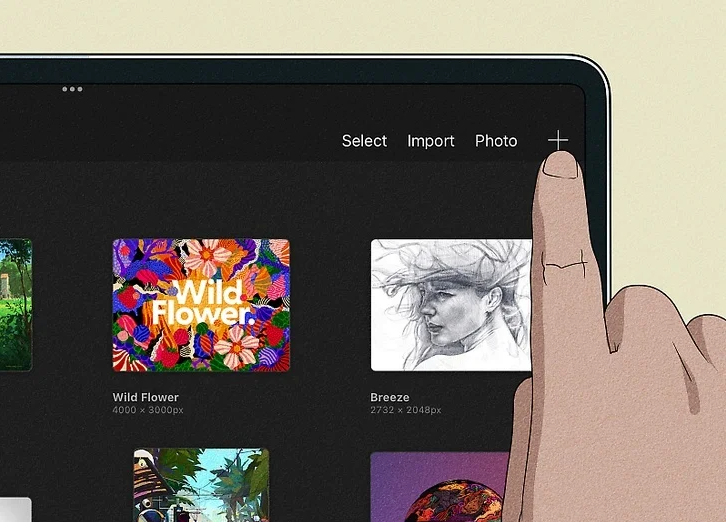
1. Create a New Canvas with Your Desired Sticker Size and Color Settings
Open Procreate and tap the “+” at the top-right corner of your screen to access the list of available canvas sizes. You can either choose a standard dimension or create a custom one—typically, the size should match the paper you’re printing on. For instance, if you’re printing on a full-size sheet of sticker paper, set your canvas size to 2550 x 3300 (8.5 x 11 inches). If you’re using a Cricut cutter, ensure your canvas doesn’t exceed 9.25 x 6.75 inches (23.5 cm × 17.1 cm). Procreate will prompt you to select a color profile and resolution; for high-quality prints, use CMYK color mode and a resolution of 300 DPI. For digital stickers, RGB is recommended, with a resolution of 300 DPI (or 150 DPI to reduce file size).
Canvas Size & Color Settings
For more details on Procreate settings, check out this Procreate guide.
2. Sketch Your Sticker Design on the Canvas
Tap the brush icon in the top-right corner to open the Brush Library. Under the “Sketching” tab, select your favorite sketching tool. You can adjust the brush size using the slider on the left-hand side of the screen. Once you’re happy with your brush settings, start sketching your design directly onto the canvas.
Sketching the Design
For more tips on sketching in Procreate, visit Procreate Tutorials.
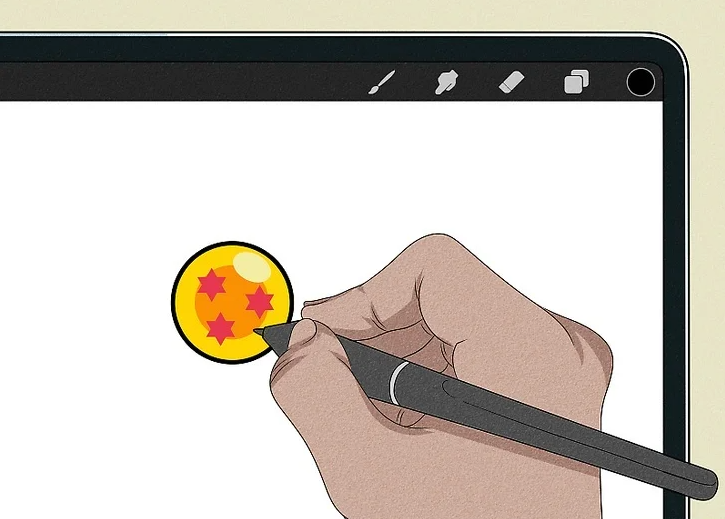
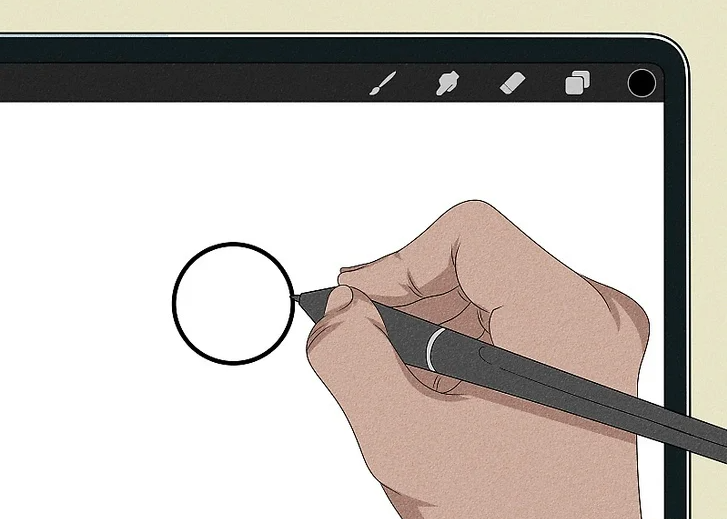
3. Add Color to Your Sticker on a New Layer
To add color, tap the layer icon (overlapping squares) and create a new layer by tapping the “+” button. Move this new layer below your sketch by dragging it down in the Layers panel. Navigate to the Brush Library, choose your desired tool, and select your color by tapping the circle in the top-right corner of the screen. Draw directly on this new layer to fill in the colors. You may want to create a separate layer for each color to keep your design neat and make future edits easier.
Adding Color
Explore more on how to manage layers in Procreate with this Procreate Layer Guide.
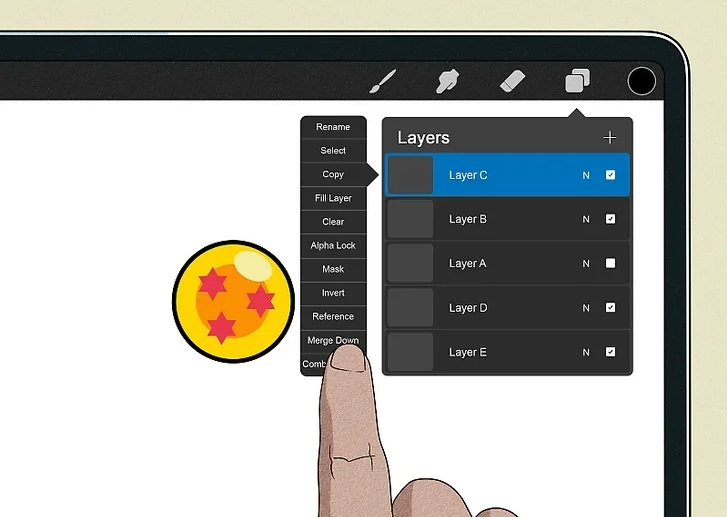
4. Merge Layers to Finalize Your Design
After completing the color and layout adjustments, tap on the topmost layer and select “Merge Down” to combine all layers. Repeat this process until you have a single, unified layer containing your sticker design. Merging layers will make resizing and editing easier moving forward.
Merging Layers
For a better understanding of layer merging, refer to Procreate’s Layer Tutorial.
5. Add a White Border Around Your Sticker
Create a new layer and move it beneath your design layers. Turn off the “Background” layer to make it transparent. Choose white from your color palette and use a hard airbrush to draw a clean border around your sticker. Make sure the white border completely fills around the design. If you notice any gaps, touch up the edges by adding more white.
Creating a Border
Check out this Procreate Border Guide for more tips on creating borders.
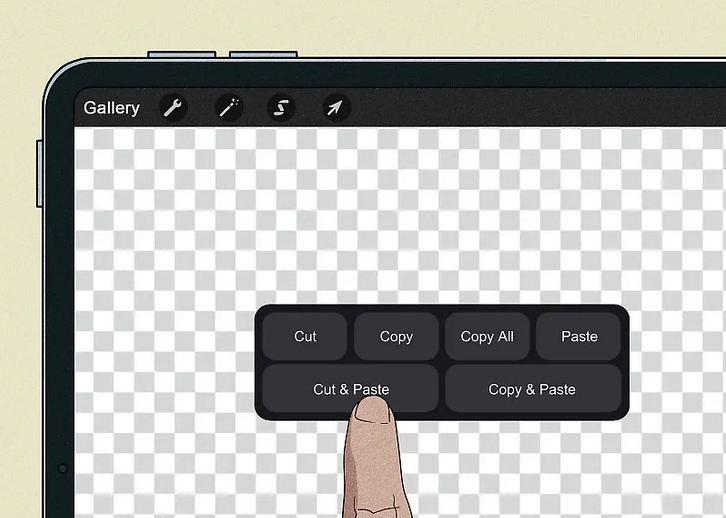
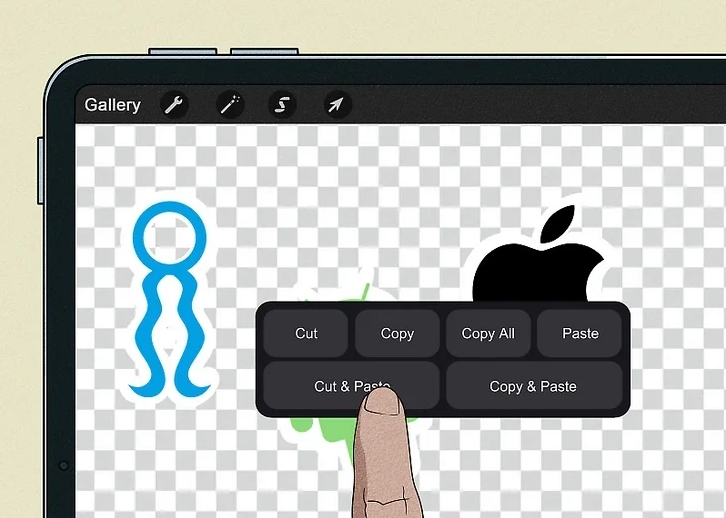
6. Clean Up Your File Before Exporting
To clean up your file, select the white border layer and use the “Selection Tool” from the top toolbar. Choose “Automatic” in the Selection Panel and tap the background area. Swipe three fingers down to bring up the Cut and Paste options. Select “Cut” and “Paste” to remove the background and paste it into a new layer. Delete the newly created background layer, leaving you with a clean image.
File Cleanup
Learn more about Procreate’s selection tools in this Procreate Selection Guide.
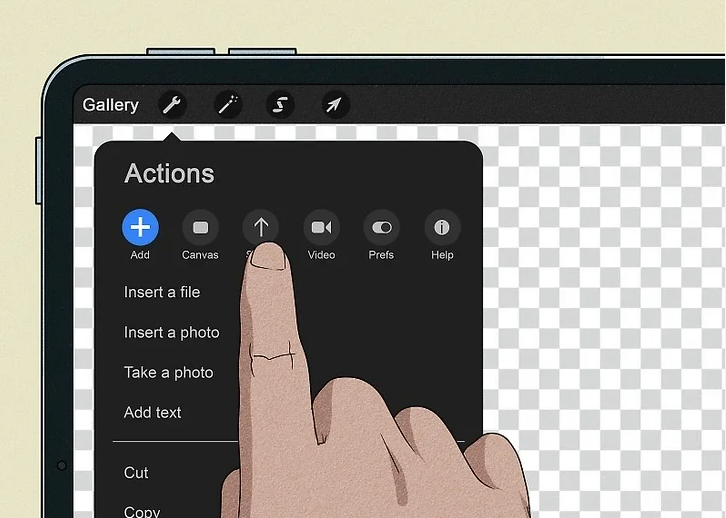
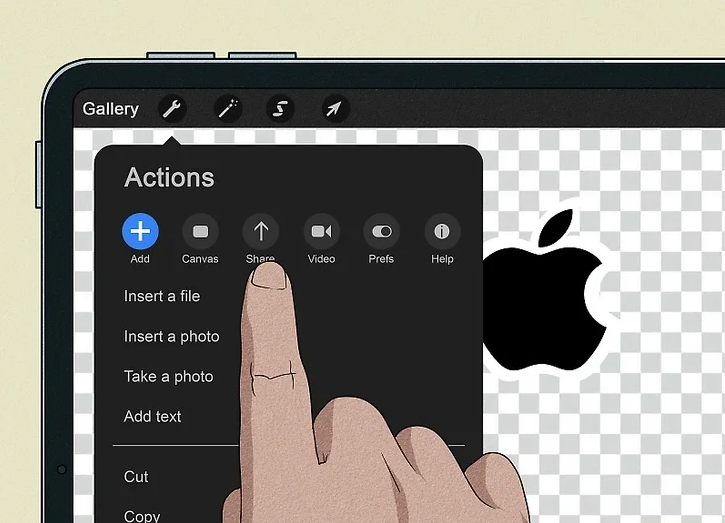
7. Export and Save Your Digital Sticker Design
Once you’re satisfied with your design, tap the wrench icon to open the Actions menu. Choose “Share” and select PNG as your file format. Pick a location on your iPad to save the file, and your sticker design will be ready to print or share.
Exporting Your Design
For exporting tips and tricks, refer to the Procreate Export Guide.
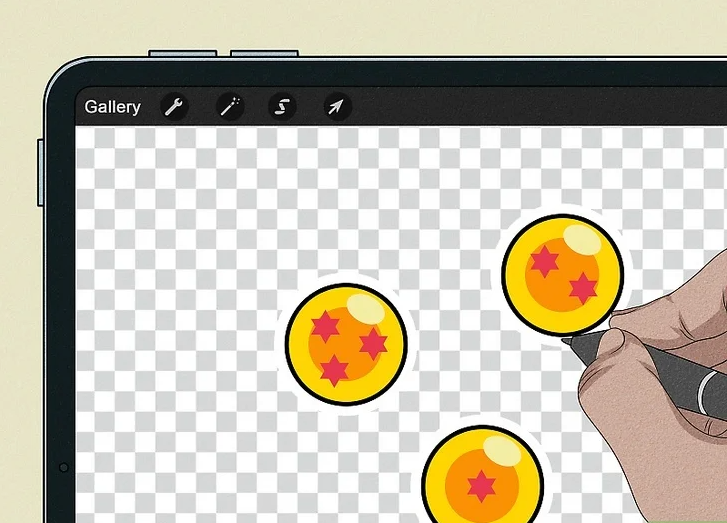
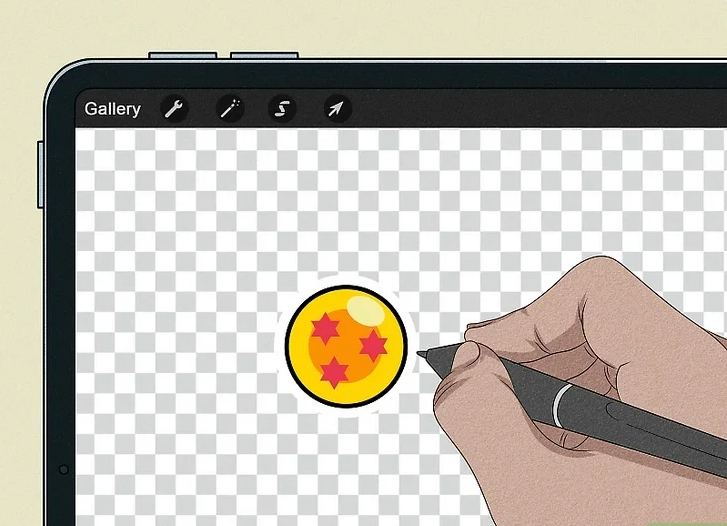
8. Create More Stickers or Transform Existing Media
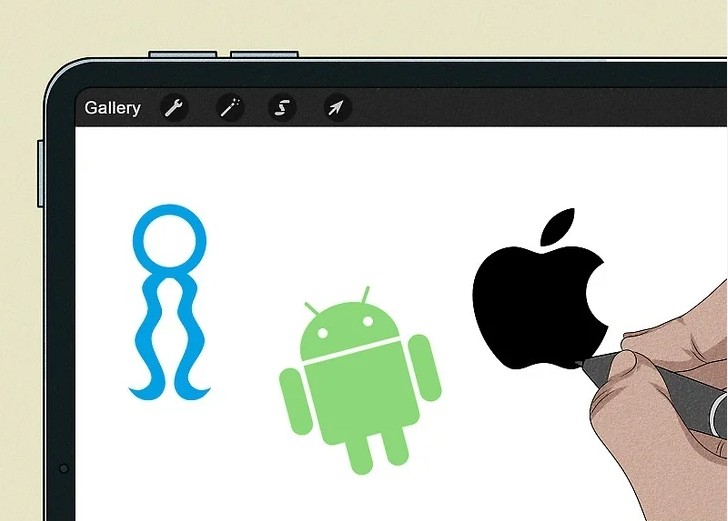
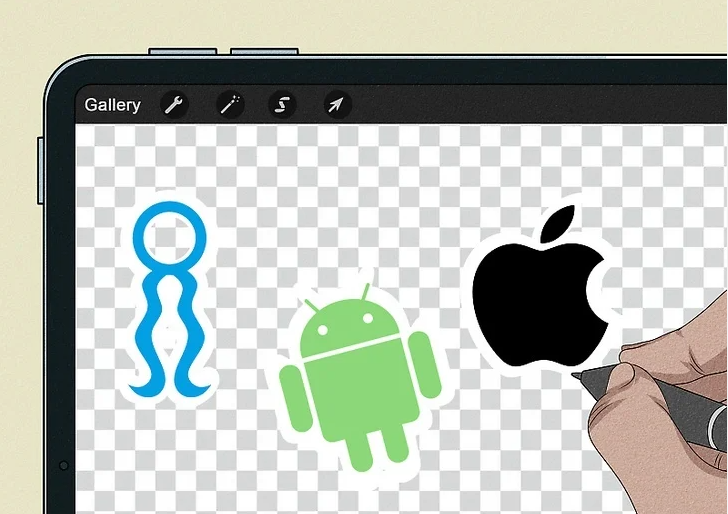
Now that you’ve mastered creating one sticker, feel free to create more. Repeat the previous steps to design new stickers from scratch, or you can turn existing Procreate drawings or photos into stickers. To turn Procreate designs into stickers, uncheck the “Background” in the Layers panel, export it as PNG, and save it. You can also drag images from your Photos app into your canvas, draw a white border, and export it as PNG.
Creating More Stickers
Check out this Procreate sticker-making guide for further instructions on expanding your sticker collection.
Creating a Sticker Sheet
1. Arrange Multiple Stickers on a Blank Canvas
Start by selecting a sticker using the “Selection” tool, which allows you to move and place the sticker anywhere on the canvas. Resize and position the stickers as needed, ensuring there’s enough space between each to easily cut them out later if you’re printing. If you’re preparing a sheet of stickers for distribution, feel free to adjust the sizes and orientations of some or all stickers to keep the layout fun and cohesive.
Sticker Arrangement Tips
Learn more about Procreate’s selection tool from the official guide.
2. Add a White Outline Around Each Sticker
Create a new layer beneath the existing ones to add a white outline around your stickers. First, disable the “Background” layer to make the background transparent. Then, select white from your color palette and use a hard airbrush to draw a smooth line around each sticker. Fill in the outline entirely, ensuring no gaps between the outline and the interior of your sticker. Adjust the color threshold by sliding your stylus left or right if needed for a smoother finish.
Creating Clean Outlines
For more information on layer management and outline creation, check out this Procreate tutorial.
3. Clean Up Your File Before Exporting
Once you’re satisfied with your designs, clean up your file for export. Tap the layer containing the white background, then open the “Selection Tool” and choose “Automatic.” Tap the background to select it, then swipe three fingers down to bring up the copy-and-paste options. Select “Cut” and “Paste” to remove any unnecessary background elements. Finally, delete the new layer that was created, leaving a clean sticker design.
File Cleanup Process
For a more detailed guide on file cleanup, check out Procreate’s selection tool tutorial.
4. Export and Save Your Sticker Sheet
After cleaning up your file, you’re ready to export it. Tap the wrench icon to access the Action menu and choose “Share.” Select PNG as your file format and pick a location on your iPad to save it. If you want to create individual sticker files, you can crop each sticker out of the sheet later. However, most digital planners, such as GoodNotes, can easily separate stickers from the sheet. If you’re using a Cricut machine, you can import your design into Design Space for further preparation before printing.
Exporting and Preparing for Printing
For more details on exporting and printing with Cricut, refer to the Cricut Design Space guide.
This streamlined process will help you efficiently arrange, outline, clean up, and export your digital sticker sheet for printing or digital use. Enjoy creating your own sticker designs!
Printing & Cutting Stickers
1. Option 1: Printing by Hand
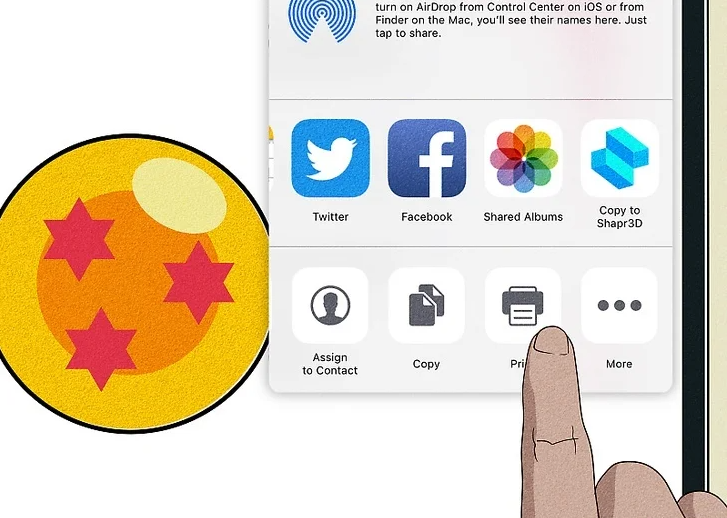
Open your saved sticker file on your iPad, ensuring it’s in PNG format with the dimensions of a standard printer paper (8.5 x 11 inches or 22 x 28 cm). If you have an AirPrint-compatible printer, simply tap the Share icon and select Print. If your printer isn’t AirPrint-compatible, you can download the manufacturer’s app (e.g., Epson Smart Panel) or transfer the image to your computer for printing. After printing, use a pair of scissors to cut out each sticker, leaving a thin border around the edge if you prefer.
Pros and Cons of Printing by Hand
Pros: Inexpensive, customizable size, low setup time, no quantity limits, hands-on experience.
Cons: Requires access to a printer, good scissor skills, not suited for heavy-duty materials, not ideal for large-volume printing.
For more details on AirPrint and printer compatibility, refer to Apple’s AirPrint Guide.
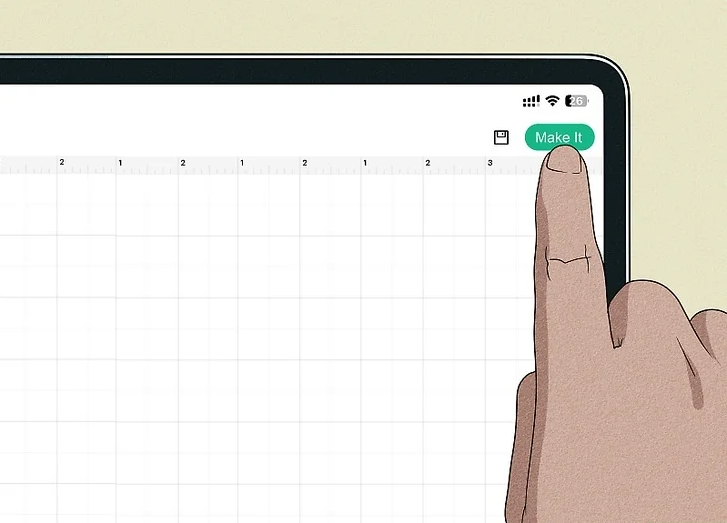
2. Option 2: Using a Cricut Machine
To print and cut your stickers with a Cricut machine, open the saved sticker file in Cricut Design Space and tap on “Print and Cut.” Insert your design onto a new canvas, adjust the size and positioning, then select “Make It.” If the design overflows beyond a single page, tap “Canvas” to reduce the image size. Choose your AirPrint-compatible printer or send the file to your computer for printing. The Cricut machine will automatically cut the stickers according to your design’s guidelines.
Pros and Cons of Using a Cricut
Pros: Professional-looking results, user-friendly software, adjustable sizes, quick production, great for experimentation.
Cons: Expensive setup, involves trial and error, time-consuming, limited print size, not ideal for high-volume production, requires AirPrint-compatible printer.
For more on how to set up Cricut Design Space, visit Cricut’s Design Space Tutorial.
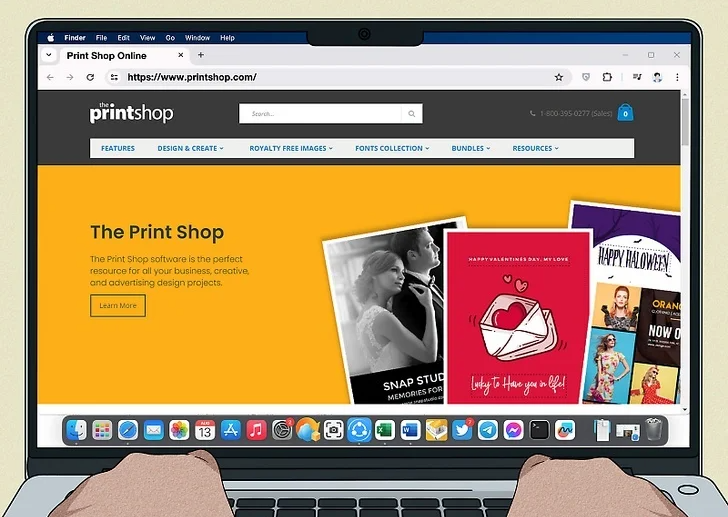
3. Option 3: At a Professional Print Shop
You can opt for a professional printing service to produce your stickers. Visit a local print shop’s website, upload your artwork, select the size, and add it to your cart. After ordering, expect a wait time of about a week to receive your custom stickers.
Pros and Cons of Using a Print Shop
Pros: High-quality prints, quick and easy process, access to a variety of materials.
Cons: Minimum order quantity may apply, longer turnaround time, may require additional file preparation.
Check out Vistaprint for professional sticker printing options and guidelines.
Each option offers different benefits, depending on your needs. Whether you’re printing by hand, using a Cricut, or outsourcing to a professional, you’ll be able to create high-quality custom stickers.
Glossary of Sticker-Related Terms
1. Dieline/Cutline
A dieline or cutline is the line along which a machine will cut the material that your sticker is printed on. Creating a dieline separates the image from the cutline, ensuring that the artwork itself remains intact and isn’t accidentally cut into. This is particularly important for precise cutting during production.
What is a Dieline?
To learn more about creating dielines, check out this guide on dielines for a deeper understanding of their importance in design.
2. Kiss Cut
A kiss cut sticker is when the machine only cuts through the top layer of the material, leaving the backing paper intact. Kiss cut stickers are easier to peel off as the backing stays intact, making them a popular choice for most commercially available sticker sheets. They are less likely to be damaged during handling and provide a clean, simple removal process.
What is a Kiss Cut Sticker?
For more on kiss cut stickers and how they’re made, visit Sticker Mule’s Kiss Cut explanation.
3. Die Cut
A die cut sticker is fully cut through both the material and the backing paper. This type of sticker is cut to a custom shape and stands alone, not part of a sheet. The sticker and the backing paper will have the same shape and size, giving it a more unique, premium look.
What is a Die Cut Sticker?
Learn more about die cut stickers and their uses at Custom Stickers Shop.
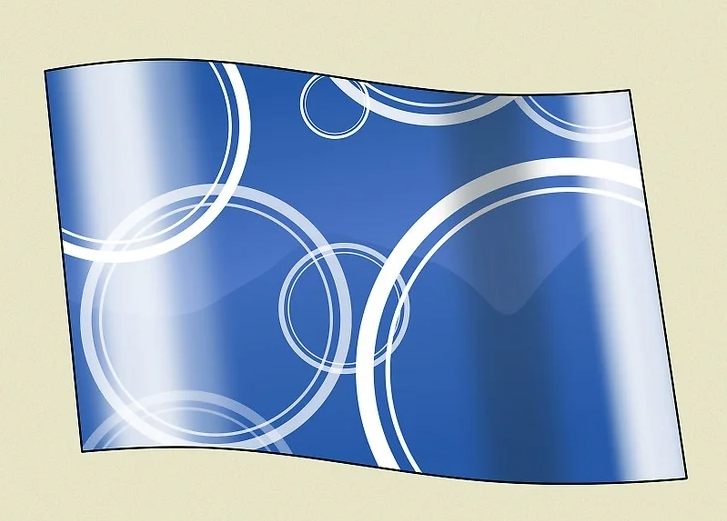
4. Sticker Sheet
A sticker sheet consists of multiple individual sticker designs arranged on a single sheet of paper. Typically, these are kiss-cut stickers, allowing each sticker to be peeled off individually. Sticker sheets are efficient for printing several designs at once, making them an ideal choice for personal or promotional use.
Understanding Sticker Sheets
For more information on sticker sheets and their benefits, visit Sticker You’s guide on sticker sheets.

5. Full Bleed
Full bleed refers to a printing technique where the design extends over the entire surface of the paper, with no borders or margins. Achieving a full bleed requires either a borderless printer or printing a slightly larger design and then trimming the excess. This ensures that the design fills the entire paper without leaving any white space.
What is Full Bleed?
To understand full bleed printing better, check out this Full Bleed Printing guide.
6. Material/Stock
The material or stock of a sticker refers to the material the sticker is printed on, such as paper, vinyl, canvas, or cling film. These materials can have various finishes like glossy, matte, UV laminate, or holographic. Some sticker stocks are even designed for outdoor use, such as bumper stickers or floor decals.
Choosing Sticker Materials
For more on different sticker materials and their applications, read StickerGiant’s Material Guide.
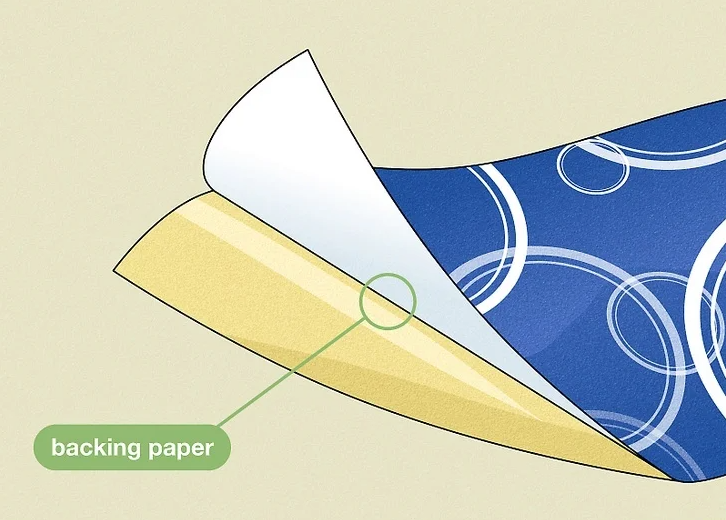
7. Backing Paper
Backing paper is the bottom layer of a sticker, where the adhesive is applied. This coated paper allows the sticker to be easily peeled off without damaging the design. The backing paper ensures that the adhesive stays protected until the sticker is ready to be applied.
What is Backing Paper?
Check out this Backing Paper Guide for more details.
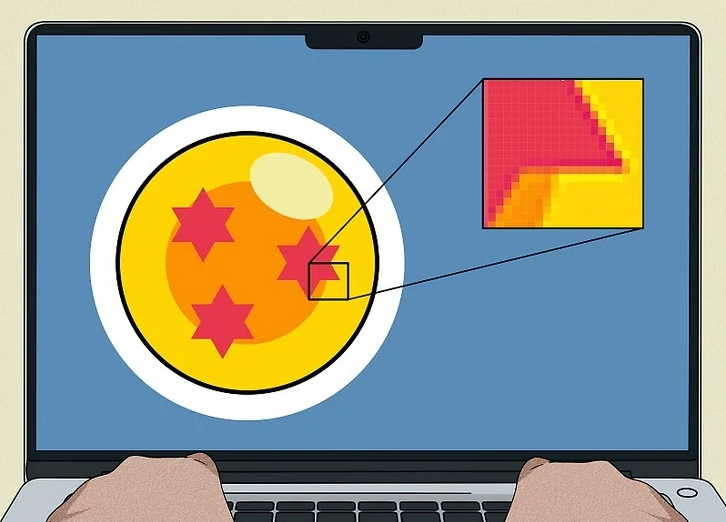
8. Raster
A raster image is made up of pixels, much like a digital photo. Raster images lose quality when enlarged because they become pixelated. However, they can contain a lot of detail without significantly increasing file size. Procreate is a raster-based app, meaning all the stickers made within it will be raster images, with formats such as .jpg, .png, and .tiff.
What is Raster?
To dive deeper into raster images, visit this article on raster vs. vector.
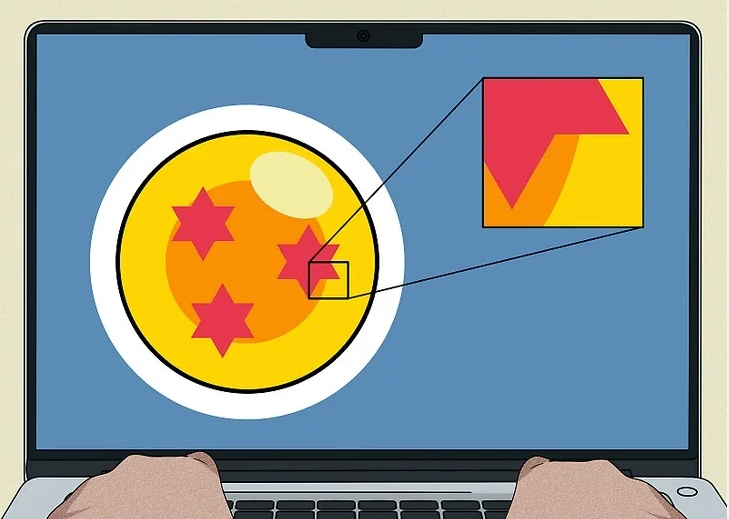
9. Vector
Vector images are made using mathematical paths and shapes, allowing them to be scaled infinitely without losing quality. However, vector images often lack the detail or texture seen in raster images. They are commonly created using software like Adobe Illustrator and are stored in formats such as .ai, .eps, or .svg.
What is a Vector Image?
For a comprehensive guide on vector images, check out Adobe’s Vector Basics.
These terms are crucial for anyone looking to create high-quality, professional stickers, whether you’re using a Cricut machine, a printer, or outsourcing to a print shop.