How to Make an Emergency Kit for Teenage Girls Emergencies can strike without warning, and the only thing worse than facing one is realizing you weren’t prepared. Building your own emergency kits ensures you’re ready for anything, no matter where you are—at school, work, practice, a party, a friend’s house, on a date, or even at a family dinner. Whether you suddenly need period supplies, a little extra cash, a quick fix for a ripped shirt, or a fast breath mint, having a personal everyday-emergencies kit or an all-purpose ready-for-anything kit can truly save the day.
Method1 Putting Together a Kit for Everyday Emergencies
How to Make an Emergency Kit for Teenage Girls
A Complete Guide to Building a Ready-for-Anything Personal Kit
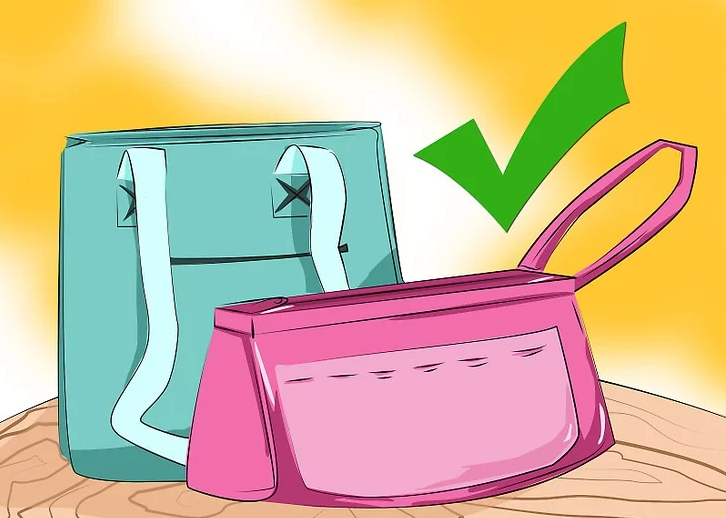
Step 1: Select a Bag for Your Emergency Supplies
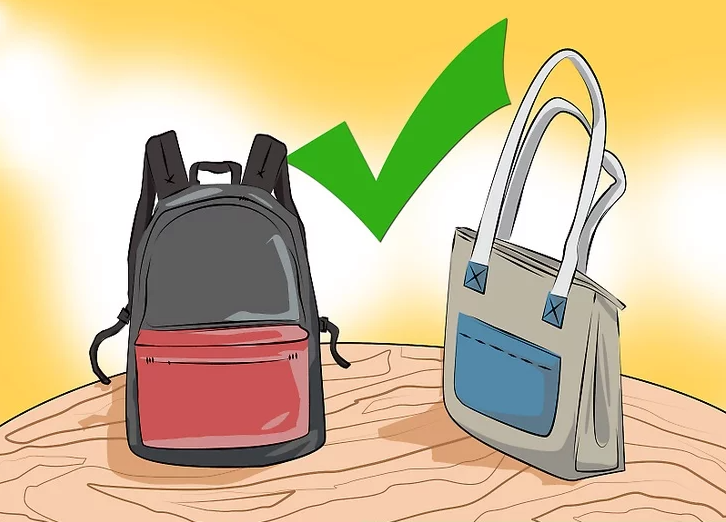
Choose a bag that’s large enough to hold all your essentials and comfortable enough to carry everywhere. A bag with straps or handles is ideal, and compartments or pockets will help you stay organized. Since this kit may travel with you daily, make sure the style suits your taste and lifestyle.
Great Bag Options
- Small backpack
- Large makeup or toiletry case
- Tote bag
- Purse or crossbody bag
References
- How to Choose a Day Pack: https://www.rei.com/learn/expert-advice/daypacks
- Organization Tips for Everyday Bags: https://www.goodhousekeeping.com/home/organizing/
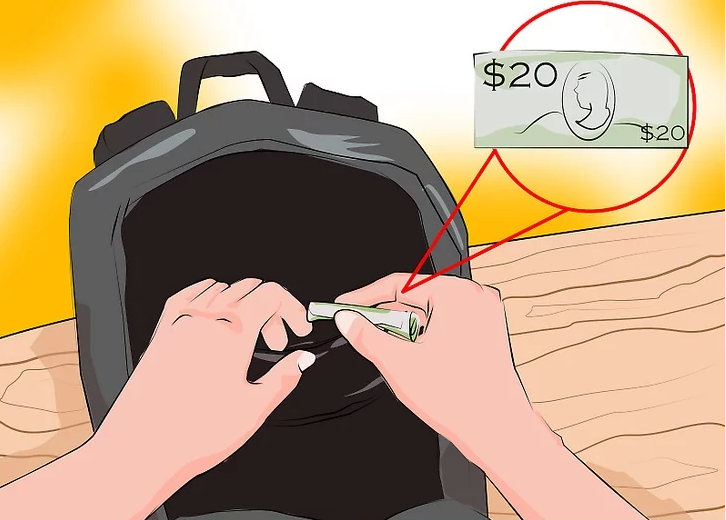
Step 2: Have Emergency Money Ready
Always keep at least $10–$20 of emergency cash, along with some loose change. In addition to the cash in your wallet, store extra emergency money inside your kit—preferably in a hidden or zippered pocket for safety.
Why Cash Matters
- Useful if your phone dies and you need to use a payphone
- Buy a small snack or drink in an emergency
- Purchase pads or tampons from bathroom dispensers
- Pay for bus fare, a taxi, or unexpected essentials
References
- Financial Emergency Preparedness (Ready.gov): https://www.ready.gov/financial-preparedness
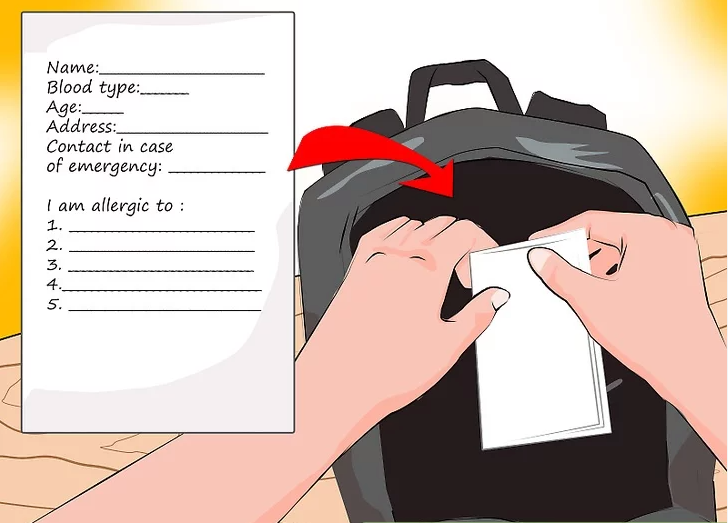
Step 3: Compile a List of Your Medications and Allergies
Write down all the medications you take daily and list any known allergies. This information can be crucial in a medical emergency when a doctor or nurse needs your medical background. Keep a copy inside your emergency kit and update it whenever anything changes.
References
- American Red Cross – Personal Medical Information Preparation:
https://www.redcross.org/get-help/how-to-prepare-for-emergencies
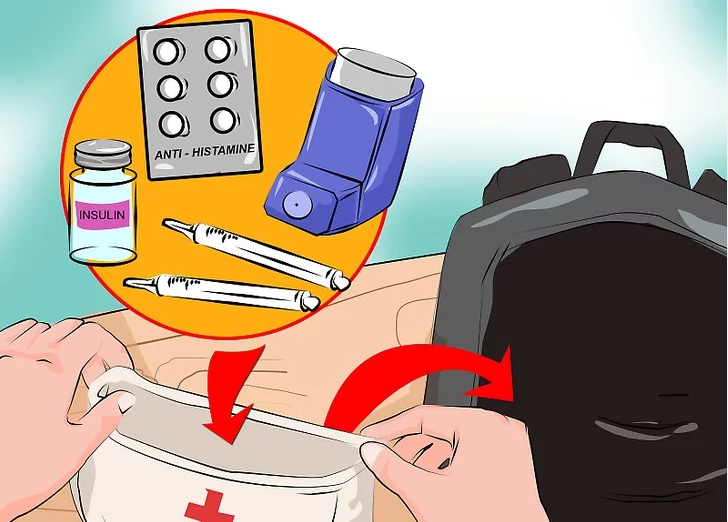
Step 4: Assemble the Medications You Need Throughout the Day
Store all your medications in a separate pouch or compartment to keep them easy to find. Don’t forget your “emergency-only” medications—things you may not take every day but absolutely need in urgent situations.
Medications to Include
- Epinephrine injectors (EpiPen)
- Emergency inhalers
- Antihistamines
- Insulin or diabetes supplies
- Eye drops
References
- Mayo Clinic – Emergency Medication & Allergy Care: https://www.mayoclinic.org/
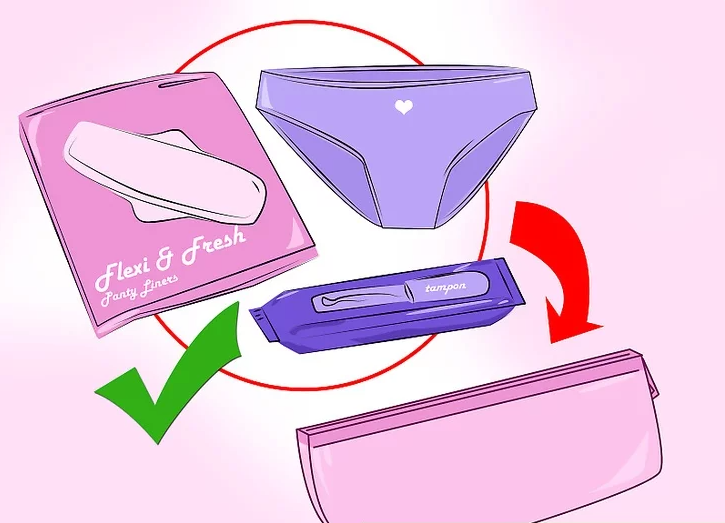
Step 5: Pack Emergency Period Products
Always carry enough menstrual products for several hours of protection, even if you aren’t expecting your period. Choose whichever products you prefer—pads, liners, tampons, or a menstrual cup. Bringing an extra pair of underwear is also a smart idea.
Period Essentials
- Pads or panty liners
- Tampons
- Menstrual cup
- Spare underwear
Even if your cycle is unpredictable, being prepared prevents awkward or stressful situations.
References
- Teens & Menstruation Basics (KidsHealth): https://kidshealth.org/en/teens/menstruation.html
- Menstrual Products Guide (Planned Parenthood):
https://www.plannedparenthood.org/
Method2. Creating a Ready-for-Anything Emergency Kit
How to Make an Emergency Kit for Teenage Girls (Extended Emergency/Disaster Version)
Step 1: Select a Larger Bag
Choose a larger, sturdier bag for situations that require more supplies than your everyday kit can carry. This “ready-for-anything” emergency bag can stay in your school locker, your car, or your closet at home. Many teens keep more than one—such as one at home and one at school.
Don’t Forget
- Keep emergency cash in this kit as well as in your everyday kit.
References
- Choosing a Durable Emergency Bag: https://www.redcross.org/get-help/how-to-prepare-for-emergencies
- Best Backpacks for Emergency Preparedness: https://www.rei.com/learn/expert-advice/backpack
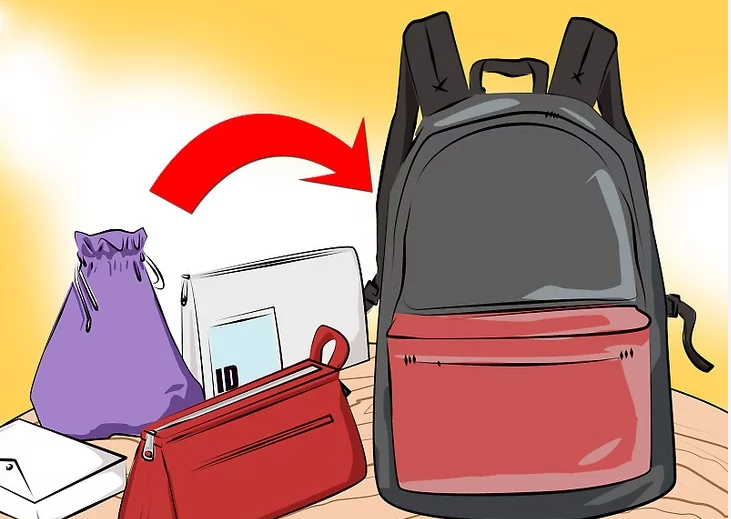
Step 2: Pick Out Smaller Cases to Organize Your Kit
Even if your main bag has compartments, use smaller cases to keep everything organized. During a real emergency, the last thing you want is to panic because you can’t find something.
Tips for Organizing
- Use makeup bags or pouches.
- Consider color coding (e.g., red pouch for medical supplies).
- Choose zippered cases to keep items secure.
- You’ll likely need 4–7 smaller cases.
- Keep sewing supplies in a hard-shell case for safety.
References
- Organization Tips for Emergency Gear: https://www.goodhousekeeping.com/home/organizing/
- Packing & Storage Tips (CDC): https://www.cdc.gov/disasters
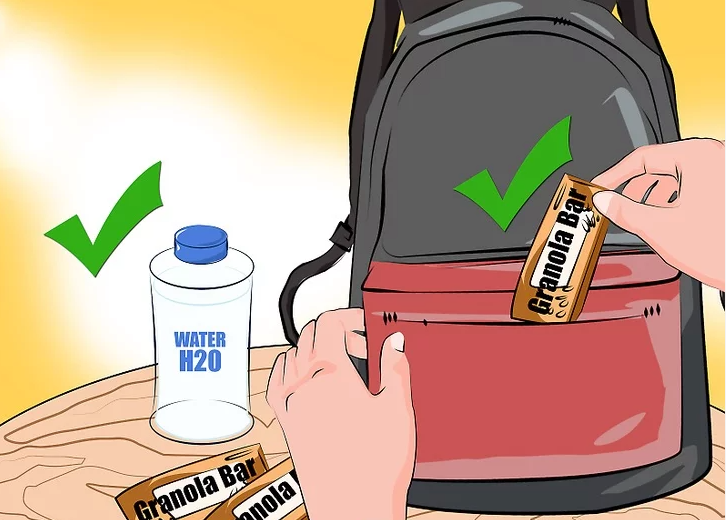
Step 3: Pack Water and a Snack
Add a bottle of water and a non-perishable snack. Whether you skipped breakfast or need a quick energy boost, this mini food supply can help anytime.
Snack Ideas
- Granola bars
- Dried fruit bars
- Crackers
- Nuts
- Any shelf-stable snack that lasts months
References
- Non-Perishable Food List (FEMA): https://www.ready.gov/kit
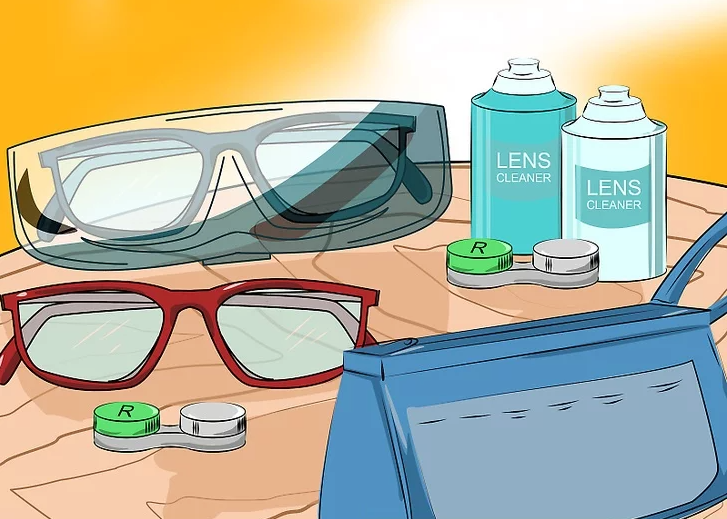
Step 4: Keep Spare Eyewear and Eye Care Supplies
If you wear glasses, include a backup pair. If you use contact lenses, store an extra case and travel-size contact solution in your kit.
References
- Vision Care Preparedness Tips: https://www.allaboutvision.com/
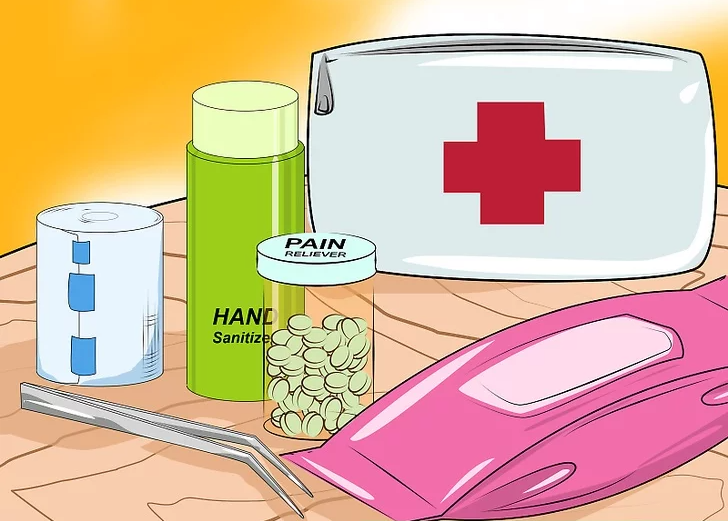
Step 5: Create a Mini First-Aid Case
Store first-aid items in a separate pouch so you can quickly handle cuts, scrapes, headaches, cramps, or mild pain.
First-Aid Essentials
- Tweezers
- Adhesive bandages
- Hand sanitizer
- Antiseptic wipes
- Throat lozenges / cough drops
- Travel-size pain relievers
- Tissues
References
- Basic First-Aid Supplies (Red Cross): https://www.redcross.org/get-help/how-to-prepare-for-emergencies/first-aid-kit.html
Step 6: Prepare a Change of Clothes
A spare outfit can save you during spills, rainstorms, ripped clothing, or surprise periods. It doesn’t have to be fancy—just practical.
Clothing to Include
- Underwear in a resealable plastic bag
- Bra or sports bra
- Socks
- T-shirt, tank top, or blouse
- Spare pants or shorts
References
- Emergency Clothing Checklist (Ready.gov): https://www.ready.gov/kit
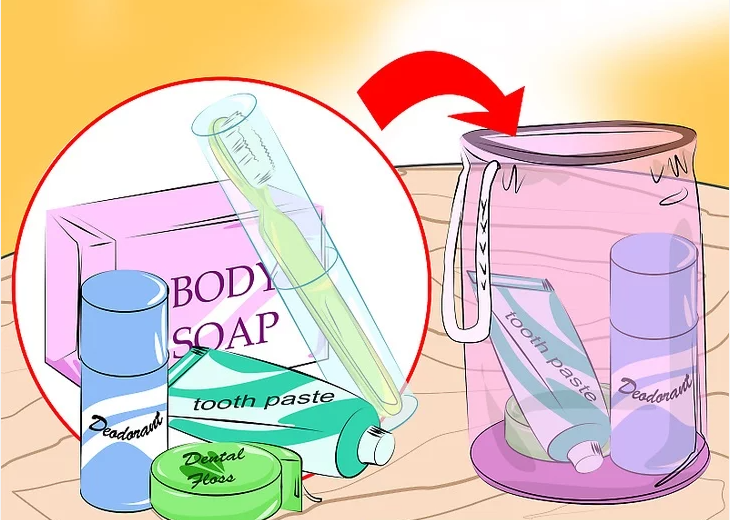
Step 7: Assemble a Travel Toiletries Case
Drugstores offer mini-sized toiletries perfect for emergencies. These help you freshen up between classes—or stay clean during a real disaster.
Toiletries to Include
- Deodorant
- Toothpaste & toothbrush
- Dental floss
- Mouthwash
- Soap
- Gum or mints
References
- Personal Hygiene in Emergencies (CDC): https://www.cdc.gov/hygiene
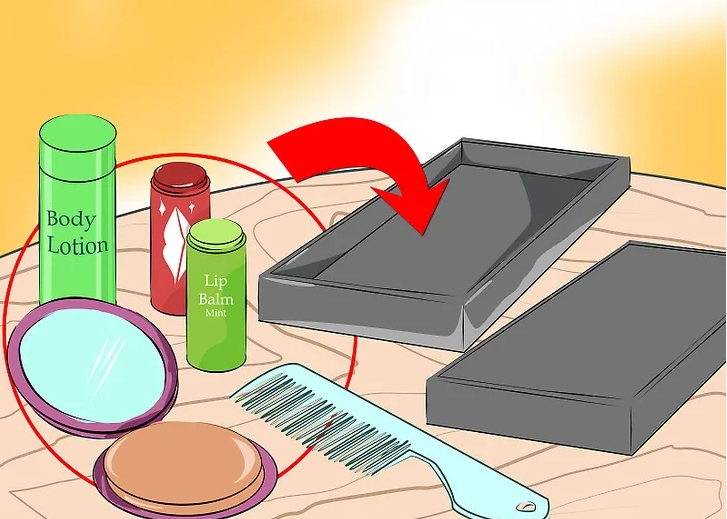
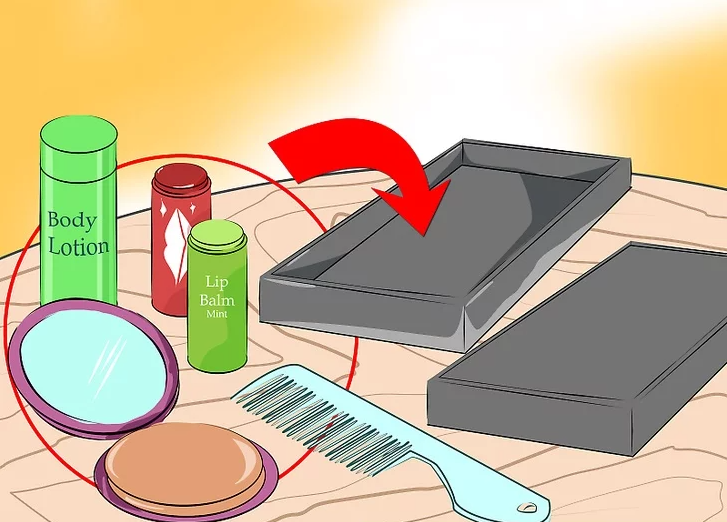
Step 8: Put Together a Mini Cosmetics Case
Pack only select products for emergencies—like sudden plans, job interviews, or makeup mishaps.
Include Items Like
- Bobby pins, hair ties, comb
- Hand cream or lotion
- Lip balm
- Small mirror
- A few makeup basics such as:
- Foundation or compact
- Mascara or eyeliner
- Lipstick or gloss
- Blush or eyeshadow
References
- Makeup Essentials Guide: https://www.seventeen.com/beauty/
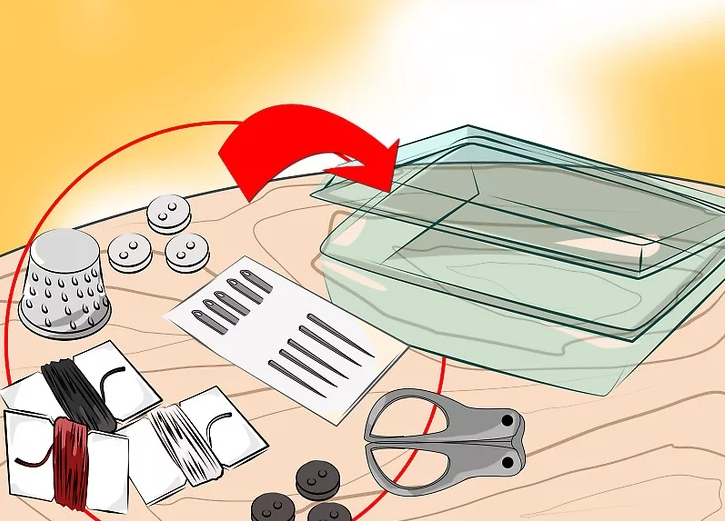
Step 9: Assemble a Travel Sewing Kit
For wardrobe malfunctions—like broken straps, missing buttons, or ripped seams—this kit is a lifesaver.
Sewing Kit Must-Haves
- Pins and safety pins
- Sewing needle
- Black & white thread
- Extra buttons
- Double-sided tape
- Mini or foldable scissors
- Stain remover pen (optional)
Store everything in a hard-shell case to avoid pokes from needles and scissors.
References
- Basic Sewing Kit Essentials: https://www.marthastewart.com/1543989/sewing-kit-basics
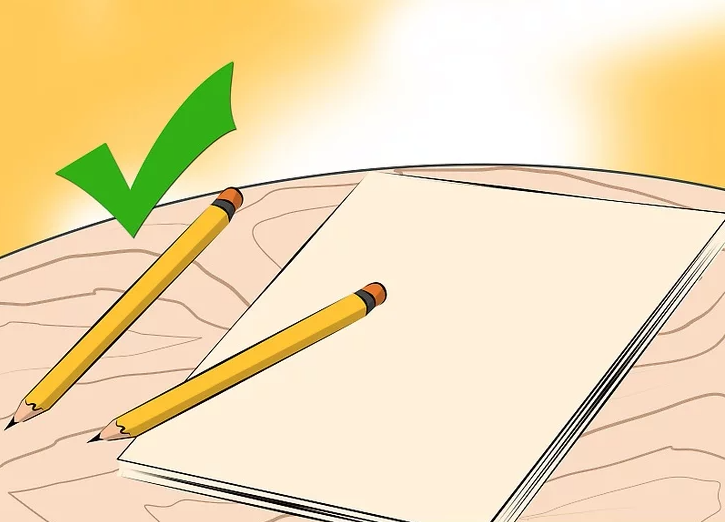
Step 10: Make a Travel Writing Kit
You never know when you’ll need to leave a note, record information, or jot down an important idea.
Include
- Mini notepad
- Pen
- Pencil (won’t dry out)
- A few paper clips
- Can double as:
- Makeshift hair clip
- Bra strap holder
- Temporary zipper pull
- Can double as:
References
- Everyday Carry Writing Tools: https://www.jetpens.com/

Step 11: Locate a Second Phone Charger
A phone is crucial in an emergency—but only if it has power. Keep a spare charger in your kit so you can always reach someone when needed.
Tips
- Ask friends or family for old unused chargers.
- Consider adding a portable power bank if possible.
References
- Emergency Communication Tips (FEMA): https://www.ready.gov/make-a-plan