How to Clean a Laptop
How to Clean a Laptop is an essential skill, as all computers accumulate dirt over time—but laptops require more frequent cleaning due to constant handling. If you travel often with your laptop, it’s best to clean it at least once a month. Dust, oil, and grime can build up on the screen and keyboard, which may affect performance and usability. Before you begin cleaning, always shut down the laptop and unplug it from any power source. If the battery is removable, take it out as well to ensure safety.
Method1. Wiping the Screen
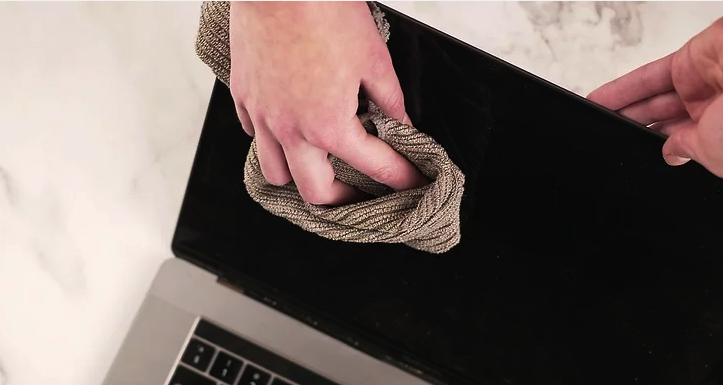
Step 1: Remove Loose Dust with a Microfiber Cloth
Start by wiping away surface dust using a clean microfiber cloth. Fold the cloth and gently sweep it across the screen from side to side, covering the full width of the display. Use your other hand to lightly support the screen so it doesn’t move while you clean.
Avoid pressing hard or trying to scrape off dried spots. Laptop screens are delicate, and excessive pressure can cause permanent damage.
Before cleaning, always shut down your laptop and unplug it from any power source. If the battery is removable, take it out. A dark screen also makes dust and smudges easier to see.
Recommended microfiber cloths:
- https://www.ifixit.com/Store/Tools/Microfiber-Cleaning-Cloths/IF145-371
- https://www.amazon.com/dp/B0050R66X8
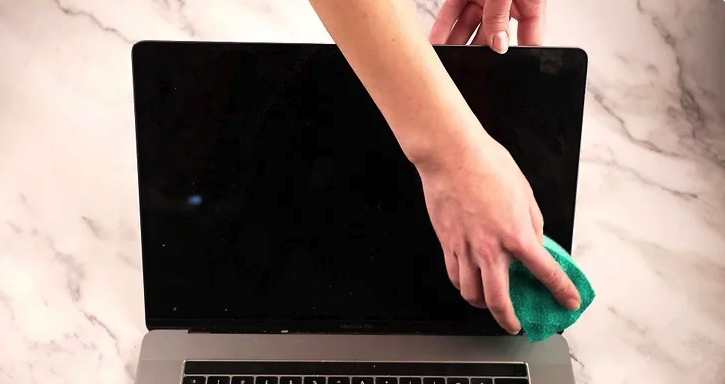
Step 2: Gently Clean Grime with a Slightly Damp Cloth
For fingerprints or sticky residue, lightly dampen a soft cloth or sponge with distilled or purified water, then squeeze it thoroughly until almost dry. Tap water can leave mineral marks on the screen.
Wipe the screen using gentle circular motions, applying minimal pressure. Never scrub.
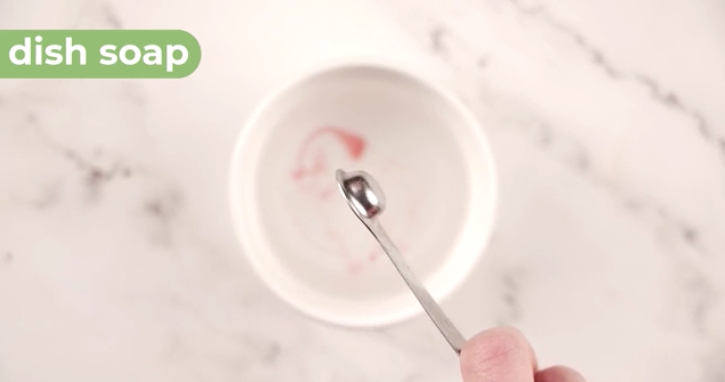
For stubborn spots, add one small drop of mild dish soap to the water, or create a simple cleaner by mixing equal parts distilled water and white vinegar.
Be extremely careful that no liquid drips into the screen edges or keyboard area, as moisture can damage internal components.
If your laptop has a touchscreen, always check the manufacturer’s cleaning recommendations before using any solution.
Helpful manufacturer guides:
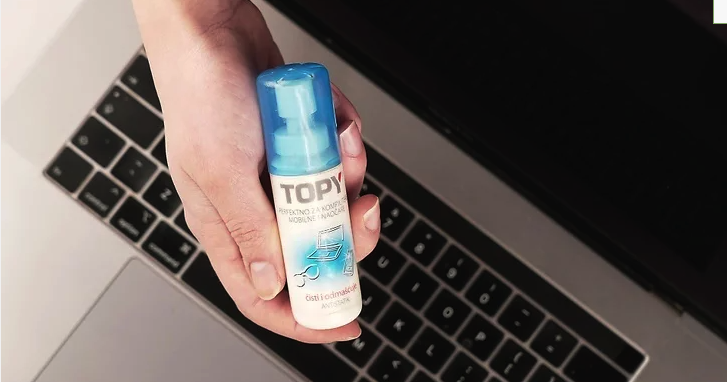
Step 3: Use a Screen-Cleaning Kit for Heavily Soiled Screens
If your screen is very dirty, a dedicated screen-cleaning kit can be a good investment. These kits include cleaners formulated specifically for electronic displays and usually come with microfiber cloths.
Apply the cleaning solution to the cloth, not directly onto the screen, to prevent liquid from seeping into the laptop. Gently wipe until the screen is clean.
Do not use regular glass cleaners or products containing ammonia or alcohol, as they can damage anti-glare and protective coatings.
For touchscreen laptops, confirm that the kit is labeled safe for touchscreens.
Popular screen-cleaning kits:
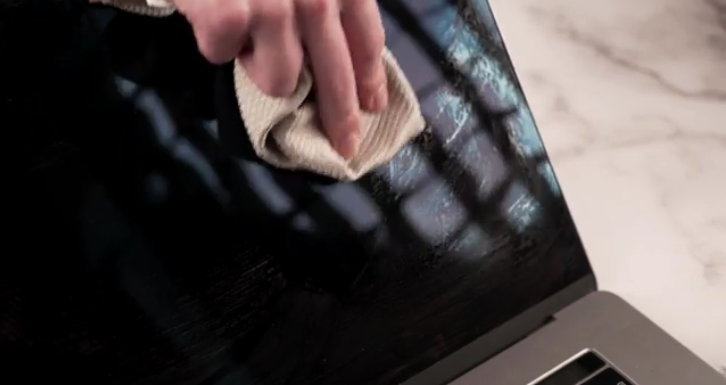
Step 4: Polish the Screen to Remove Streaks
After cleaning, use a dry microfiber cloth to polish the screen. Start in one top corner and move in small circular motions across the display, working your way down.
This final step removes streaks and any remaining moisture.
Do not close the laptop until the screen is completely dry, and make sure there is no trapped moisture before reconnecting the power or battery.
Additional Tips for Laptop Screen Care
- Clean your screen at least once a month, or more often if you travel frequently.
- Avoid paper towels or tissues, which can scratch the screen.
- Never spray liquid directly onto the laptop.
References & Further Reading
- Apple Support – How to clean Apple products
https://support.apple.com/en-us/HT204172 - Dell Support – How to Clean Your Laptop Screen
https://www.dell.com/support/kbdoc/en-us/000124360 - wikiHow – How to Clean a Laptop Screen
https://www.wikihow.com/Clean-a-Laptop-Screen
Method2 .Cleaning the Keyboard
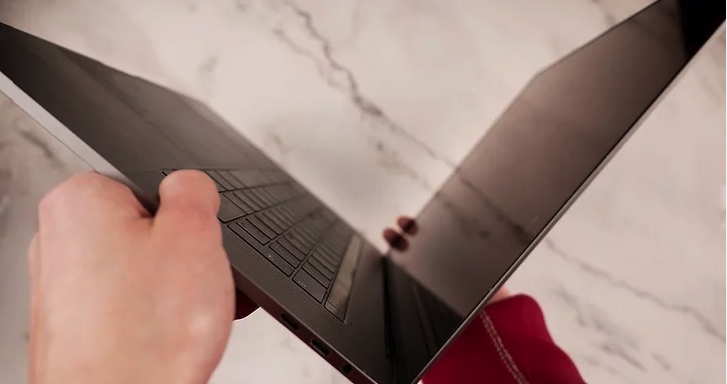
Step 1: Shake Out Loose Debris
Hold your laptop firmly by the sides, open the screen, and gently turn it upside down. Lightly shake the laptop to dislodge crumbs and larger particles trapped beneath the keys. Tilting the laptop from side to side can help free debris lodged in hard-to-reach areas.
If your keyboard hasn’t been cleaned in a long time—or if you often eat while using your laptop—it’s best to do this over a trash can to avoid creating a mess.
If you’ve already cleaned your screen, wipe it again afterward with a microfiber cloth. Dust shaken loose from the keyboard can easily settle back onto the display.
Recommended tools:
- https://www.ifixit.com/Store/Tools/Microfiber-Cleaning-Cloths/IF145-371
- https://www.amazon.com/dp/B0050R66X8
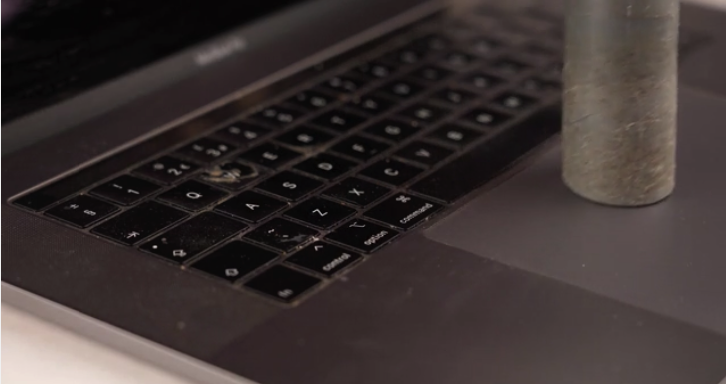
Step 2: Vacuum Dust from the Keyboard
Use a small handheld vacuum with the narrowest attachment to gently remove dust and debris from the keyboard surface. Move slowly across each row, starting at the top and working your way down.
Avoid powerful household vacuums, especially if your laptop has removable keycaps. Strong suction can pull keys off unexpectedly.
You may also use compressed air, but always tilt the keyboard at an angle so debris is blown outward rather than deeper inside. Blowing air straight down can force dust into the laptop’s internal components, which is particularly risky for keyboards with open mechanisms.
Helpful guides:
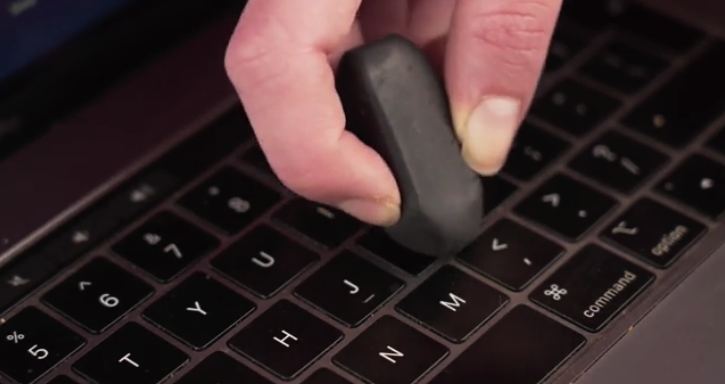
Step 3: Remove Grime from Keycaps with a Pencil Eraser
Finger oils can leave visible grime on keycaps over time. View the keyboard from an angle to identify buildup, then gently rub affected keys with a clean pencil eraser.
This method removes surface grime without introducing moisture. Afterward, vacuum the keyboard again to remove eraser residue.
For heavier buildup, lightly dampen a cotton ball with isopropyl (rubbing) alcohol and gently wipe the tops of the keys. Avoid pressing hard or wiping between keys, as liquid could seep underneath and damage internal components.
Additional guidance:
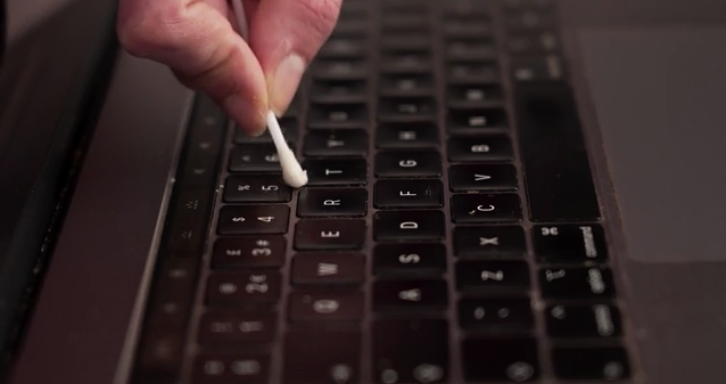
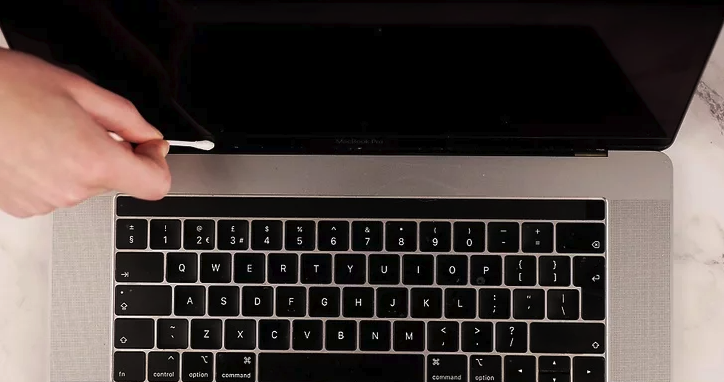
Step 4: Clean Between Keys with a Cotton Swab
Dust and residue often collect in the gaps between keys. Use a dry cotton swab to sweep dirt from these crevices.
If the area is sticky or heavily soiled, slightly dampen the swab with rubbing alcohol. Clean gently and avoid excess moisture, as liquid beneath the keys can damage the laptop.
Step 5: Remove Keycaps Only If You Know How to Reinstall Them
Removing keycaps may be necessary if large amounts of debris are trapped underneath. This is more common if the keyboard has never been cleaned or is frequently exposed to food.
Keycap removal varies by laptop model and can be difficult. Always check your owner’s manual or the manufacturer’s support page before attempting this step. Some keyboards require special tools, and improper removal can cause permanent damage.
Before removing any keys, take a photo of your keyboard layout to ensure correct reinstallation, especially for function and symbol keys.
Manufacturer support resources:
Additional Keyboard Cleaning Tips
- Clean your keyboard at least once a month
- Wash your hands before typing to reduce oil buildup
- Avoid eating over your laptop
- Never pour or spray liquid directly onto the keyboard
References & Further Reading
- Apple Support – Cleaning laptop keyboards
https://support.apple.com - Dell Support – Laptop keyboard maintenance
https://www.dell.com/support - wikiHow – How to Clean a Laptop Keyboard
https://www.wikihow.com/Clean-a-Laptop-Keyboard
Method3 Shining the Case
Step 1: Prepare a Gentle Cleaning Solution
Create a mild cleaning solution using purified or distilled water mixed with a few drops of gentle dish soap. Another safe option is a mixture of equal parts rubbing alcohol and distilled water.
Avoid using household cleaners or harsh chemicals such as bleach or ammonia, as these can damage the laptop’s finish.
If you choose rubbing alcohol, be careful not to let it come into contact with the screen. Alcohol can damage anti-glare and scratch-resistant coatings.
Safe cleaning guidelines:
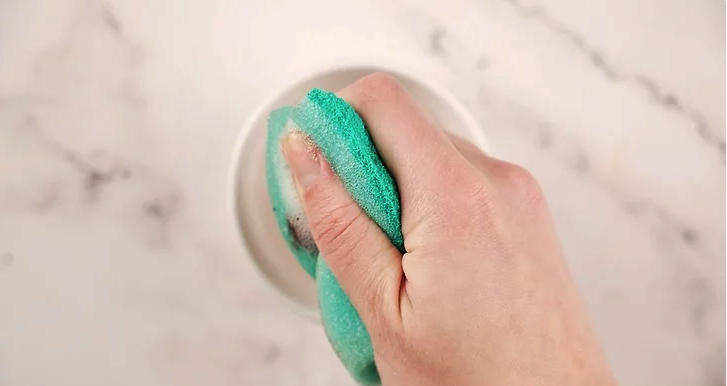
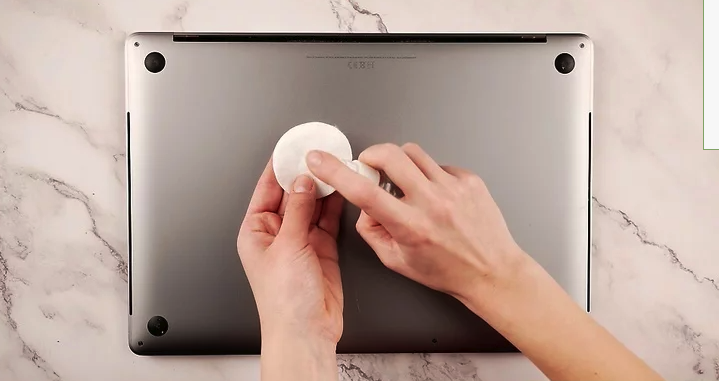
Step 2: Wipe the Exterior with a Damp Sponge
Dip a clean sponge into the cleaning solution, then wring it out thoroughly until it is nearly dry. The sponge should not drip, even when squeezed.
Gently wipe the outer surfaces of the laptop, including the lid, bottom, and sides. You can use the same solution and sponge to clean the touchpad.
Do not use the sponge inside ports or vents, as moisture can damage internal components.
Alternative Option: Melamine Cleaning Pads
A melamine foam pad, such as a Magic Eraser, can also be used on the laptop case. Apply very light pressure, as these pads are mildly abrasive and may scratch some finishes. Most melamine pads only need water and do not require additional cleaning solutions.
Step 3: Clean Seams and Crevices with Cotton Swabs
Laptop cases often have seams and small crevices that trap dirt. Use a cotton swab lightly dampened with your cleaning solution to clean these areas.
Make sure the swab is not overly wet, and apply gentle pressure to avoid forcing liquid into the laptop.
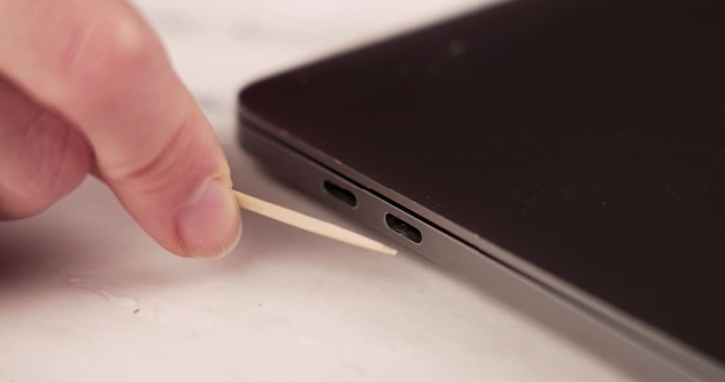
Step 4: Remove Packed Grime with a Toothpick
If dirt is packed into narrow seams, ports, or vent edges, carefully use a toothpick to lift the grime out. Move the toothpick in an outward sweeping motion so debris is pulled away rather than pushed deeper inside.
Hold the toothpick at an angle and use minimal pressure to avoid scratching the laptop’s surface.
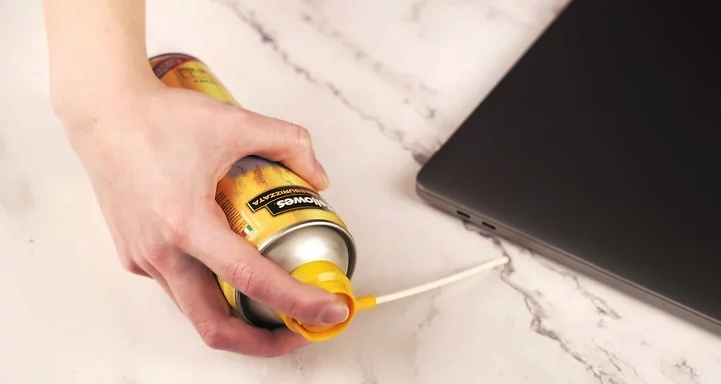
Step 5: Clear Ports and Vents with Compressed Air
Use a can of compressed air to remove debris from ports and vents. Angle the airflow so it blows across and out of the openings rather than straight into them.
Rotate the laptop and blow from multiple angles to ensure thorough cleaning.
Never spray compressed air directly into a port or vent, as this can push debris deeper into the laptop and damage internal components.
Compressed air guidance:
Step 6: Remove Sticky Residue with Rubbing Alcohol
For stubborn sticky spots that won’t come off with gentle cleaning, use a cotton ball lightly dampened with rubbing alcohol. Rub the affected area using moderate pressure until the residue lifts.
Ensure the cotton ball is not dripping, as excess liquid can seep into the laptop.
If adhesive residue remains from old stickers, an oil-based adhesive remover may be effective. Use these products sparingly and only on the exterior case.
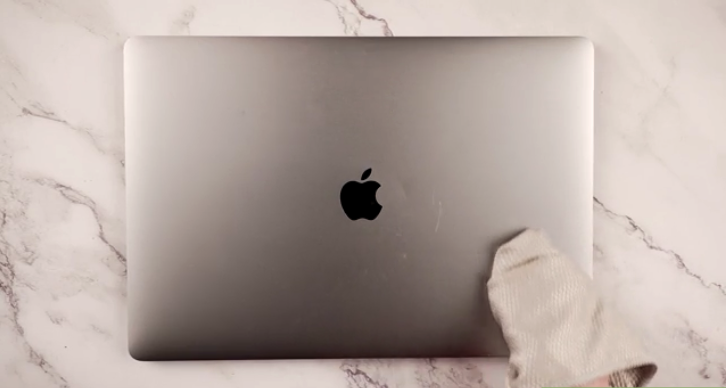
Step 7: Dry and Polish with a Microfiber Cloth
Once cleaning is complete, use a dry microfiber cloth to wipe down the entire laptop case. Buff the surface using gentle circular motions to remove moisture and eliminate streaks.
After drying, you may notice small spots you missed earlier. Use a cotton swab or cotton ball lightly dampened with rubbing alcohol to touch up these areas.
Microfiber cloth recommendations:
Additional Laptop Case Care Tips
- Always power off and unplug your laptop before cleaning
- Avoid spraying liquids directly onto the device
- Clean the exterior at least once a month
- Wash hands before handling your laptop to reduce oil transfer
References & Further Reading
- Apple Support – Cleaning Apple products
https://support.apple.com/en-us/HT204172 - Dell Support – Laptop exterior cleaning guidelines
https://www.dell.com/support - wikiHow – How to Clean a Laptop Case
https://www.wikihow.com/Clean-a-Laptop