How to Ride the New York City Subway is an essential guide for anyone visiting New York for the first time. The city itself can feel overwhelming—New Yorkers are unlike people anywhere else. Though generally polite, they often avoid eye contact, move quickly toward their destinations, and rarely strike up conversations with strangers. Chances are, you’ll rely on the subway to get around, and without a little preparation, it’s easy to get lost. New York City’s subway is one of the largest systems in the world, with 472 stations and an extensive network of tracks, and it is also one of the few subway systems that operates 24 hours a day.
Part1 Planning Your Trip
Step 1: Review the NYC Subway Route Map
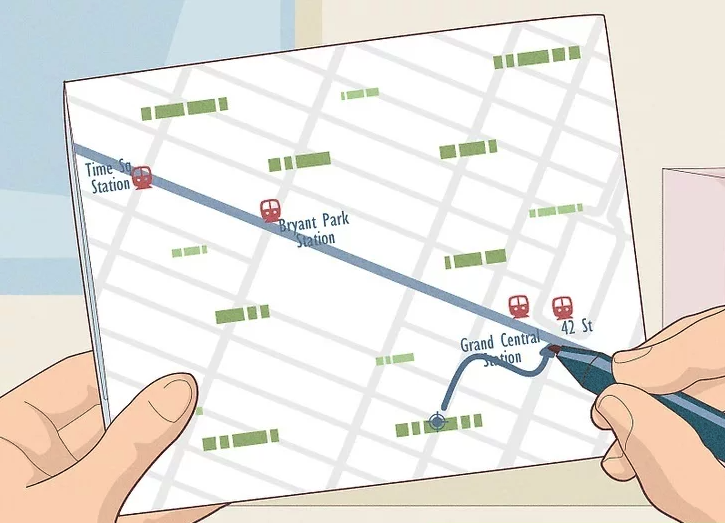
Before riding the New York City Subway, start by reviewing the subway route map and identifying the stations closest to where you want to go. The NYC subway system is complex, with dozens of lines identified by colors, numbers, and letters, along with transfers to PATH trains and connections to the Long Island Rail Road (LIRR).
NYC Subway Route Planning Challenges
Planning your trip can be confusing, especially for first-time visitors. New York has several major transportation hub stations, including:
- Penn Station
- Grand Central Terminal
- Atlantic Terminal
These hubs allow transfers between nearly all subway lines and provide access to above-ground commuter rail services.
Best Tools for Subway Route Planning
If you are new to New York City or visiting as a tourist, it’s best to use reliable route-planning tools such as:
- Google Maps
- HERE WeGo
These tools offer step-by-step directions, estimated travel times, and walking distances between transfers.
⚠️ Note: Late-night subway service is more limited than daytime service. Some routes may operate less frequently or be temporarily suspended overnight.
References:
- Google Maps: https://www.google.com/maps
- HERE WeGo: https://wego.here.com
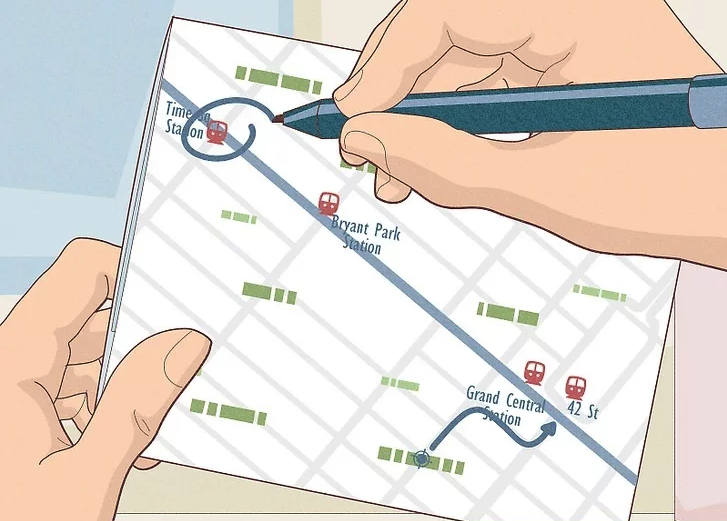
Step 2: Find Nearby Stations and Select the Right Trains
Next, locate the subway stations closest to your starting point and your destination, and determine which trains you need to take to travel between them.
Using the MTA Route Planner
You can also use the MTA’s official route planner to find nearby stations and transfer options. Keep in mind that this tool generally allows you to plan one route at a time, unlike Google Maps, which often provides multiple alternatives.
Accessibility Considerations on the NYC Subway
Unlike many modern subway systems, not all NYC subway stations are equipped with elevators. If you are traveling with:
- Strollers
- Large luggage
- Wheelchairs
You should check for accessible stations in advance to avoid unnecessary difficulties.
References:
- MTA Official Website: https://new.mta.info
- Accessibility Information: https://new.mta.info/accessibility

Step 3: Determine the Subway Fare
Before entering the system, make sure you understand the NYC subway fare. The New York City Subway currently operates on a flat fare of USD $2.75 per ride, regardless of distance traveled.
However, additional costs may apply if you transfer to:
- PATH trains
- Buses
- Commuter rail services such as LIRR or Metro-North
Reference:
- MTA Fare Information: https://new.mta.info/fares
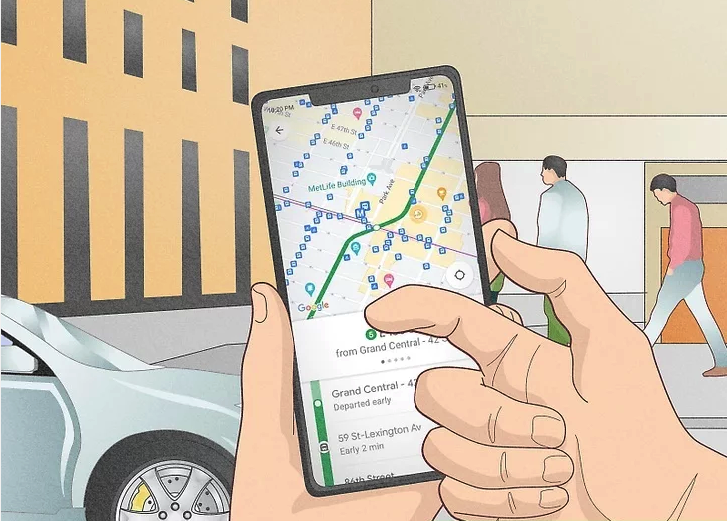
Step 4: Use Route-Planning Apps for Real-Time Navigation
Finally, rely on route-planning apps like Google Maps or similar services when traveling. Be sure to select the public transit option, as some apps may display alternatives such as buses or ride-share routes instead of the subway.
You can also use schedule explorers within these apps to better understand train frequency, service changes, and alternative routes during delays or late-night hours.
References:
- Google Transit Help: https://support.google.com/maps
- MTA Service Updates: https://new.mta.info/alerts
Part2 .At the Station

Step 1: Enter the NYC Subway Station
Begin your trip by going to the subway station closest to your starting point. You can use a mapping or navigation app to guide you there. NYC subway entrances are usually easy to identify and feature:
- Large green railings or glass banisters
- Stairs or escalators leading underground
- A sign displaying the station name
Accessible Subway Stations
Stations that are wheelchair-accessible will also have elevators that connect street level to the mezzanine or directly to the platform. If accessibility is important for your trip, it’s best to confirm this information in advance.
Reference:
- MTA Accessible Stations Map: https://new.mta.info/accessibility
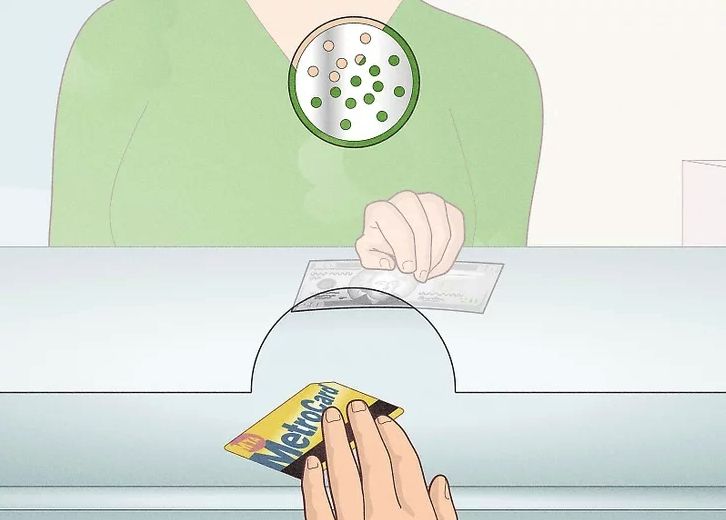
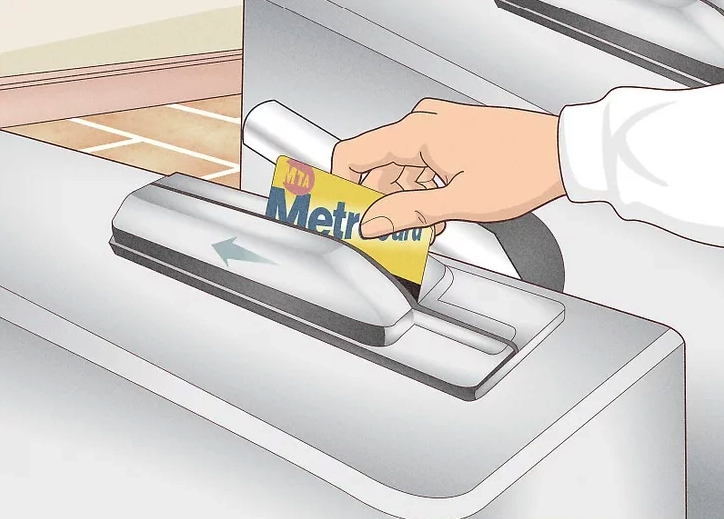
Step 2: Buy a Subway Ticket or Pay with Contactless
Once inside the station, purchase your fare before entering the turnstiles.
NYC Subway Ticket Options
Ticket machines are available at every station and accept:
- Cash and coins
- Credit and debit cards
You may also purchase a ticket directly from a station attendant, if one is present.
MetroCard and Contactless Payment
Subway tickets are sold based on the amount of money loaded onto a MetroCard. If your balance runs low, you can easily reload it at any ticket machine.
Many stations also support contactless payments, allowing you to tap:
- A debit or credit card
- A mobile wallet (such as Apple Pay or Google Pay)
References:
- MTA Fare Payment Options: https://new.mta.info/fares
- OMNY Contactless Payments: https://omny.info

Step 3: Check for Subway Service Alerts and Delays
Before passing through the turnstiles, take a moment to check for system-wide delays or service changes. These updates are published on the MTA’s official website under Service Status.
If there are major disruptions, you may need to plan an alternate route or allow extra travel time.
Reference:
- MTA Service Status: https://new.mta.info/alerts
Step 4: Enter Through the Turnstile
To enter the subway system, swipe your MetroCard or tap your contactless payment method at the entrance reader. If your card has sufficient balance, the turnstile will unlock, allowing you to pass through.
Assistance for Wheelchair Users
If you are using a wheelchair or cannot pass through a standard turnstile, ask a station attendant for assistance. After payment, they will open the emergency exit gate so you can enter safely.
Reference:
- MTA Accessibility Guide: https://new.mta.info/accessibility
Part3 .Taking the Train

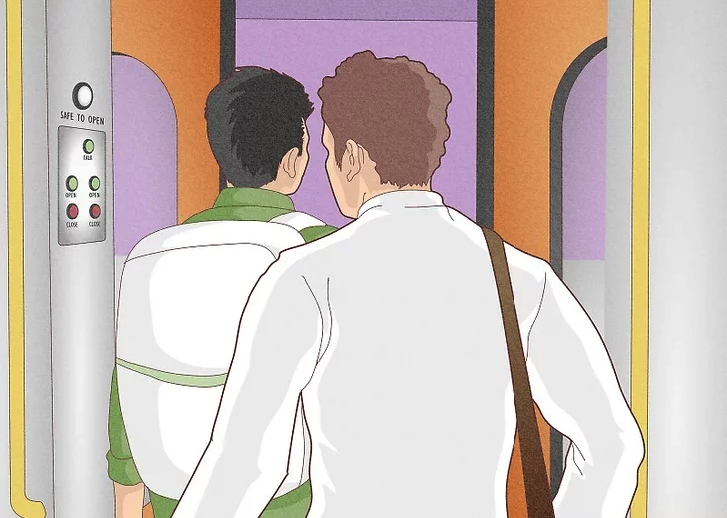
Step 1: Board the Correct NYC Subway Train
Once inside the station, make sure you board the correct subway train heading toward your destination. Because the New York City Subway covers nearly the entire city, reaching some destinations may require multiple transfers.
Understanding Local and Express Trains
NYC subway service is generally divided into local and express trains:
- Local trains stop at every station along the line and typically run on the outer tracks.
- Express trains skip some stations and usually run on the inner tracks, allowing for faster travel.
Some trains operate as express only during certain hours. These trains are often marked with a diamond symbol on station signs and train displays.
Example: The 2 train (Van Cortlandt Park–242nd Street / Flatbush Avenue–Brooklyn College) runs express on the Seventh Avenue Line but operates as a local train on the Eastern Parkway Line.
Understanding these differences will help you avoid missing your stop.
References:
- MTA Subway Map & Service Guide: https://new.mta.info/maps
- NYC Subway Line Descriptions: https://new.mta.info/schedules

Step 2: Follow NYC Subway Train Etiquette
Practicing proper subway etiquette helps keep the system running smoothly and makes the ride more comfortable for everyone.
Basic Subway Etiquette Rules
- Do not block the doors. Step fully into the car and avoid standing in the doorway.
- Never force your way through closing doors, especially with bicycles or large items.
- Jammed doors delay trains and can disrupt service for other passengers.
Priority Seating and Courtesy
By federal law, seats closest to the doors must be made available to:
- Elderly passengers
- Pregnant women
- Passengers with disabilities
Please give up these seats when requested. If other seats are available, use them to avoid having to move later.
Standing and Personal Space
- Seating is limited, and some subway cars may be standing-room only.
- Keep bags, backpacks, and personal items off empty seats.
- Do not lean against train doors or attempt to move between cars while the train is in motion.
Reference:
- MTA Subway Rules & Rider Etiquette: https://new.mta.info/rules
Step 3: Exit the Train at Your Station
When approaching your destination, prepare to exit the train promptly.
Platform Layouts to Be Aware Of
- Smaller stations often have one shared platform serving trains in both directions.
- Larger stations may feature multiple platforms, sometimes spread far apart or serving different subway lines.
Missed Your Stop?
If you miss your station, stay calm. Simply exit at the next station and take a train going in the opposite direction back to your destination.
Reference:
- NYC Subway Station Layouts: https://new.mta.info/stations
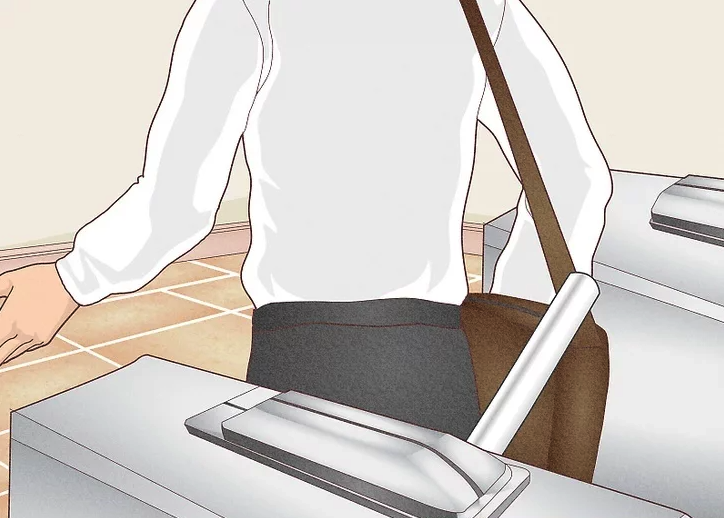
Step 4: Exit the Subway Station
After leaving the train, follow signs to exit the station. You will pass through turnstiles similar to those used when entering.
Station Exit Tips
- Some stations only allow exit through specific turnstiles.
- These exits often connect directly to stairs or escalators leading to street level.
Pay attention to signage to ensure you exit on the correct side of the street.
Reference:
- MTA Station Navigation Guide: https://new.mta.info/guides