How to Create a Successful Artist Portfolio is essential whether you’re applying to art school, seeking opportunities to exhibit in a gallery, or simply wanting to present your creative work in a professional way. A strong portfolio allows you to highlight your best pieces and express your artistic identity clearly. Although requirements can differ depending on your goals, there are proven strategies that can help your portfolio stand out. Read on as we guide you through what to include, how to present your work online, and why every artist should have a well-crafted portfolio.
Choosing and Organizing Pieces for an Art Portfolio
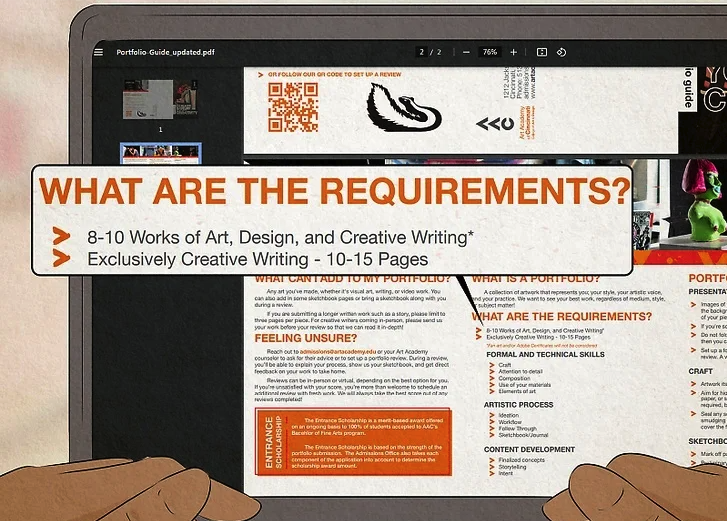
Step 1: Check the portfolio requirements
Before you begin, review the submission guidelines for the art school, gallery, or institution you’re applying to. Requirements may include specific mediums, sizes, formats, or a set number of pieces.
Step 2: Choose finished pieces that show technical skill
Select clean, fully finished works that demonstrate strong linework, shading, composition, and perspective. Avoid smudged, unfinished, or poorly presented pieces. If allowed, include a few sketches or process drawings to show how you develop ideas.
Step 3: Highlight your personal style
Choose artwork that reflects your unique perspective and artistic voice. Your portfolio should feel cohesive and recognizable as your own. Avoid fan art or copies of other artists’ work—focus on original ideas.
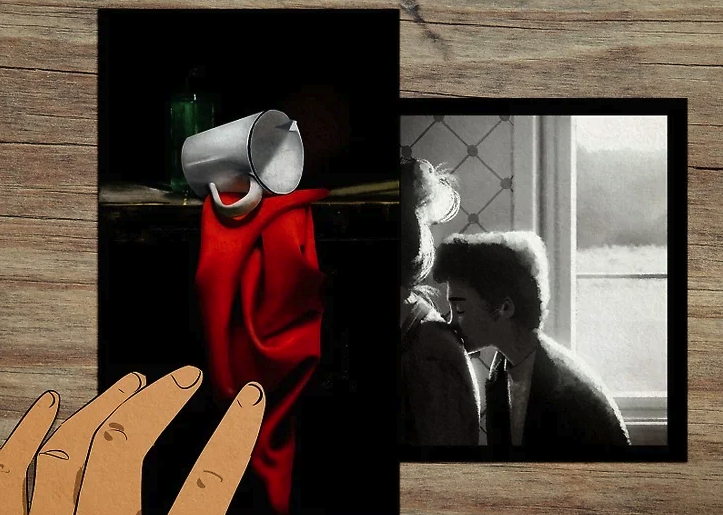
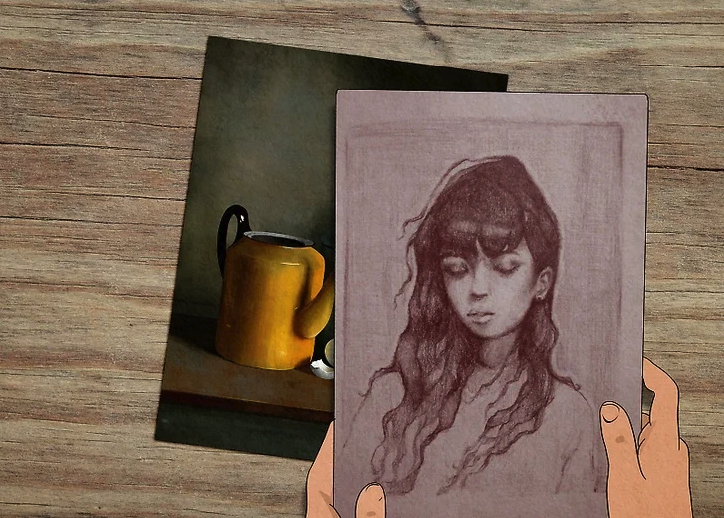
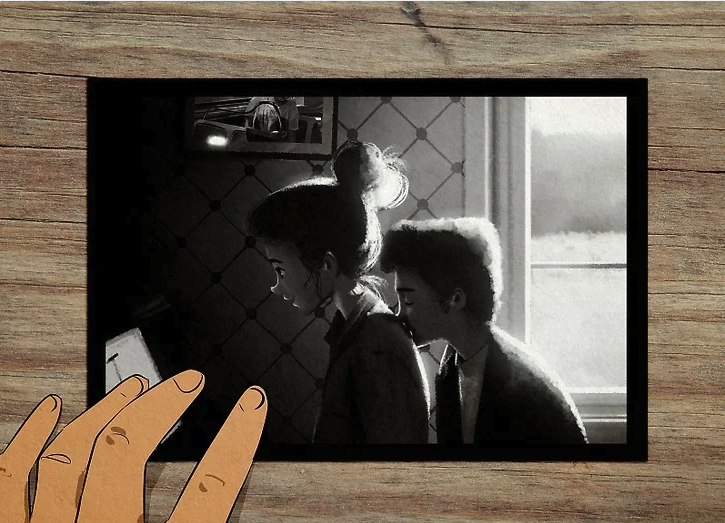
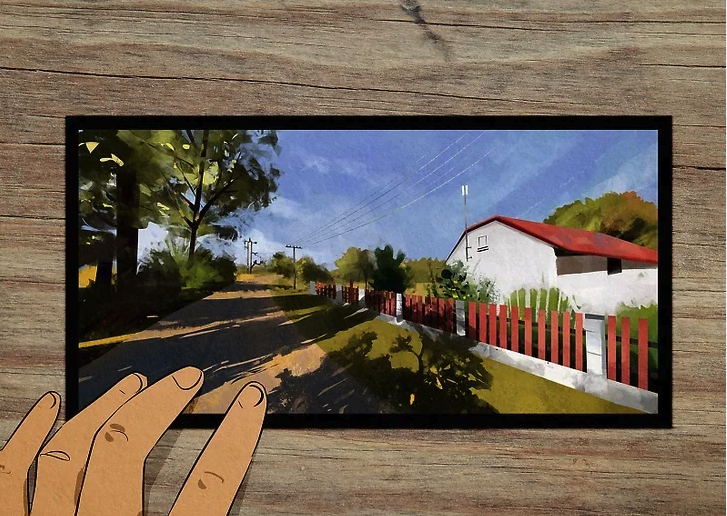
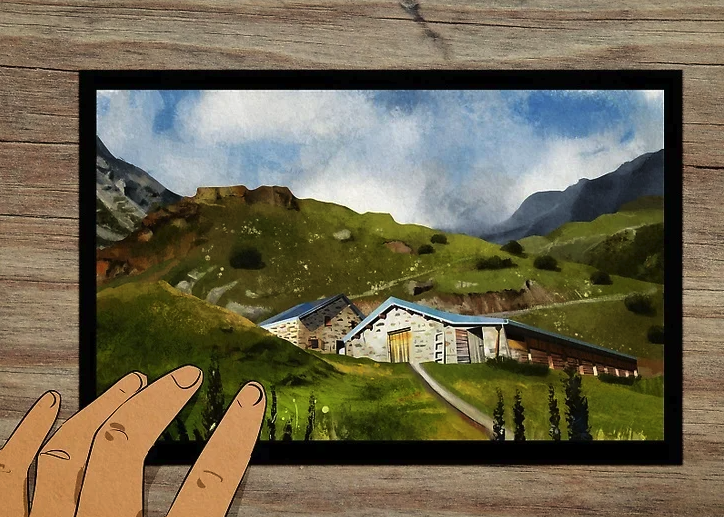
Step 4: Include a variety of subjects and mediums
Show versatility by including different subjects such as portraits, still lifes, and landscapes, as well as multiple mediums like drawing, painting, photography, or digital art.
Step 5: Add observational drawings
Include drawings made from real-life subjects rather than photos. Observational work demonstrates your understanding of proportion, form, and perspective, and shows how you interpret the world around you.
Step 6: Emphasize the direction you want to pursue
Prioritize work related to the field or style you want to continue developing, such as graphic design, fashion, or animation, while still showing some range.
Step 7: Limit your portfolio to 12–20 pieces
Aim for 12–20 of your strongest works. Including too many pieces can weaken your portfolio, while too few may not show enough range. Always follow official submission limits.
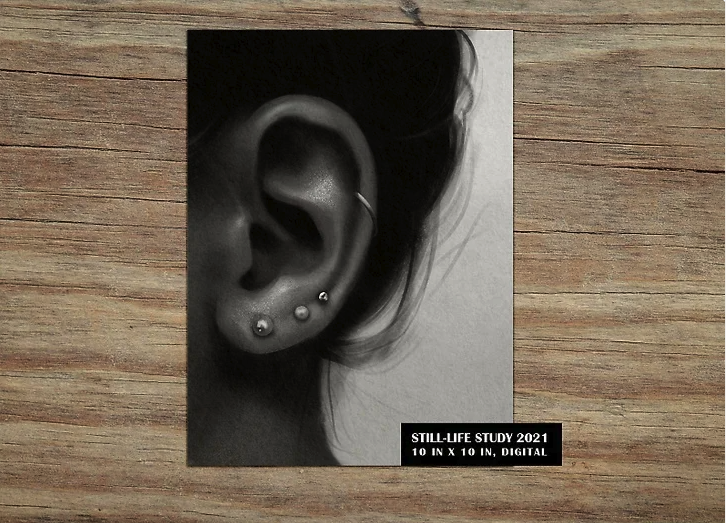
Step 8: Label each artwork clearly
Give each piece a title (or “Untitled”), and include the year, dimensions, and medium. Clear labeling makes your work easier to understand and reference.

Step 9: Write short artist statements
For each piece, write a brief paragraph explaining your inspiration, process, and challenges. Keep your writing clear, concise, and free of grammar errors.
Step 10: Arrange your work strategically
Start with your strongest pieces and place older or weaker works toward the end. Organize your portfolio so the flow of style, color, and concept feels intentional.
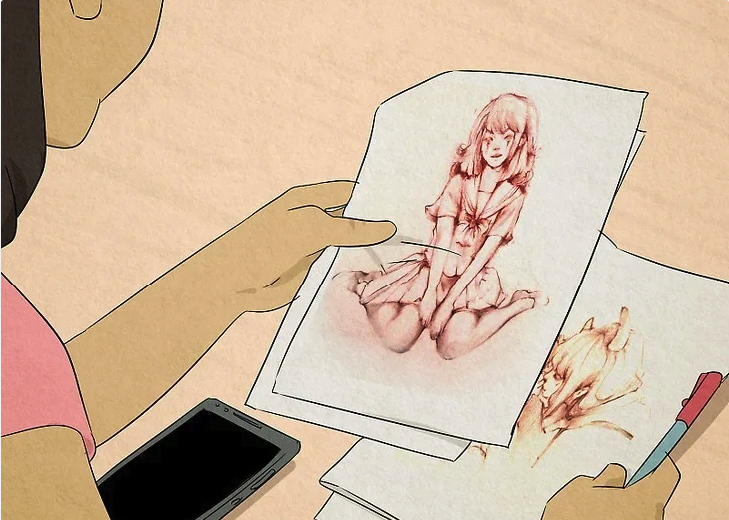
Step 11: Get feedback from others
Ask friends, teachers, or other artists to critique your portfolio honestly. Use their feedback to identify your strongest work and remove weaker pieces.
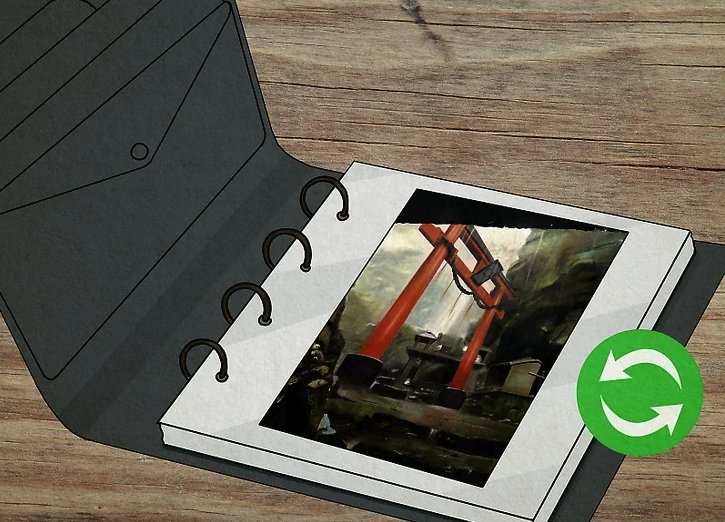
Step 12: Update your portfolio regularly
Revise your portfolio as you create new work. Replace older pieces with stronger ones and update it every few months to keep it current.
Making an Online Art Portfolio
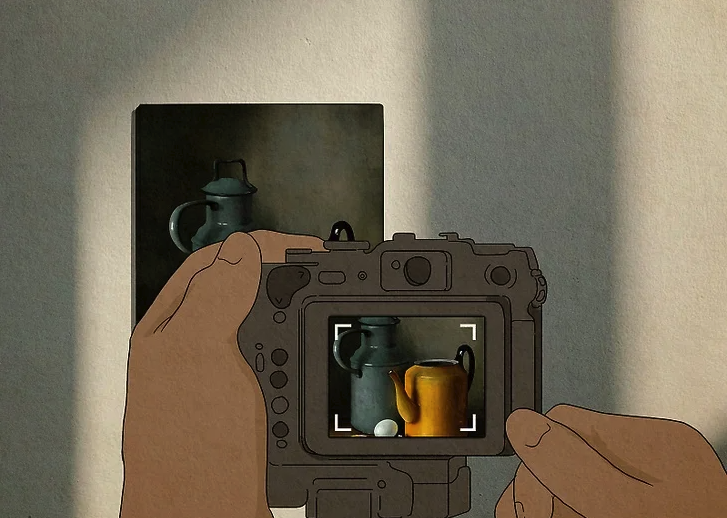
Step 1: Take clear, high-resolution photos of your artwork
Photograph physical artwork in a well-lit space using natural light or studio lights. Place your work on a flat surface or against a plain wall, and use a digital camera for the best quality.
- Scan smaller drawings or paintings to achieve higher resolution
- Export digital artwork at the highest available resolution to ensure clarity
🔗 Outbound link:
- Photographing Artwork for Portfolios
https://www.format.com/magazine/resources/art/photographing-artwork
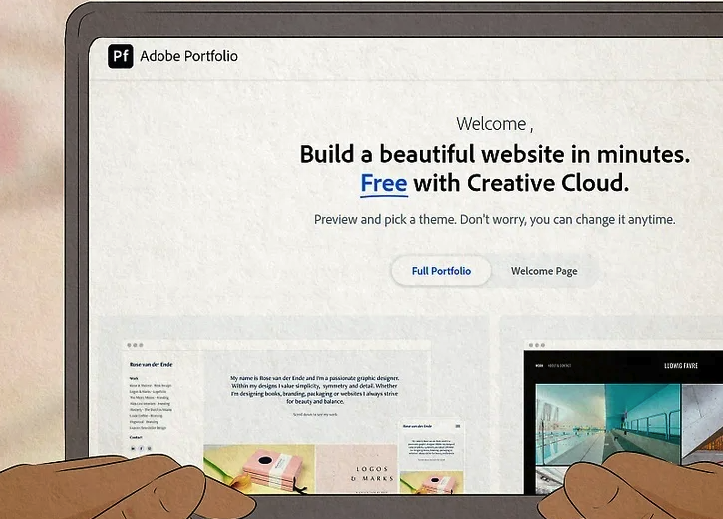
Step 2: Choose a hosting service for your portfolio website
A dedicated portfolio website gives you more control than social media. Popular portfolio platforms include:
- Adobe Portfolio – Free with Adobe Creative Cloud
- Wix – Free plans with customizable templates
- Squarespace – Professional designs with high flexibility
- Behance – Community-based platform with likes and comments
- Format – Built specifically for professional artists
- Dribbble – Ideal for graphic design and UI concepts
🔗 Outbound link:
- Best Portfolio Websites for Artists
https://www.creativebloq.com/web-design/portfolio-websites-121310
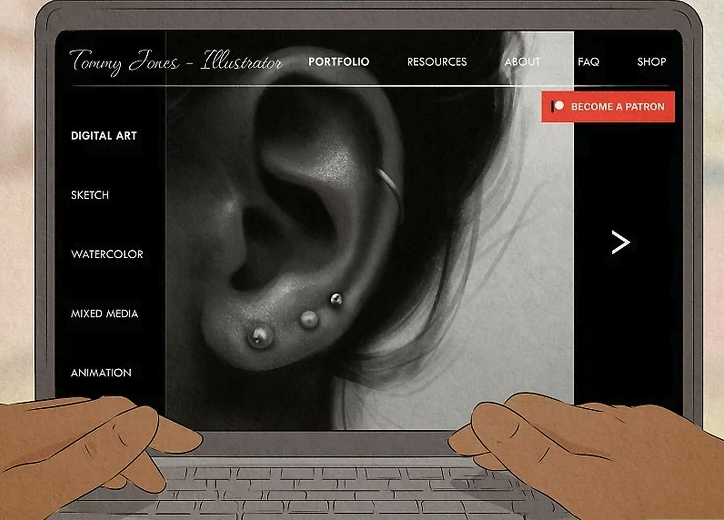
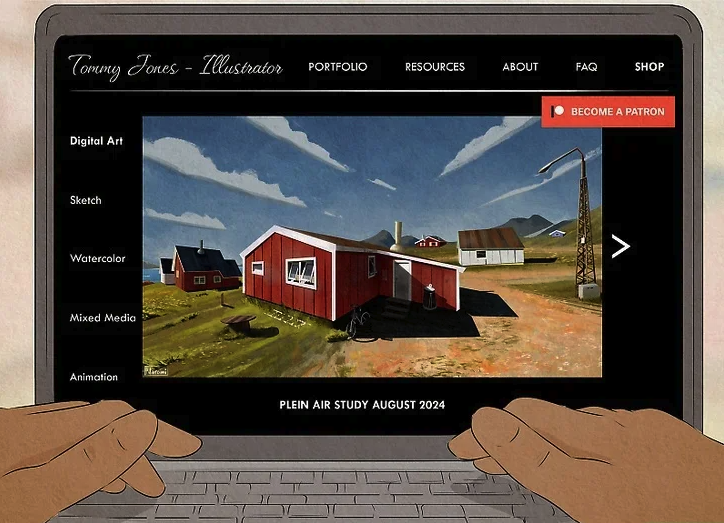
Step 3: Create an eye-catching and easy-to-use homepage
Your homepage should immediately show who you are and what you do. Include a strong hero image, your name, and your primary art focus. Add a clear navigation menu at the top of the page.
Example:
- “Tommy Jones – Illustrator”
- “Lynn Wilson – Photographer”
Look at portfolios from artists you admire for layout inspiration.
🔗 Outbound link:
- Artist Portfolio Homepage Tips
https://www.artworkarchive.com/blog/what-makes-a-great-artist-website
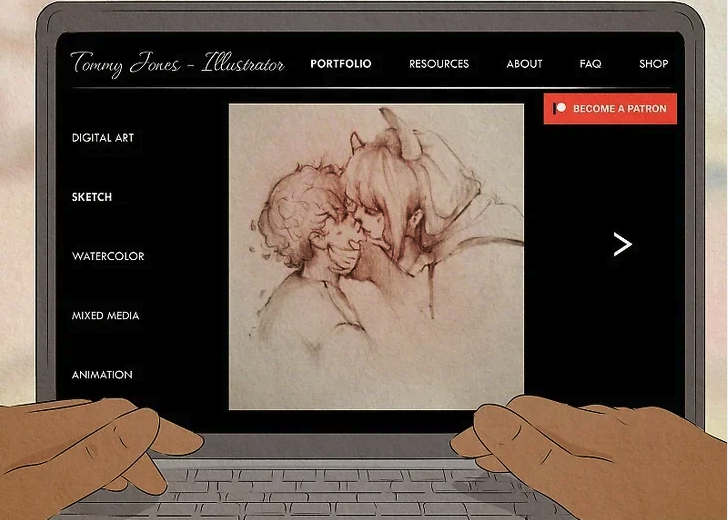
Step 4: Organize artwork by medium or technique
Group your best work into gallery pages based on medium, style, or technique so visitors can browse easily.
Examples:
- Illustration: Traditional / Digital
- Animation: 2D / 3D / Motion Graphics / Character Design
This structure improves both user experience and professionalism.
🔗 Outbound link:
- Organizing an Online Art Portfolio
https://www.studentartguide.com/articles/online-art-portfolios
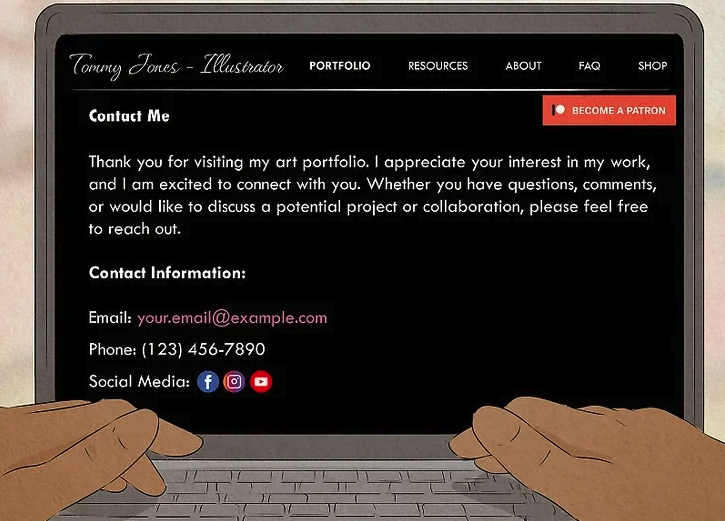
Step 5: Add a contact page
Include a contact page with your email address, social media links, and a contact form. This makes it easy for clients, galleries, or schools to reach you.
You may also add a short About Me section with a photo and brief bio.
🔗 Outbound link:
- What to Include on an Artist Contact Page
https://www.format.com/magazine/resources/art/artist-website-contact-page
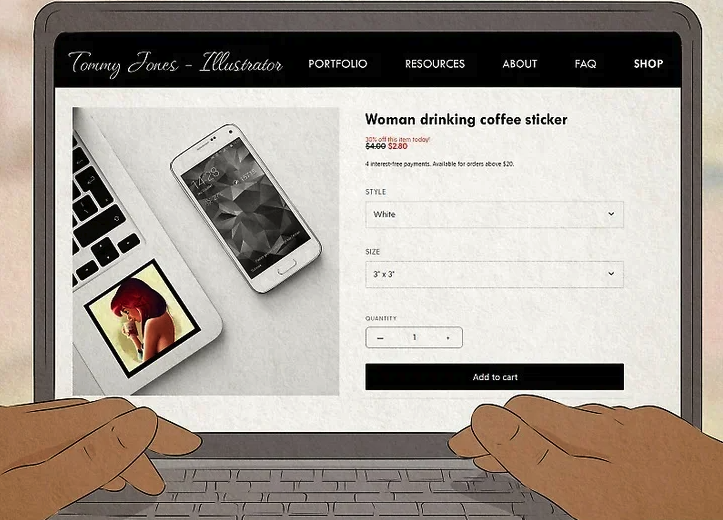
Step 6: Add an online shop if you sell artwork
If you plan to sell your work, include a shop page or link to an external store such as Etsy or Shopify. Many website builders offer built-in e-commerce tools.
- Consider selling prints if originals are unavailable
- Clearly list prices, sizes, and shipping information
🔗 Outbound link:
- Selling Art Online: A Beginner’s Guide
https://www.shopify.com/blog/sell-art-online
Step 7: Update your portfolio regularly
Refresh your portfolio with new work as you improve and grow as an artist. Remove older or weaker pieces so your site always reflects your current skill level.
Updating your portfolio every few months keeps it relevant and professional.
🔗 Outbound link:
- How Often Should Artists Update Their Portfolio
https://www.theartcareerproject.com/maintaining-an-art-portfolio/