How to Remove Echo from Audio ,This guide will show you how to eliminate or reduce echo and reverb from an audio file. Most digital audio workstations come with built-in tools and effects that make it possible to clean up unwanted echo or reverberation.
Method1 .Adobe Audition
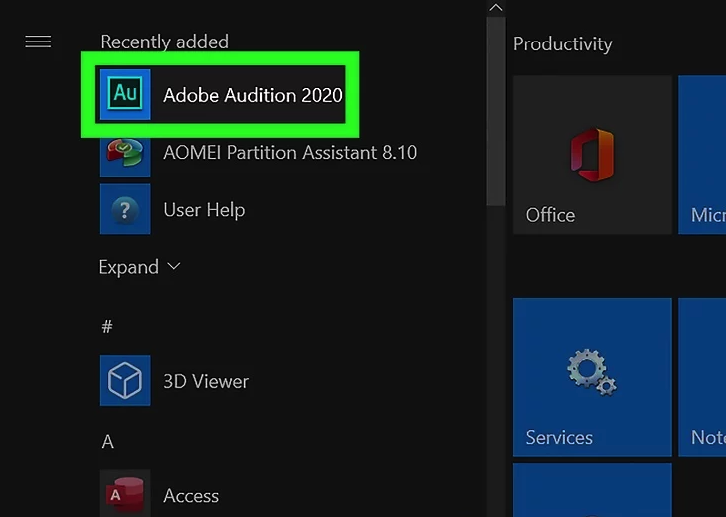
1. Open Adobe Audition
- Locate the Adobe Audition icon (green square with “Au”) and click to open.
- Adobe Audition requires a subscription. You can get it from the Adobe Audition official website.
- Note: The DeReverb effect is only available in newer versions. Older versions can use third-party DeReverb plugins like iZotope RX DeReverb.
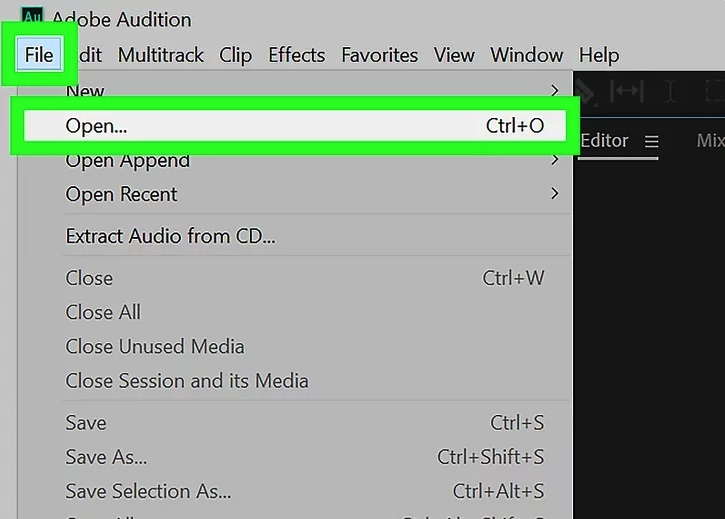
2. Open the Audio File
- Click File → Open in the menu bar.
- Select the audio file you want to edit. Audition supports formats like MP3, WAV, AIFF, FLAC, OGG, and FFmpeg files.
- Click Open to import the file.
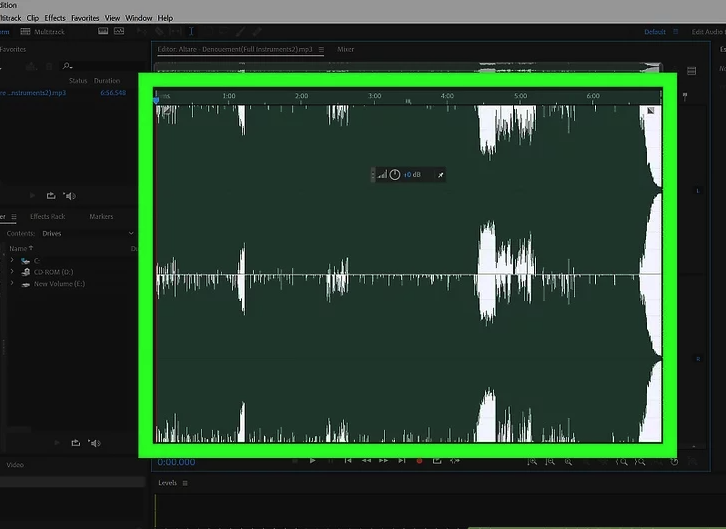
3. Select the Entire Audio
- Double-click the waveform to select the entire audio file.
- Or click and drag to select a portion you want to process.
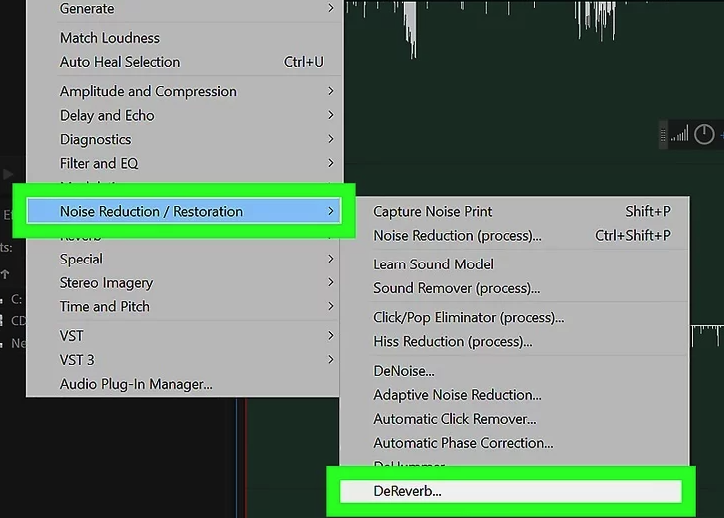
4. Select the DeReverb Effect
- Click Effects → Noise Reduction/Restoration → DeReverb to open the DeReverb window.
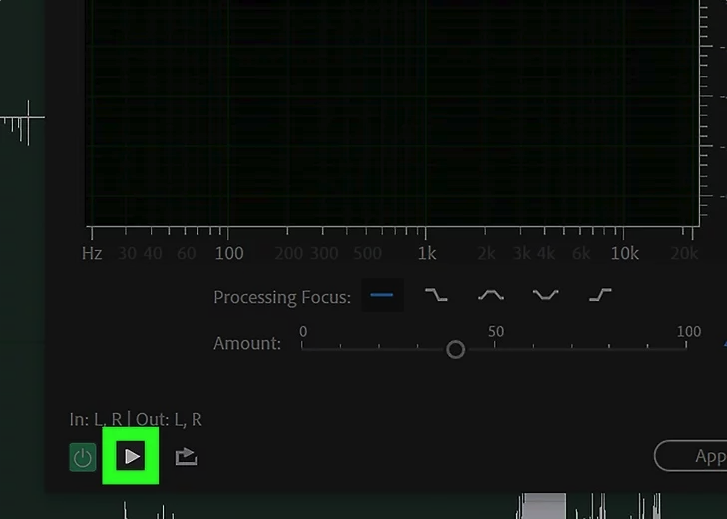
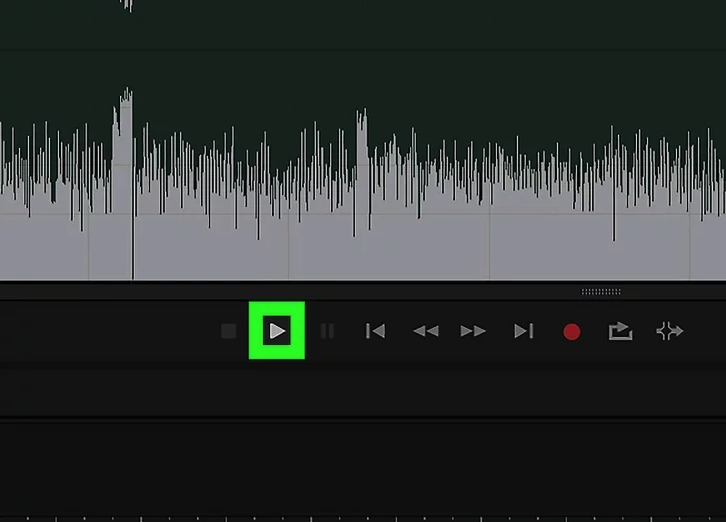
5. Preview the Audio with DeReverb
- Click the Play icon in the lower-left corner of the DeReverb window to hear the audio with DeReverb applied.
- You can also click the power button to toggle the effect on/off to compare before and after.
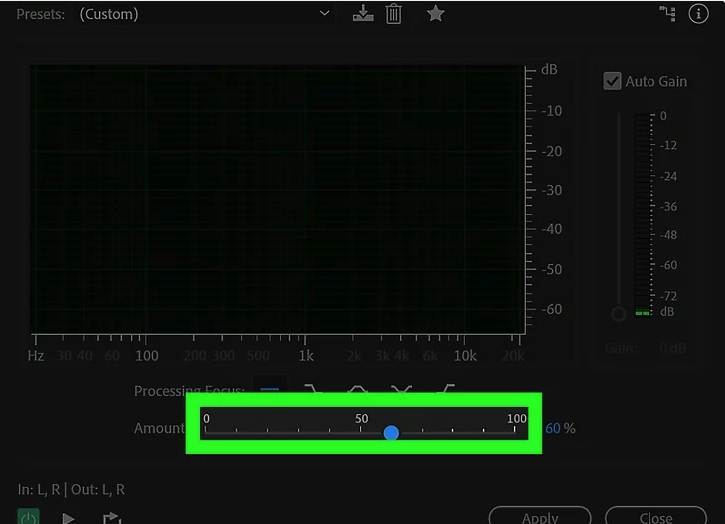
6. Adjust the DeReverb Amount
- Drag the Amount slider at the bottom of the DeReverb window to control the intensity.
- Applying too much DeReverb may degrade audio quality, while too little will leave residual echo.
- Preview the audio after adjusting to ensure it sounds natural.
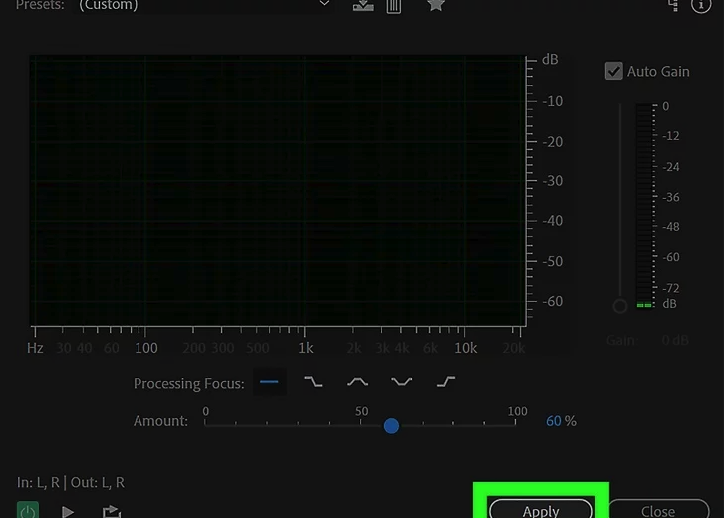
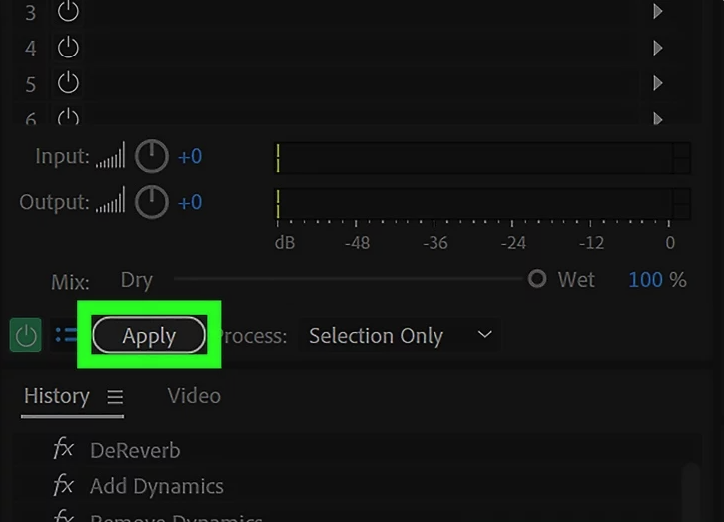
7. Apply the DeReverb Effect
- Once satisfied with the amount, click Apply in the lower-right corner of the DeReverb window.
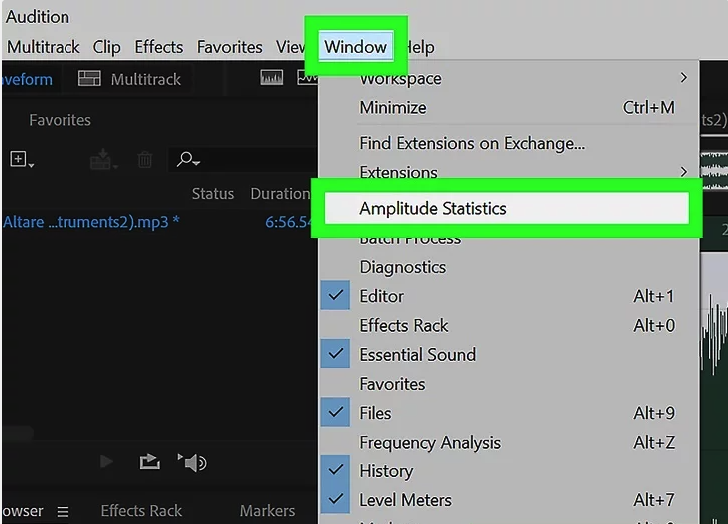
8. Open the Amplitude Statistics Window
- Click Window → Amplitude Statistics in the top menu.
- Click Scan Selection in the lower-left corner to analyze the audio.
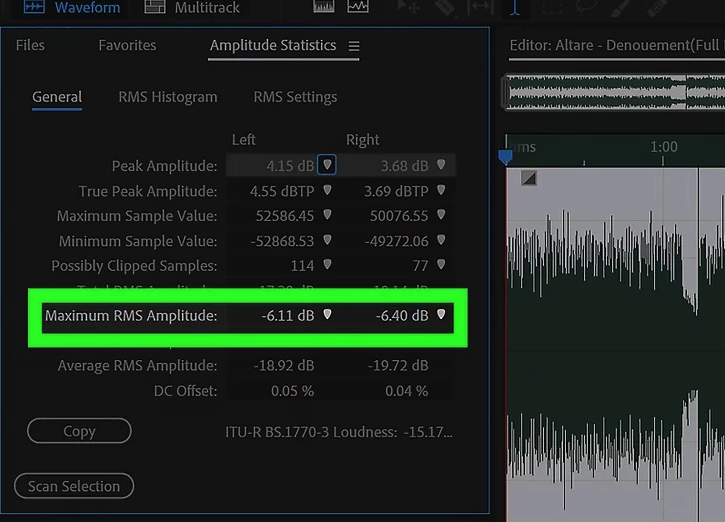
9. Note the Average RMS Amplitude
- Under the General tab of the Amplitude Statistics window, note the Average RMS Amplitude.
- You will use this value for the AutoGate threshold in Dynamics.
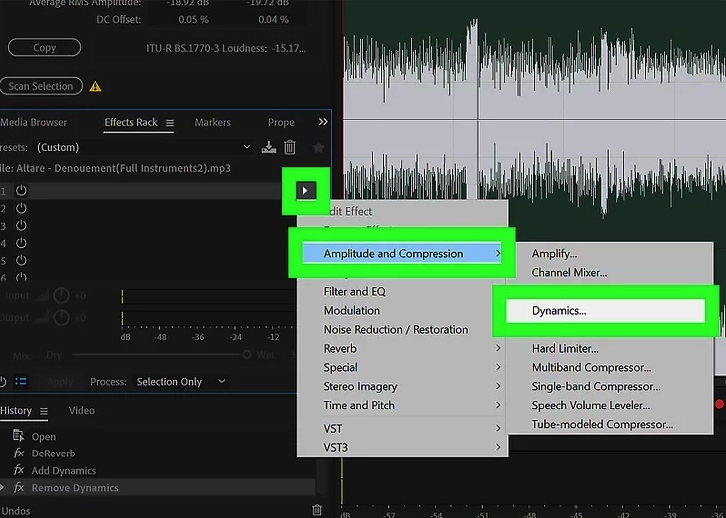
10. Add the Dynamics Effect
- Click Effects → Amplitude and Compression → Dynamics to open the Dynamics window.
- Dynamics includes a noise gate to limit sound between spoken words.
- If your Audition version is old, you can use third-party noise gate plugins compatible with most DAWs.
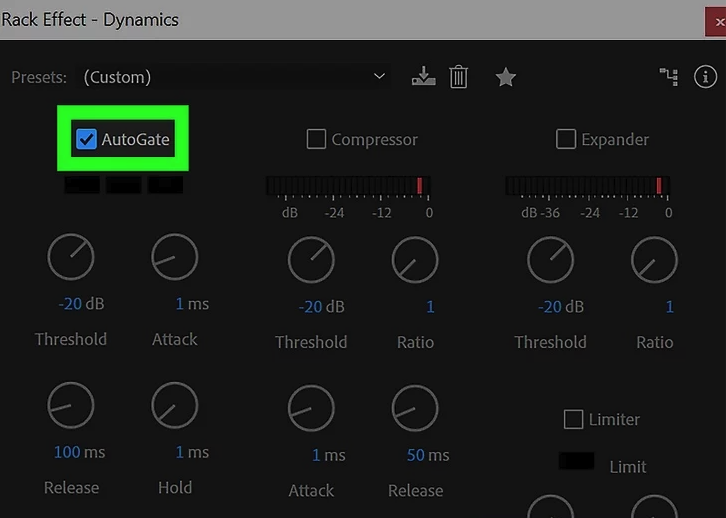
11. Enable AutoGate
- In the Dynamics window, check the AutoGate box on the left side.
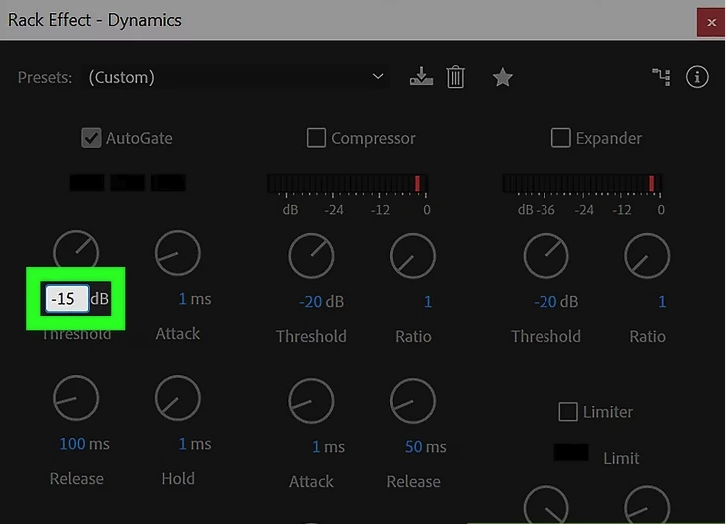
12. Set the Threshold
- Set the Threshold to the Average RMS Amplitude recorded earlier.
- You can type the number directly below the Threshold knob and round up if necessary.
13. Preview the Audio with Dynamics
- Click the Play icon in the lower-left corner of the Dynamics window to hear the audio with AutoGate applied.

14. Adjust Hold and Release Times
- If AutoGate is cutting off parts of speech, increase the Hold time by dragging the knob.
- Optionally, decrease the Release time to 50 ms for smoother transitions.
- Preview and adjust until background noise is removed without affecting spoken words.
15. Apply the Dynamics Effect
- Once satisfied with the AutoGate settings, click Apply in the lower-left corner of the Dynamics window.
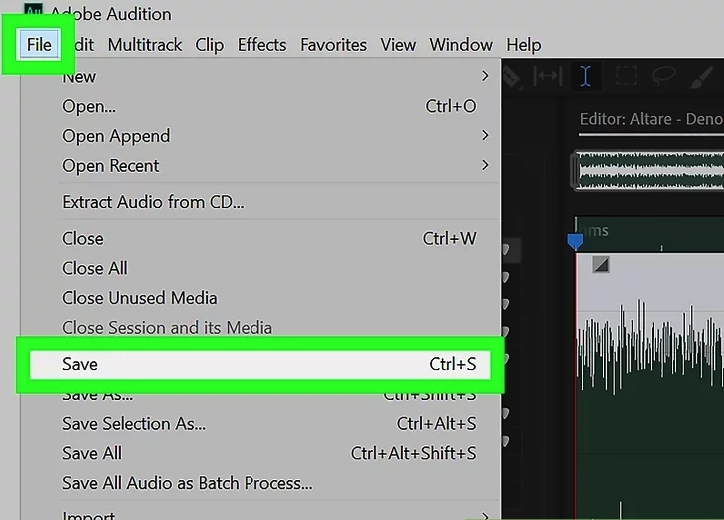
16. Export the Audio
- Click File → Save As.
- Enter a new filename to avoid overwriting the original file.
- Select the desired format (AIFF, MP3, WAV, QuickTime, etc.).
- Click Save to export the processed audio.
Tips
- Always preview changes after adjusting sliders to ensure audio quality.
- For older Audition versions, third-party plugins like Accusonus ERA DeReverb can be used for noise reduction.