How to Brush a Dog's Teeth
Dental disease is common in dogs, but a calm, gradual routine can make brushing part of the day instead of a struggle. Learn how to introduce the toothbrush, brush safely, and know when to call your vet.

Co-authored by:
Dr. Marcus Reed, DVM
Veterinarian & Preventive Care Lead
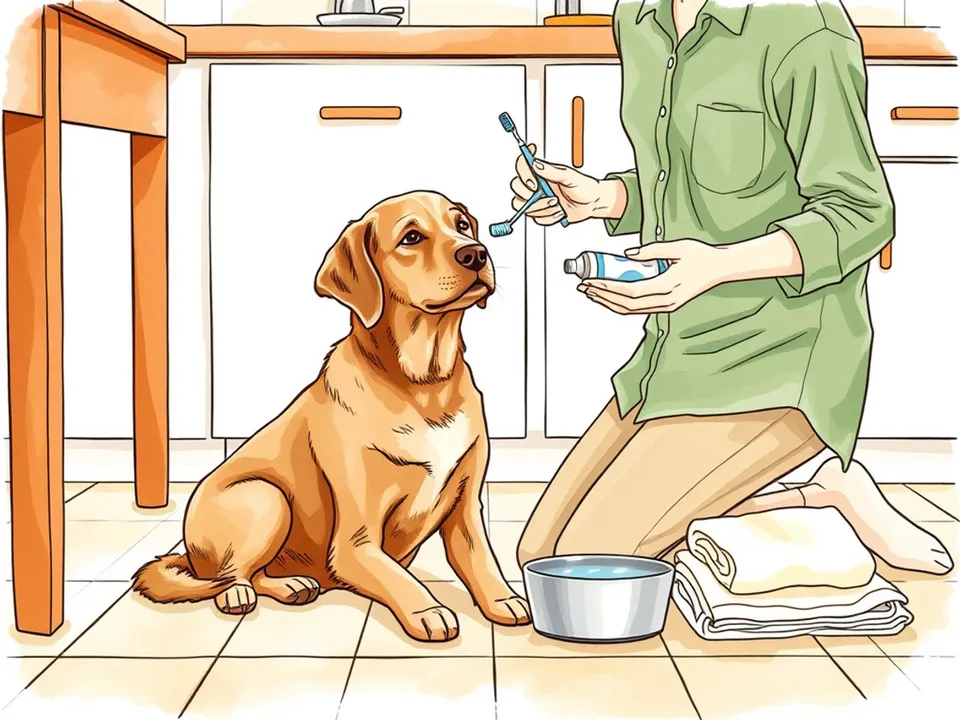
Steps
3 methods · 12 steps · 12 illustrationsPart 1 of 3
Prepare Your Dog and Your Kit
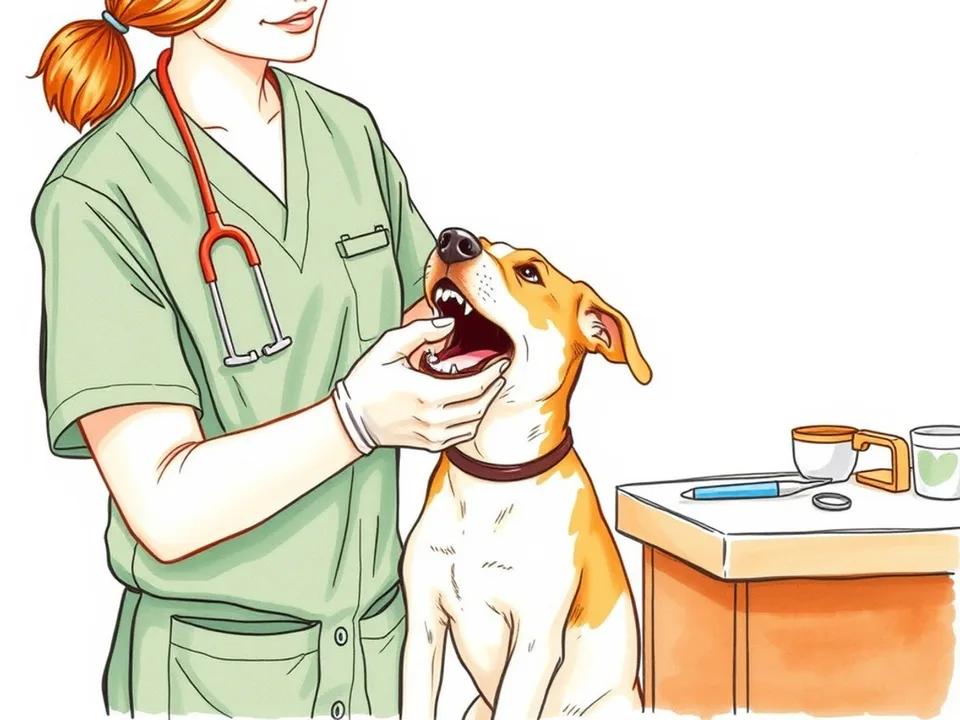 Step 1 / 12
Step 1 of 12: Ask your vet before you start 1Ask your vet before you start
Book a dental check before you begin a new brushing routine, especially if your dog has bad breath, red gums, loose teeth, or pain when eating. A vet can check for tartar, gum disease, broken teeth, and growths, and can tell you whether brushing is safe or whether a professional cleaning is needed first.
Ask the vet to show you how to lift the lip and where the gumline sits. If your dog has a painful mouth, brushing at home can make the problem worse. This guide is general information, not a diagnosis; your vet knows your dog’s mouth.
Tip: A sudden refusal to eat, drooling, or pawing at the mouth is a reason to call the vet, not to push the brush.
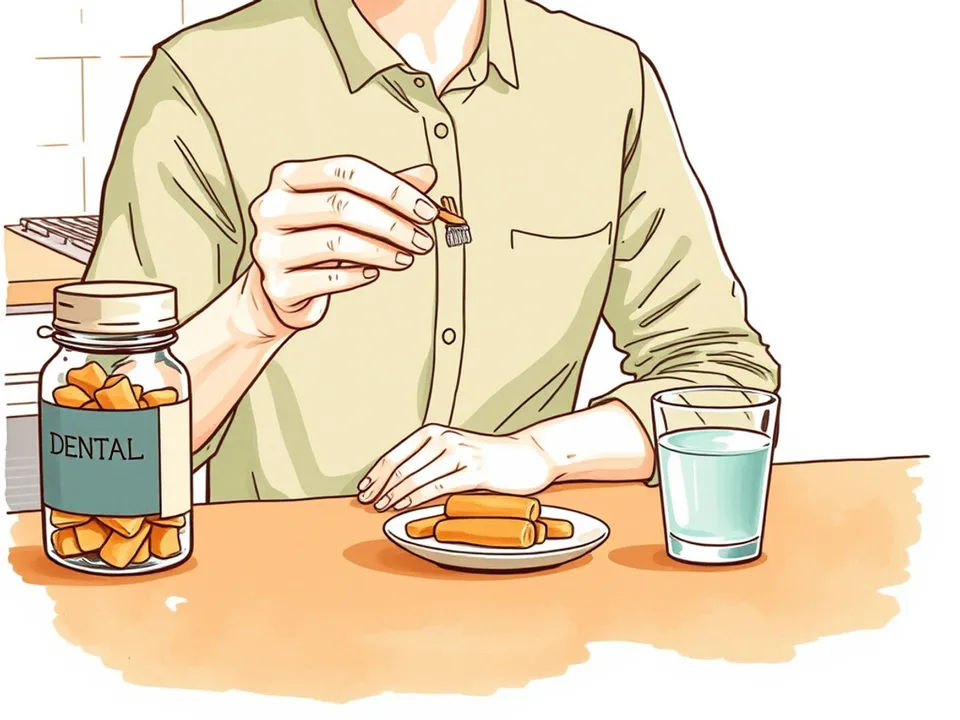 Step 2 / 12
Step 2 of 12: Choose dog-safe toothpaste and a soft brush 2Choose dog-safe toothpaste and a soft brush
Use toothpaste made for dogs, in a flavour your dog likes, such as poultry or vanilla. Never use human toothpaste: it may contain fluoride, which dogs should not swallow, or xylitol, which is toxic to dogs. Choose a soft-bristled dog toothbrush, a finger brush, or a piece of clean gauze wrapped around your finger.
A brush with a small head is easier to reach the back teeth. If your dog has a small mouth, a finger brush may be less intimidating. Replace the brush every three months, or sooner if the bristles are frayed or the dog has been ill.
Tip: Check the label for xylitol and keep all toothpaste, including dog toothpaste, out of reach.
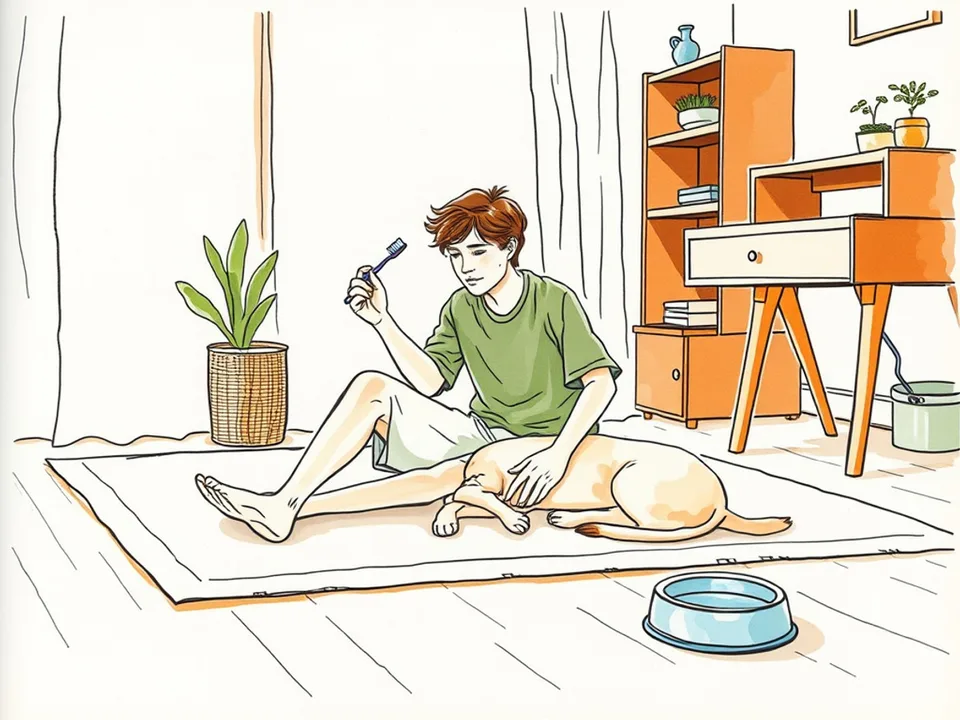 Step 3 / 12
Step 3 of 12: Find a calm time and place 3Find a calm time and place
Choose a time when your dog is relaxed, such as after a walk or before a meal, and a quiet room with a non-slip surface. Sit on the floor beside your dog rather than standing over them. Keep the first sessions short and stop before your dog pulls away.
Use the same place and the same phrase each time, such as “tooth time”, so the dog knows what is coming. Keep treats nearby and remove distractions like other pets or a ringing doorbell. If your dog is anxious, ask your vet or a qualified trainer for help.
Tip: Do not corner a nervous dog. A dog who feels trapped is more likely to snap.
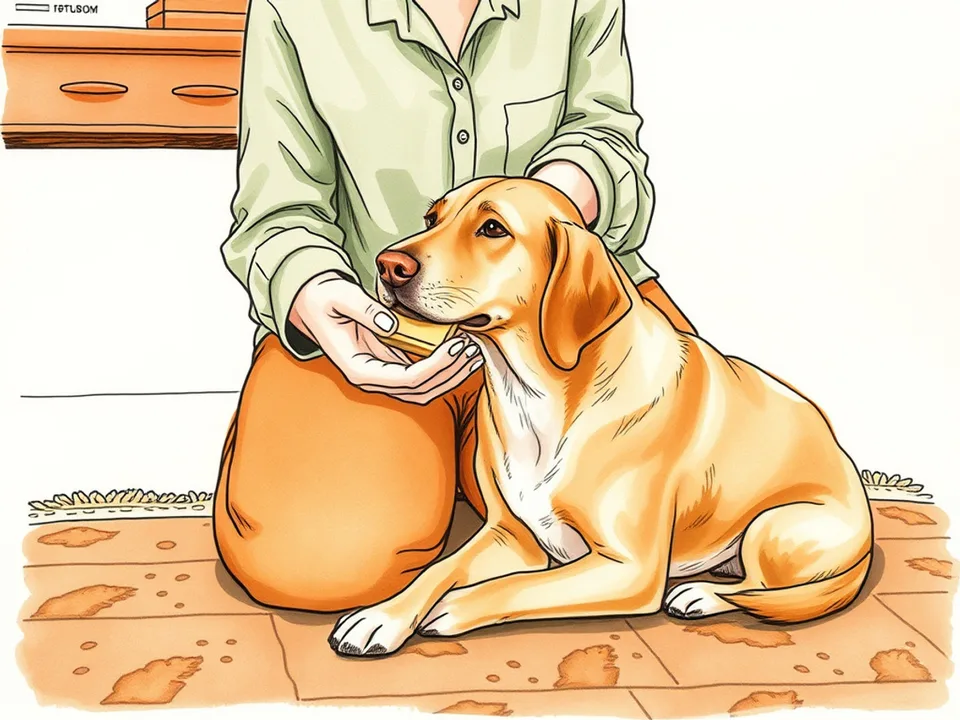 Step 4 / 12
Step 4 of 12: Build touch tolerance first 4Build touch tolerance first
Before you introduce the brush, spend a few days touching your dog’s muzzle, lifting the lip for a second, and looking at the front teeth. Pair each touch with a treat and stop while the dog is still comfortable. Work at the dog’s pace; a puppy may accept this quickly, while an older dog may need several short sessions.
Teach a chin rest or a gentle head hold, and reward your dog for staying still. Never force the mouth open or hold the muzzle shut. If your dog growls, freezes, or tries to leave, end the session and try again later with less handling.
Tip: A lick of dog-safe toothpaste from your finger can make the first introduction positive.
Part 2 of 3
Brush the Teeth Safely
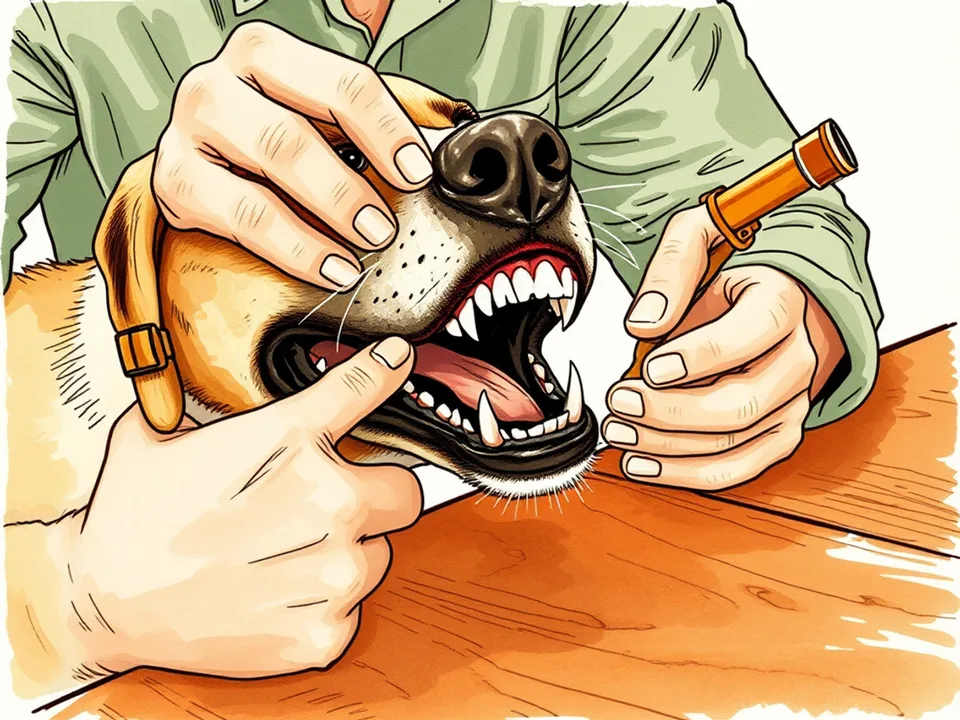 Step 5 / 12
Step 5 of 12: Lift the lip and check the mouth 5Lift the lip and check the mouth
With your dog calm, gently lift the lip on one side and look at the teeth and gums. Check for yellow-brown tartar, red or swollen gums, bleeding, broken teeth, and anything stuck between the teeth. The gumline is where plaque collects, so note whether the gums look irritated.
If you see a painful area, stop and call your vet. Do not try to scrape tartar off with a fingernail or a metal tool; you can damage the enamel or push bacteria into the gums. A quick look before brushing helps you notice changes early.
Tip: Take a photo of the teeth and gums every few months so you can compare changes.
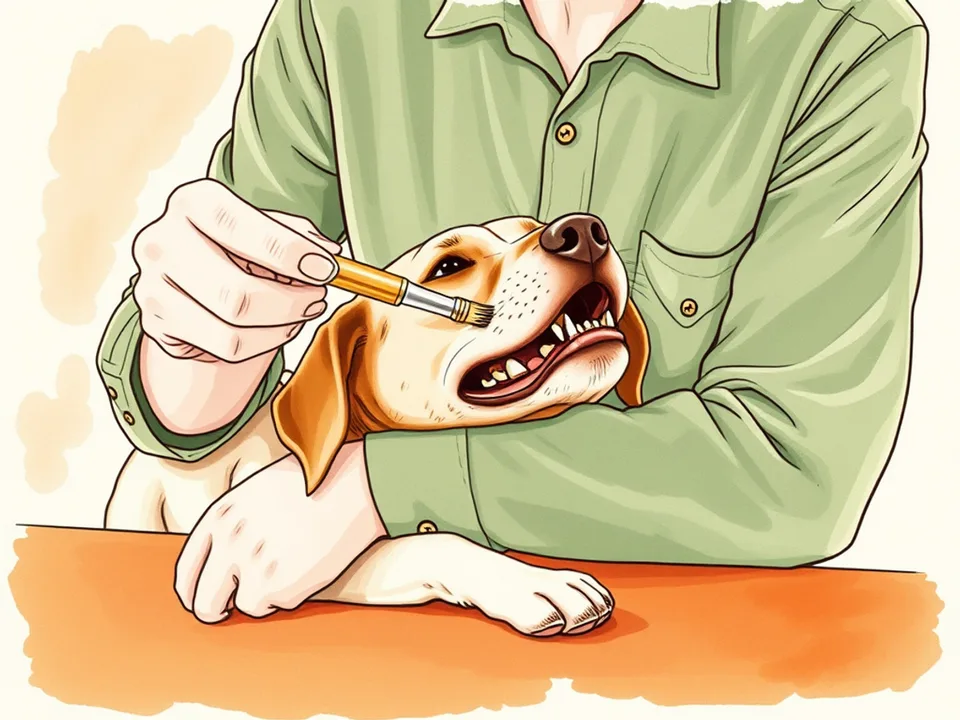 Step 6 / 12
Step 6 of 12: Brush the outer surfaces first 6Brush the outer surfaces first
Put a small amount of dog toothpaste on the brush and gently brush the outside of the teeth, starting at the back and moving forward. Hold the brush at about a 45-degree angle to the gumline and use small circular motions. The outside surfaces are where plaque is most visible, and they are the easiest place to start.
You do not need to brush the inside surfaces as thoroughly; the dog’s tongue helps clean them. Work in short sections and praise calmly. If your dog licks the toothpaste, that is fine; the goal is a positive first experience, not a perfect clean.
Tip: Use gentle pressure. You are cleaning the gumline, not scrubbing a floor.
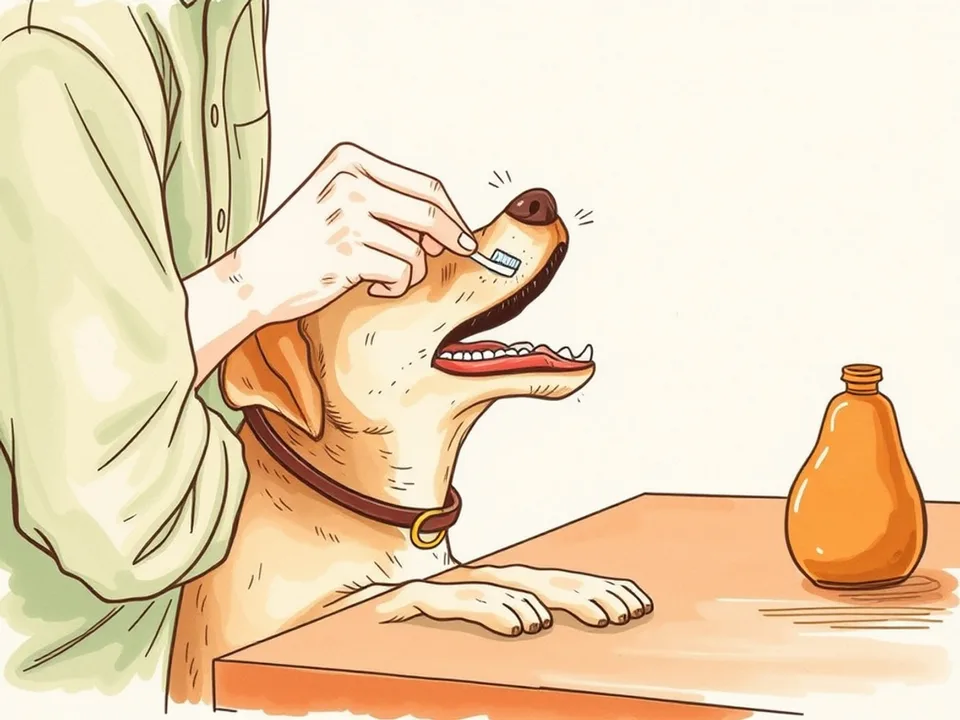 Step 7 / 12
Step 7 of 12: Reach the back teeth and gumline 7Reach the back teeth and gumline
Lift the lip a little further to reach the large back teeth, where tartar often builds up. Use the tip of the brush or a finger brush and make a few small circles along the gumline. If your dog pulls away, go back to an easier tooth and finish on a positive note.
Do not push the brush into the back of the mouth or force the jaw open. If your dog has a small mouth, a finger brush may reach further back with less pressure. Over several sessions, you can gradually increase the number of teeth you brush.
Tip: The back molars often need the most attention, but they are also the hardest to reach; go slowly.
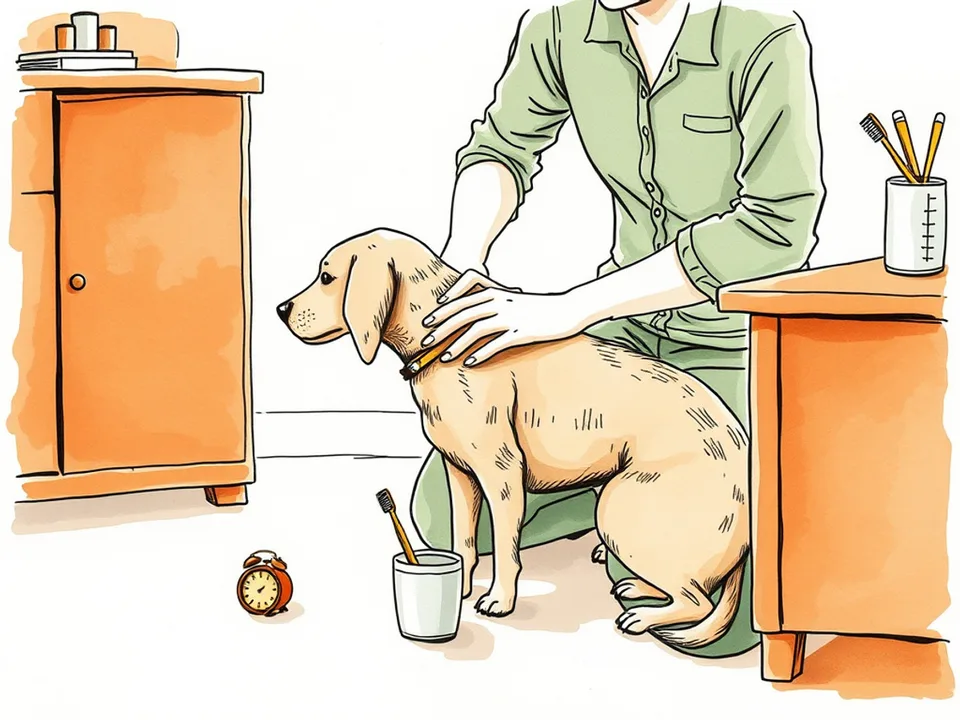 Step 8 / 12
Step 8 of 12: Keep sessions short and positive 8Keep sessions short and positive
Start with 30–60 seconds and build up to about two minutes over several weeks. Stop before your dog becomes restless, even if you have not reached every tooth. A short session that ends with a treat is better than a long battle that makes the next session harder.
Use a calm voice and a predictable ending: praise, a treat, and a favourite toy. If your dog struggles, go back to touching the muzzle and lifting the lip for a few days. Consistency matters more than speed.
Tip: A timer helps you stop at the planned time instead of waiting for the dog to protest.
Part 3 of 3
Make It a Habit and Watch for Problems
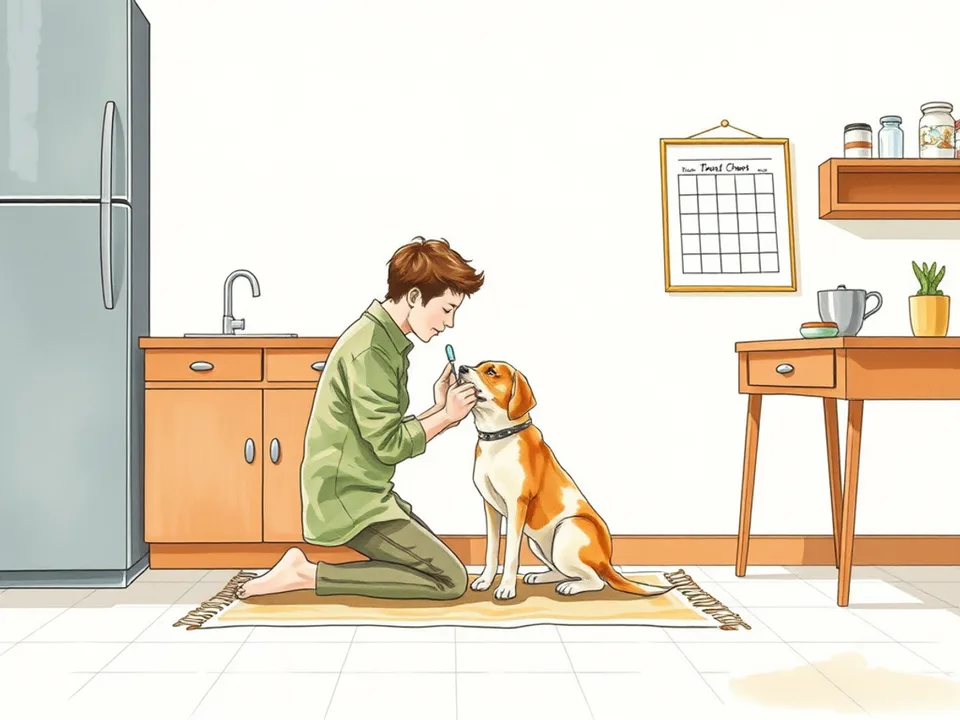 Step 9 / 12
Step 9 of 12: Brush daily or at least several times a week 9Brush daily or at least several times a week
Plaque starts to harden into tartar within a day or two, so daily brushing is the ideal. If daily is not realistic, aim for several times a week and keep the routine consistent. A quick brush on the outer surfaces is still useful on busy days.
Attach brushing to an existing habit, such as after the evening walk or before your own bedtime. A written reminder on the fridge can help for the first month. If you miss a day, simply start again; missing one session is not a reason to give up.
Tip: Brushing at the same time each day makes it easier for the dog to predict and accept.
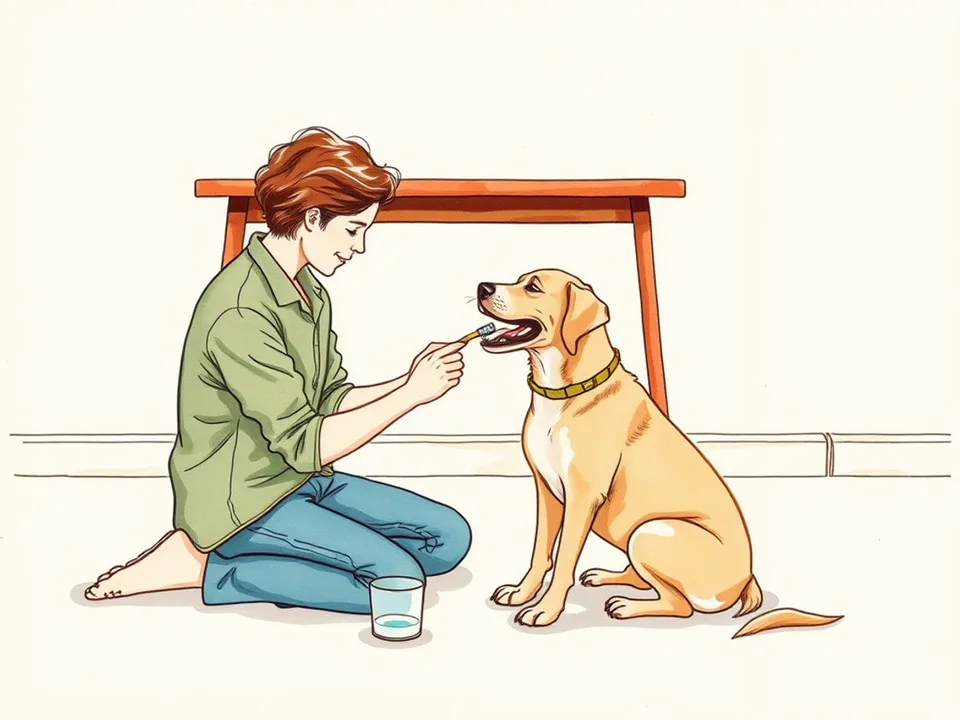 Step 10 / 12
Step 10 of 12: Reward and finish calmly 10Reward and finish calmly
Finish every session with praise and a small treat, even if you only brushed a few teeth. The reward should come immediately after the brush is put away, so the dog connects the treat with the handling. Use a treat your dog really values, and keep it small enough that it does not upset their diet.
Do not chase your dog with the brush or restart the session after they have walked away. A calm ending protects the routine. If your dog seems worried, shorten the next session and ask your vet or a fear-free trainer for advice.
Tip: A treat after brushing is not a bribe; it is part of making the routine sustainable.
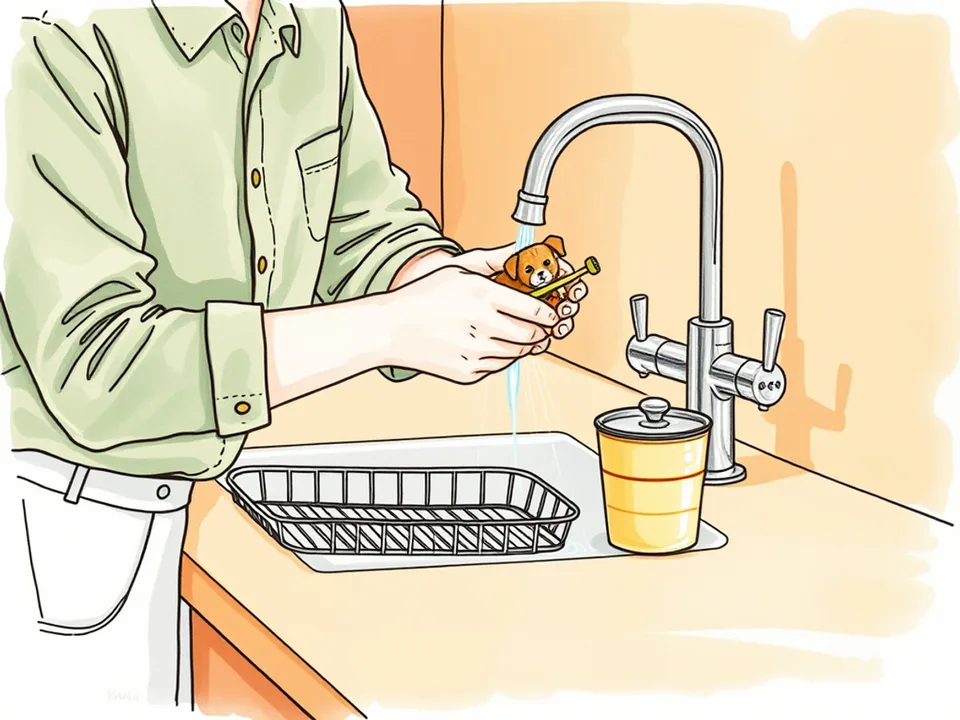 Step 11 / 12
Step 11 of 12: Clean the brush and store it dry 11Clean the brush and store it dry
Rinse the toothbrush after each use and stand it upright to dry. Do not store it in a closed bathroom cabinet while it is wet, and do not share a brush between dogs. Replace the brush every three months, or sooner if the bristles are flattened or the dog has been ill.
Keep toothpaste closed and out of reach, and check the expiry date. If you use gauze, use a fresh piece each time. A clean, dry brush is more effective and less likely to carry bacteria.
Tip: Write the date you started using a new brush on the handle with a marker.
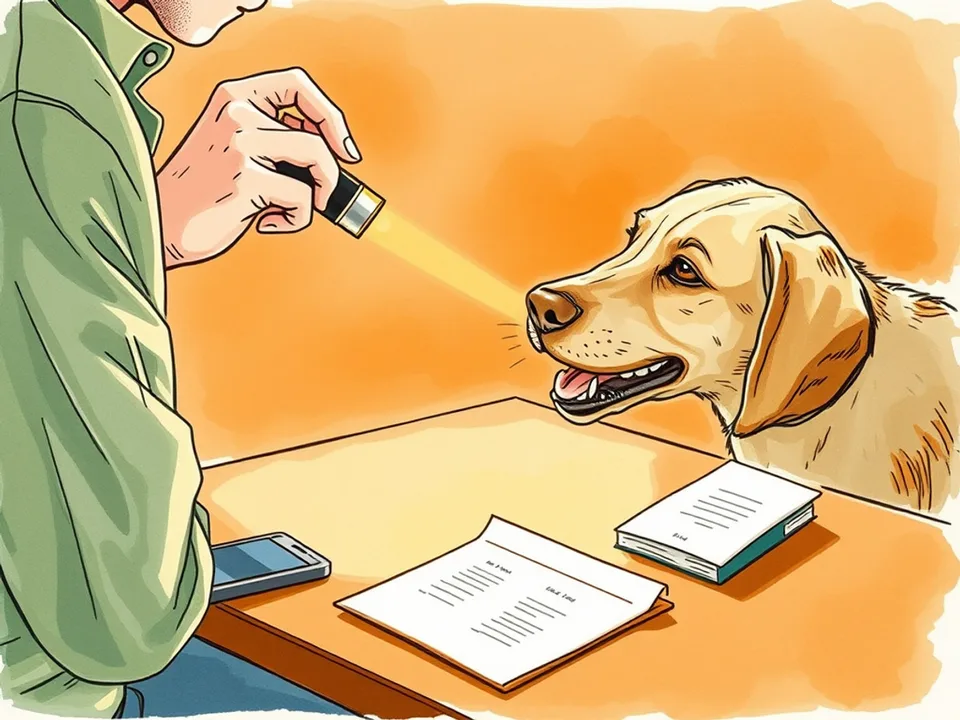 Step 12 / 12
Step 12 of 12: Know the warning signs and book a checkup 12Know the warning signs and book a checkup
Call your vet if you notice bad breath that does not improve, red or bleeding gums, drooling, difficulty eating, loose teeth, swelling, or a sudden change in chewing. These can be signs of dental disease or another problem. Professional cleaning under anaesthesia may be needed; home brushing cannot remove hardened tartar below the gumline.
Keep up regular vet checks even if the mouth looks healthy. Small dogs and flat-faced breeds may need more frequent checks, and some dogs develop dental problems despite good home care. Brushing is prevention, not a substitute for veterinary treatment.
Tip: Do not use human dental tools or try to remove tartar yourself; you can injure the gums and enamel.
Tips
- Start with gauze or a finger brush if your dog is worried by a toothbrush.
- Brush after the evening walk, when the dog is already calm and ready to settle.
- Use a small amount of dog toothpaste and let the dog lick it first.
- Keep sessions short enough that the dog is still relaxed when you finish.
Warnings
- Never use human toothpaste; fluoride and xylitol can be dangerous to dogs.
- Stop if the gums bleed heavily, the dog shows pain, or the mouth looks swollen, and call your vet.
- Do not punish a dog for resisting; fear and pain make the next session harder.
- Home brushing does not replace professional dental cleaning or treatment.
Community Q&A
How often should I brush my dog's teeth?+
Daily is ideal. If that is not possible, brush several times a week; consistency matters more than a perfect session.
Can I use human toothpaste?+
No. Human toothpaste may contain fluoride or xylitol, which dogs can swallow in harmful amounts. Use toothpaste made for dogs.
What if my dog hates the toothbrush?+
Start with touching the muzzle, then gauze or a finger brush, and reward each small step. If the dog remains fearful, ask your vet or a qualified trainer for help.
Is bleeding normal when brushing?+
A small amount of bleeding from inflamed gums can happen, but heavy bleeding or pain is not normal. Stop and call your vet.
Do dental chews replace brushing?+
No. Chews can help reduce plaque, but they do not clean the gumline as thoroughly as brushing and should not replace it.
References
- American Veterinary Medical Association. “Brushing your dog’s teeth.” 2024.
- Cornell University College of Veterinary Medicine. “Dental care for dogs.” 2024.
- VCA Animal Hospitals. “Brushing your dog’s teeth.” 2024.
- U.S. Food and Drug Administration. “Xylitol and your dog.” 2024.
Related on Howly
About This Article
Written by Site Admin. A subject-matter reviewer checked the steps before publication. Last updated Oct 29, 2026. 19,842 readers have viewed this guide.
88% of readers found this article helpful.
313 votes - 88%
Click a star to add your vote
Elena G.
Oct 24, 2026
“We started with gauze for a week, then a finger brush. My terrier now jumps onto the bathroom mat when she hears the toothpaste tube.”