How to Build a Home First-Aid Kit
A useful first-aid kit is small enough to check, complete enough for everyday cuts, burns, and sprains, and organised so you can find what you need in seconds.
Co-authored by:
Nora Ellis, RN
Community Health Nurse & First-Aid Instructor
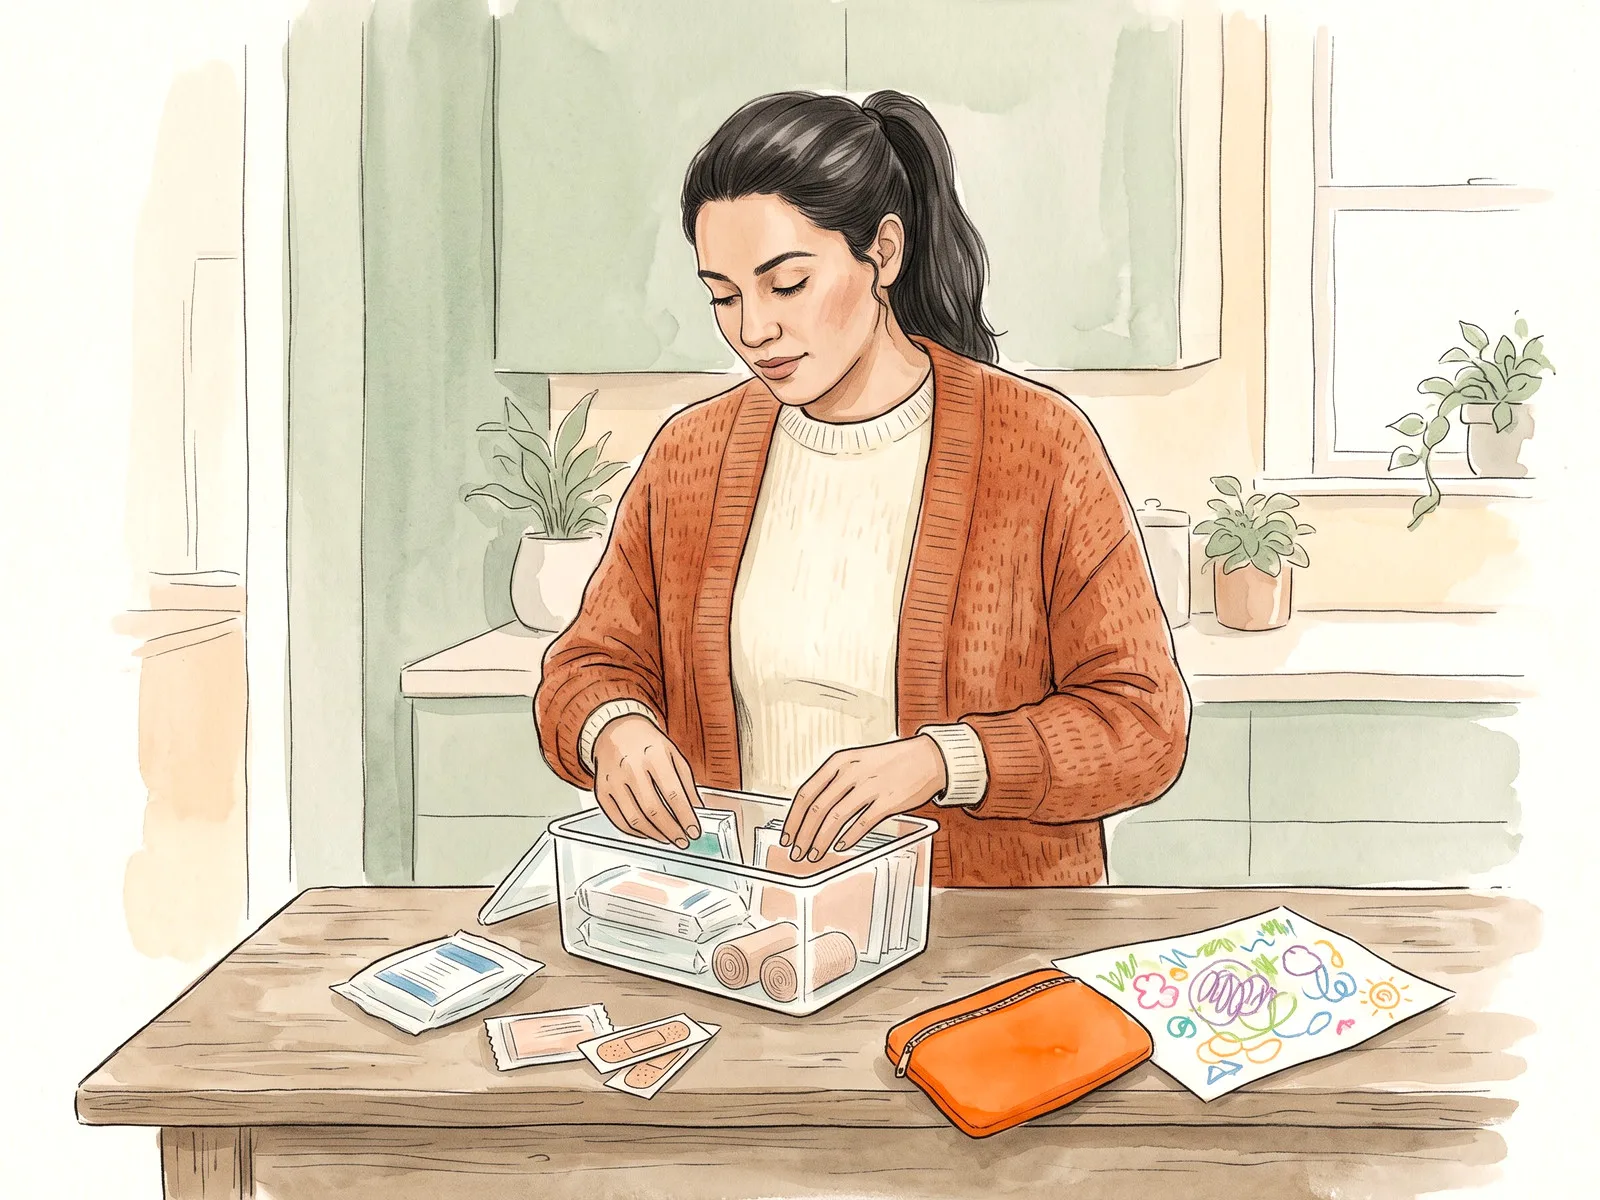
Steps
3 methods · 12 steps · 12 illustrationsPart 1 of 3
Choose the Kit and Where It Lives
 Step 1 / 12
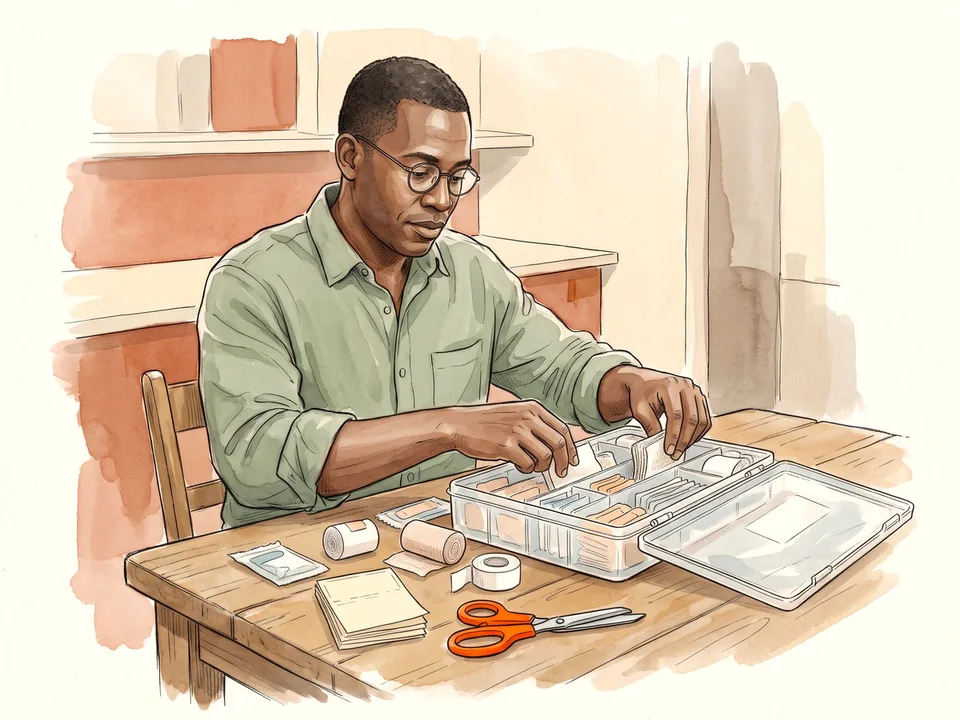
Step 1 of 12: Pick a container you can carry and sort 1Pick a container you can carry and sort
A clear plastic box with a handle and a few compartments is easier to use than a deep bag where everything settles at the bottom. Choose a size that fits your household: a small flat for one person, a medium box for a family, and a separate pouch for the car or a day bag. Check that the latch holds when the box is tipped.
Keep the contents visible. Clear boxes let you see at a glance what is missing, and removable dividers stop bandages from spilling into the scissors. If children are in the house, use a child-resistant latch or a locked cupboard, but make sure every adult knows where the kit is.
Tip: A kitchen chopping board makes a clean, stable surface when you are sorting a kit on the floor.
 Step 2 / 12
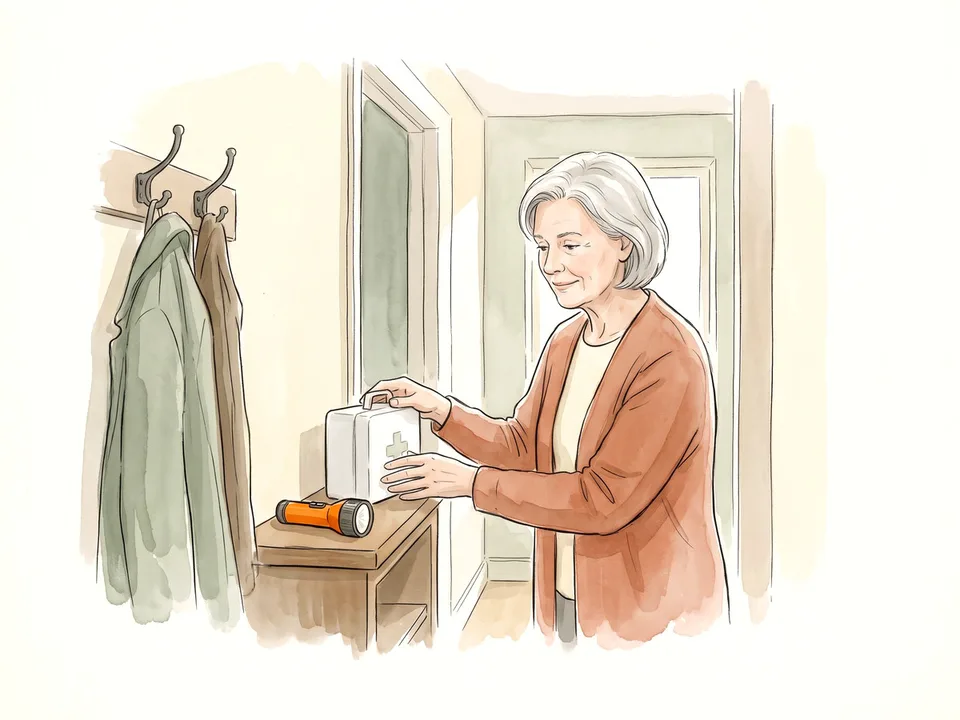
Step 2 of 12: Choose a dry, reachable spot 2Choose a dry, reachable spot
Store the kit in a cool, dry place that adults can reach without moving furniture. The kitchen or a hallway cupboard is usually better than the bathroom, where steam and heat can degrade dressings and medicines. Avoid the top of a high wardrobe if you need a chair to reach it.
Tell everyone in the household where the kit lives and what it is for. If you have guests or a babysitter, show them the box before they need it. A kit that is complete but impossible to find is not much help in a hurry.
Tip: Keep a small torch beside the box. Power cuts and evening injuries are not convenient.
 Step 3 / 12
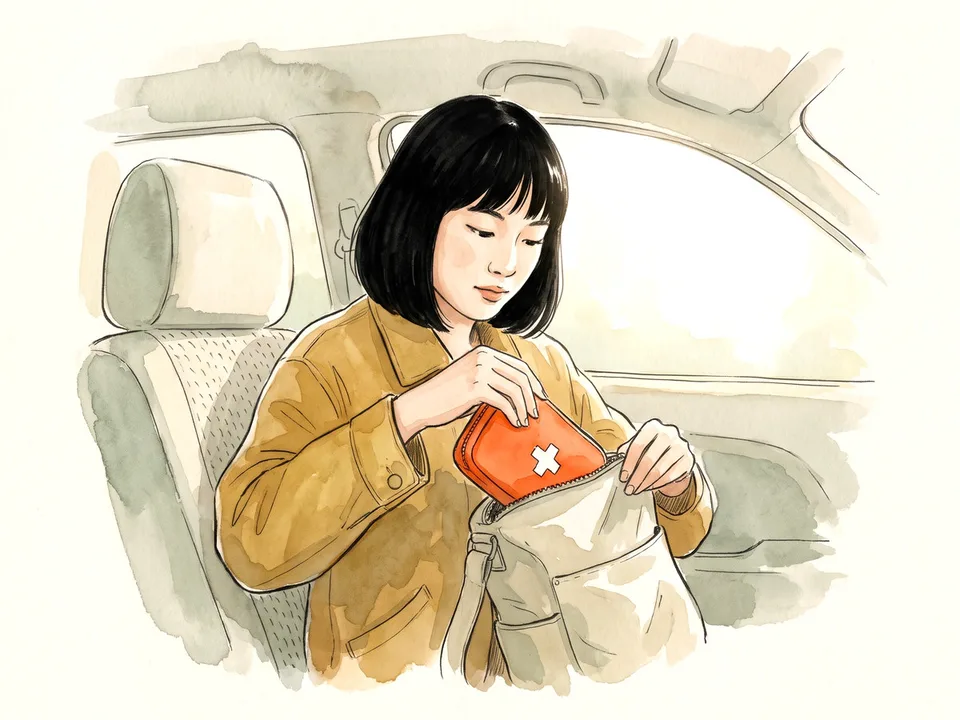
Step 3 of 12: Build a small travel kit 3Build a small travel kit
Duplicate the basics in a small pouch for the car, your handbag, or a day hike: adhesive bandages, a few gauze pads, medical tape, nitrile gloves, and antiseptic wipes. Add any personal medicine you might need, clearly labelled with your name and dose. Do not leave medicines in a hot car for long periods.
A travel kit should be light enough that you actually carry it. If it lives in the car, check it at the start of each season, because heat and cold can damage adhesives and liquids. If you take it on a flight, keep medicines in their original packaging.
Tip: A zip-top pouch with a bright label is easier to find in a crowded bag than loose supplies.
 Step 4 / 12
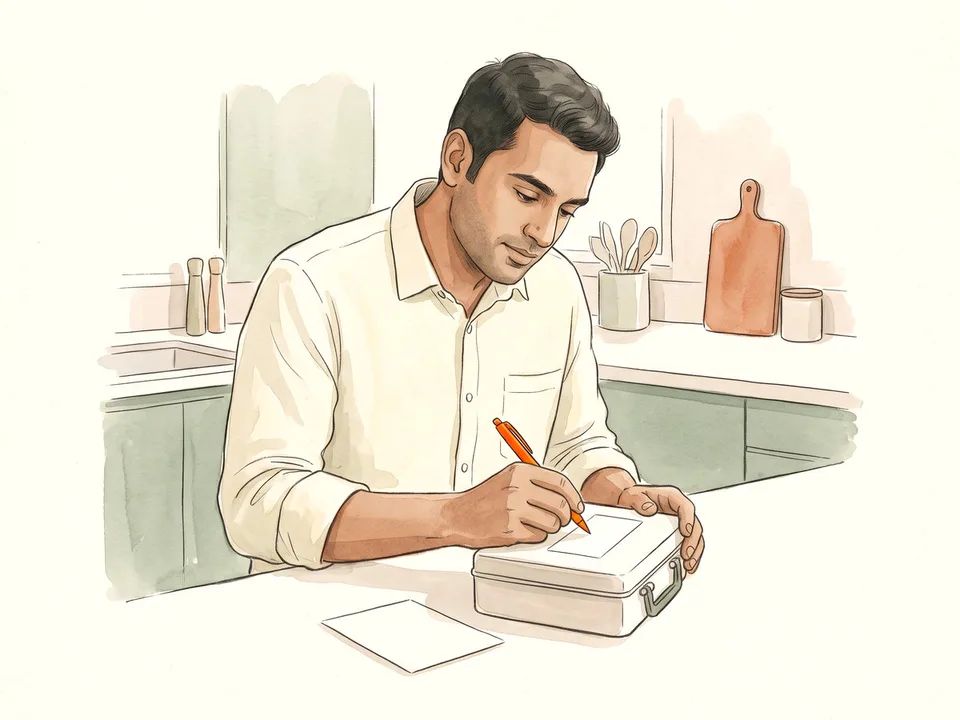
Step 4 of 12: Label the kit and add emergency numbers 4Label the kit and add emergency numbers
Write “First aid” on the outside of the box and add a card inside with local emergency numbers, the nearest urgent-care clinic, your GP, and the poison control centre. Include a short list of household allergies and regular medicines, but do not put full medical histories in a box that visitors can open.
Add a small card explaining where the nearest automated external defibrillator is kept, if your building has one. In an emergency, the person helping may not be you; clear labels and a simple contents list reduce the time they spend searching.
Tip: Laminate the emergency card or put it in a sealed plastic sleeve so it survives a spill.
Part 2 of 3
Stock the Core Supplies
 Step 5 / 12
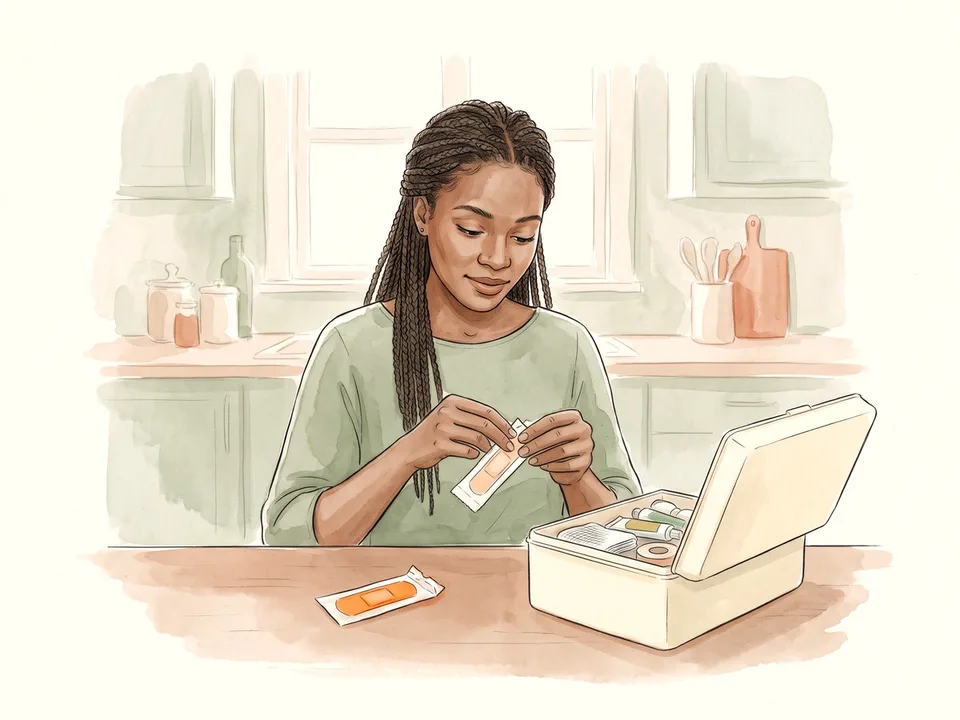
Step 5 of 12: Cover cuts and scrapes 5Cover cuts and scrapes
Include adhesive bandages in several sizes, sterile gauze pads, a roll of medical tape, and a non-stick dressing for larger grazes. Add blunt-ended scissors and fine tweezers for splinters. Nitrile gloves protect the person giving help and are useful if someone is bleeding.
Choose dressings that suit the people in your home: sensitive-skin tape if adhesives irritate, and a few larger pads for knees and elbows. Keep everything in its original wrapper until you need it. A bandage that has been loose in a bag for years may no longer be sterile or sticky.
Tip: Do not use cotton wool directly on a wound; the fibres can stick to the surface.
 Step 6 / 12
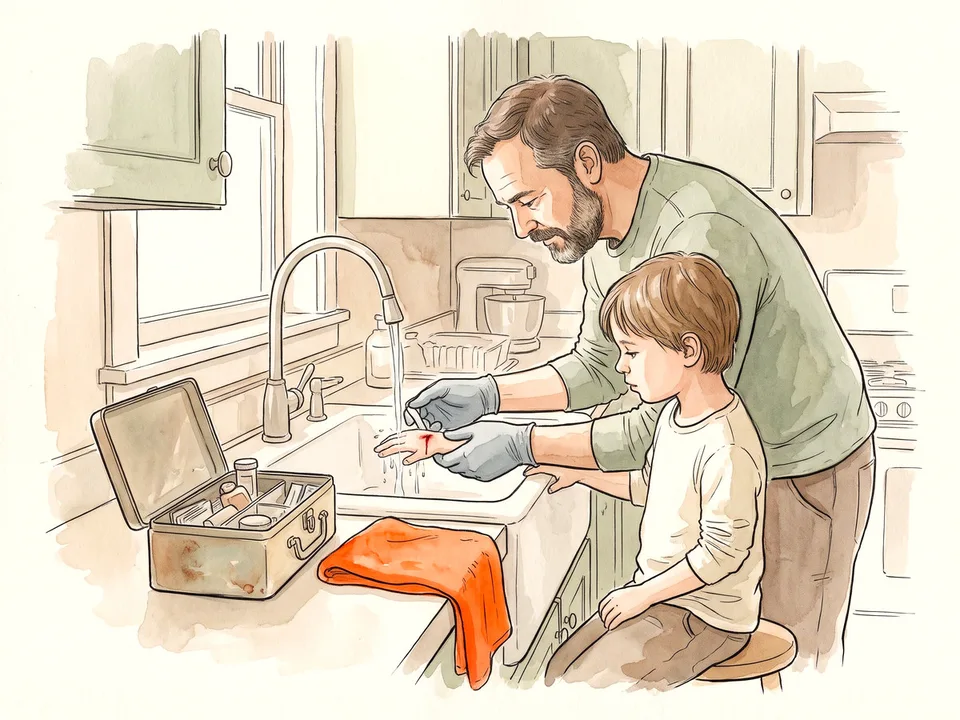
Step 6 of 12: Clean wounds and protect hands 6Clean wounds and protect hands
For a minor cut or graze, wash your hands and put on nitrile gloves. Rinse the wound with clean running water; sterile saline is useful if you have it. Gently remove visible dirt with clean gauze, then pat the surrounding skin dry. Avoid pouring alcohol or hydrogen peroxide into an open wound — they can damage healing tissue.
Cover the wound with a sterile dressing and change it when it becomes wet or dirty. Check that the person’s tetanus vaccination is up to date if the wound is deep, dirty, or caused by a bite. If the wound will not stop bleeding, is gaping, or shows signs of infection, seek medical care.
Tip: Antiseptic wipes are for intact skin around a wound, not for scrubbing the inside of it.
 Step 7 / 12
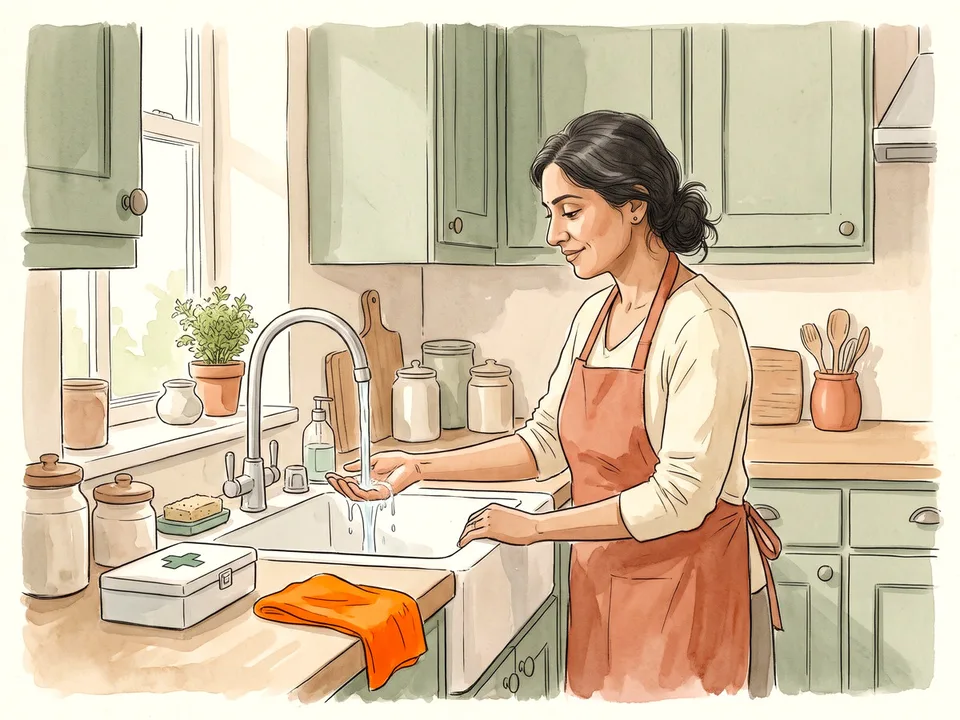
Step 7 of 12: Handle burns, sprains, and swelling 7Handle burns, sprains, and swelling
For a small burn, cool the area under cool running water for about twenty minutes and remove jewellery or clothing that is not stuck to the skin. Cover loosely with cling film or a clean non-fluffy dressing. Do not apply ice, butter, toothpaste, or ointments to a fresh burn.
For a sprain, protect the joint, rest it, apply a cold pack wrapped in a cloth for 15–20 minutes, and elevate it if comfortable. Include an instant cold pack, an elastic bandage, and soft padding in the kit. Burns larger than the person’s palm, or on the face or hands, need urgent assessment.
Tip: A cold pack is for swelling, not for open wounds or numb skin.
 Step 8 / 12
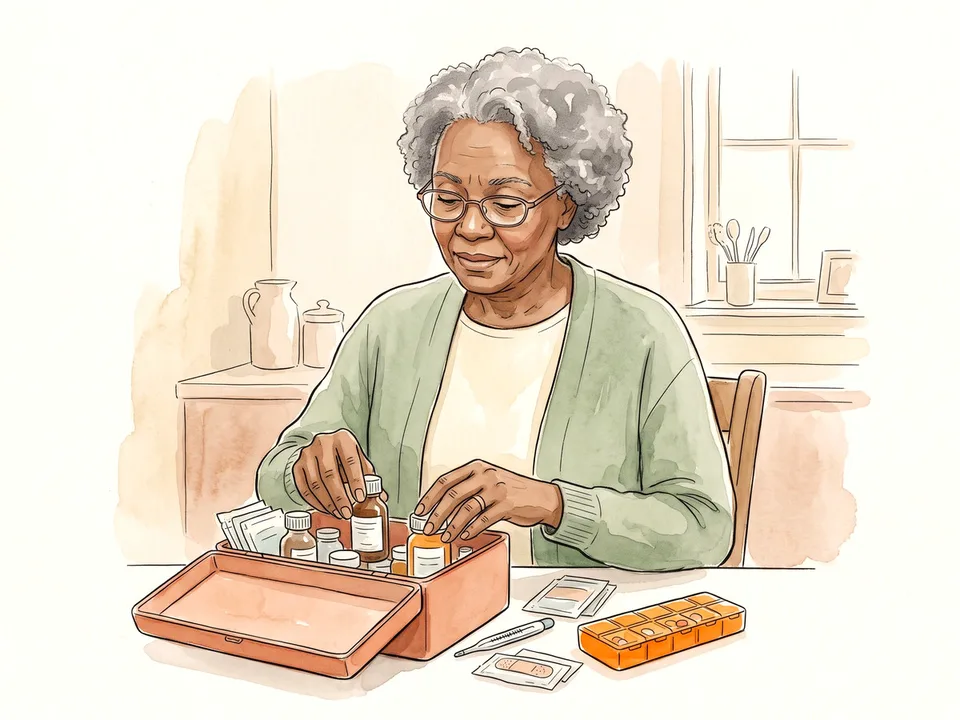
Step 8 of 12: Add medicines and everyday extras 8Add medicines and everyday extras
Include a digital thermometer, an age-appropriate pain reliever, an antihistamine, oral rehydration salts, and any personal prescription medicine you might need. Keep medicines in their original packaging with the dose instructions, and check with a pharmacist before giving anything to a child, a pregnant person, or someone taking other medicines. Do not stock antibiotics “just in case”.
Add a small torch, spare batteries, a pencil and notepad, and a few safety pins. A phone charger and a list of emergency contacts belong with the kit if you have space. Never decant medicines into unlabelled containers, and keep all medicines out of reach of children and pets.
Tip: Do not give aspirin to a child or teenager unless a doctor tells you to.
Part 3 of 3
Check, Use, and Restock
 Step 9 / 12
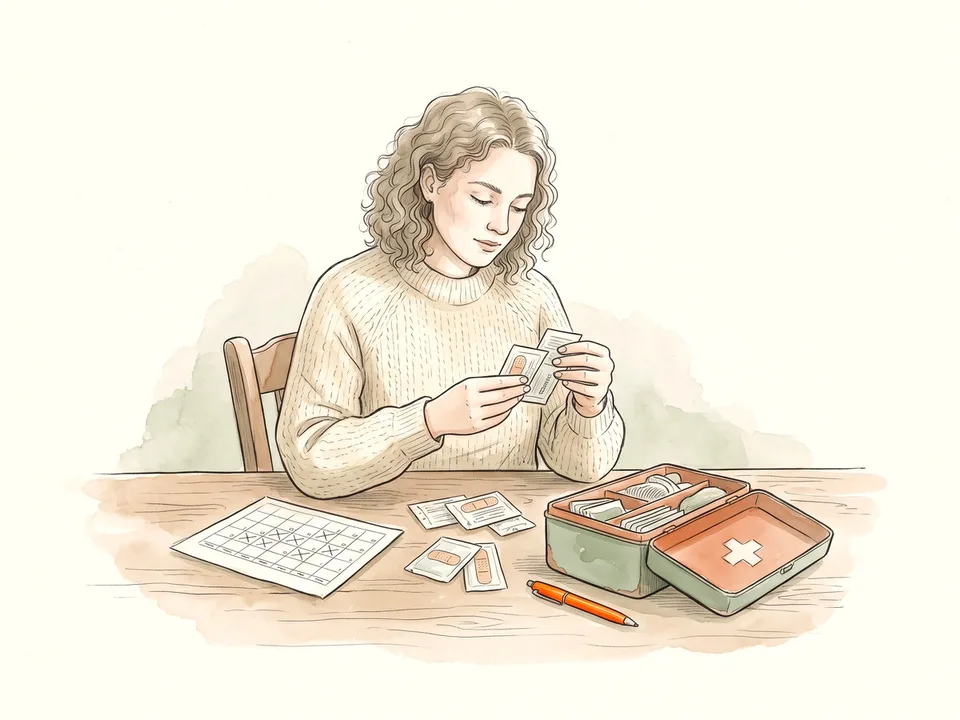
Step 9 of 12: Check expiry dates every six months 9Check expiry dates every six months
Put a reminder in your phone for the first weekend of every six months. Open the kit, remove anything past its expiry date, and check that wrappers are intact. Replace missing items immediately rather than waiting for the next big shop. If a medicine has changed colour, smell, or texture, discard it even if the date looks valid.
Check the batteries in the torch, the seal on the saline, and the stickiness of the tape. Heat, damp, and sunlight shorten the life of many supplies. A quick inventory now is much easier than discovering an empty box during an emergency.
Tip: Take a photo of the contents before you close the box; it makes the next check faster.
 Step 10 / 12
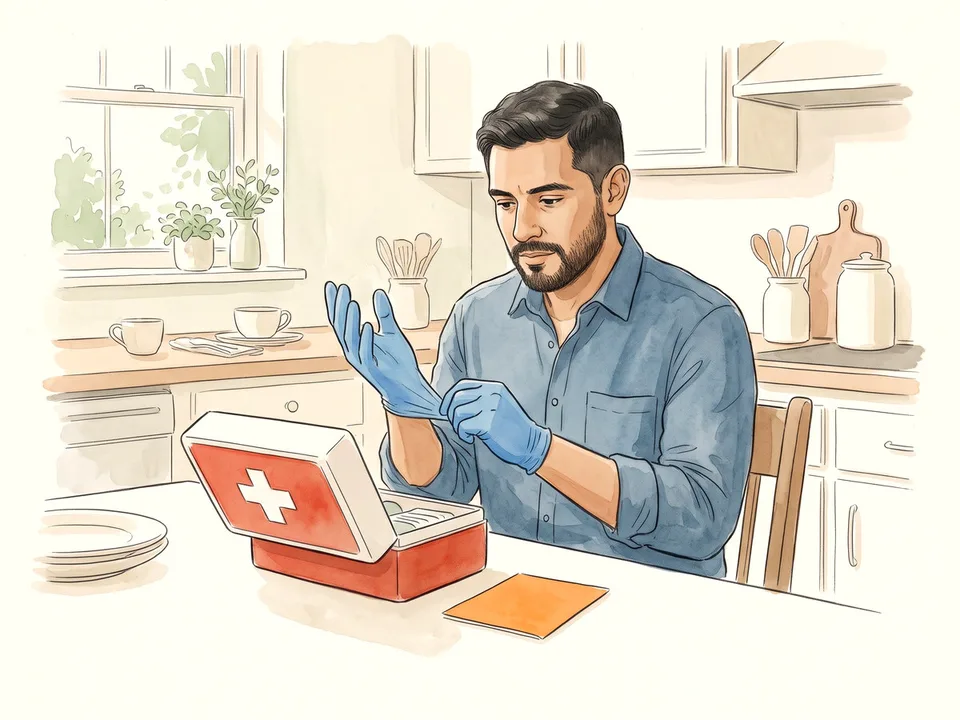
Step 10 of 12: Learn how to use each item 10Learn how to use each item
Read the instructions for the thermometer, cold pack, and any medicine before you need them. Take a recognised first-aid course and a CPR class; a kit is only part of the response. Keep a simple first-aid guide in the box, and make sure everyone who might use it knows where the guide is.
Practice the small things: how to open the box one-handed, how to put on gloves without touching the outside, and how to find the expiry date in low light. If you care for children or older adults, learn the specific choking and CPR steps for those age groups.
Tip: A laminated card with the emergency number and your address is useful when you are too stressed to remember it.
 Step 11 / 12
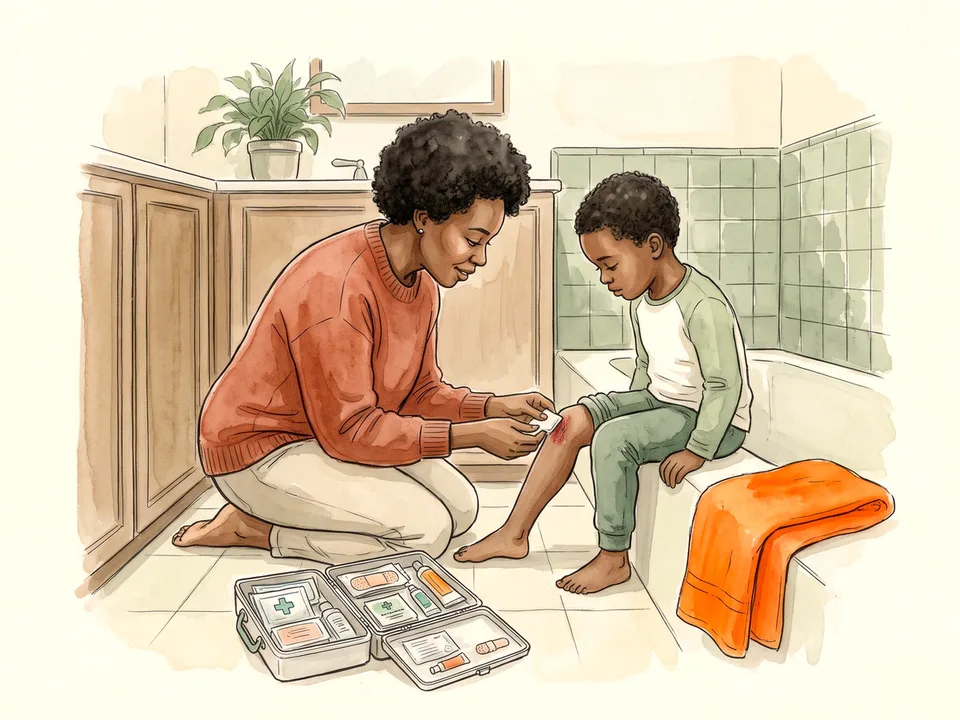
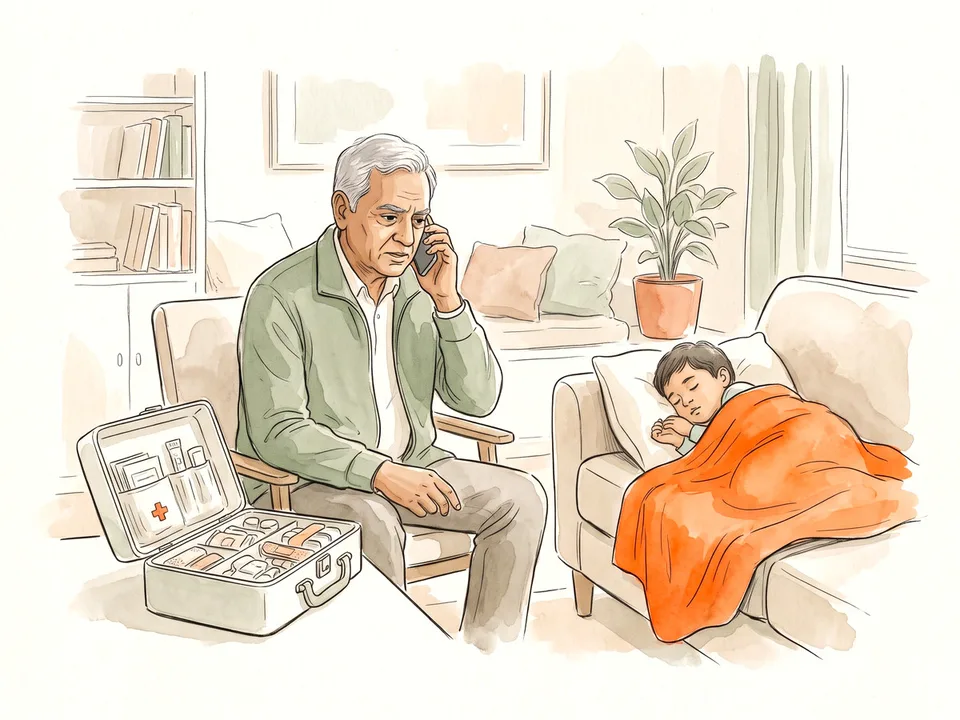
Step 11 of 12: Respond to a minor injury step by step 11Respond to a minor injury step by step
Before touching anyone, check that the scene is safe. Wash your hands, put on gloves, and ask the person what happened and where it hurts. For a minor cut, apply firm direct pressure with a clean dressing for about ten minutes, then rinse and cover it. For a nosebleed, sit the person upright, lean them slightly forward, and pinch the soft part of the nose for ten minutes.
Stay with the person and watch for dizziness, confusion, or worsening pain. Do not remove an object that is embedded in a wound; pad around it and get help. After any incident, restock the kit and write down what you used, so the next check starts from the right place.
Tip: Direct pressure means steady pressure, not repeated peeking to see whether the bleeding has stopped.
 Step 12 / 12
Step 12 of 12: Know when to call for help 12Know when to call for help
Call emergency services for severe or uncontrolled bleeding, difficulty breathing, chest pain, fainting, a seizure, a serious head injury, a large or deep burn, suspected poisoning, or a severe allergic reaction. If someone is unresponsive and not breathing normally, start CPR if you are trained and ask someone else to call for help and fetch an AED.
Do not drive yourself to hospital if you are badly injured or feel faint. For less urgent problems, call your GP or an urgent-care service for advice. This guide is general information, not a diagnosis; when you are unsure, it is safer to ask a professional.
Tip: If you suspect a poisoning, call your local poison control centre and have the container or medicine label with you.
Tips
- Keep a small first-aid kit in the car and another in your day bag; do not rely on one box in one room.
- Write the date you checked the kit on a piece of tape on the lid.
- Include a phone charger and a copy of important emergency numbers.
- Take a first-aid and CPR course so the supplies are backed by practice.
Warnings
- This guide is general information, not a substitute for professional medical care.
- Call emergency services for severe bleeding, breathing difficulty, chest pain, a serious head injury, or a large burn.
- Check allergies and medicine interactions with a pharmacist or doctor before giving any medicine.
- Keep medicines, sharp items, and small supplies out of reach of children and pets.
Community Q&A
How often should I check the kit?+
Every six months, and again after you use it. Replace expired items, missing supplies, and anything whose packaging is damaged.
What if someone in the house has a latex allergy?+
Use nitrile gloves and latex-free bandages and tape. Check the packaging of every item, including dressings and tourniquets.
Should I keep antibiotics in the kit?+
No. Antibiotics require a prescription and are not appropriate for a general household kit. Ask a doctor for advice about a specific infection.
Where should I not store the kit?+
Avoid the bathroom, a hot car, a damp basement, or a spot that is too high for adults to reach. Heat and moisture can damage supplies.
Can I use expired bandages or medicine?+
Do not use expired medicine. An expired sterile dressing may no longer be sterile, so replace it rather than relying on it.
References
- American Red Cross. “First aid steps.” 2024.
- NHS. “First aid.” 2024.
- CDC. “Emergency preparedness and response.” 2024.
- America’s Poison Centers. “Poison help.” 2024.
Related on Howly
About This Article
Written by Site Admin. A subject-matter reviewer checked the steps before publication. Last updated Oct 28, 2026. 16,480 readers have viewed this guide.
89% of readers found this article helpful.
268 votes - 89%
Click a star to add your vote
Ruth A.
Oct 25, 2026
“I finally put the kit by the kitchen door instead of in the bathroom cupboard. The first time my son cut his hand, I had a dressing on it before he finished crying.”