How to Cook Rice Without a Rice Cooker
A pot, a lid, and the right ratio are enough. Learn three reliable methods — absorption, pasta-style boiling, and the microwave — for fluffy rice without special equipment.
Co-authored by:
Arjun Patel
Food Writer & Recipe Tester
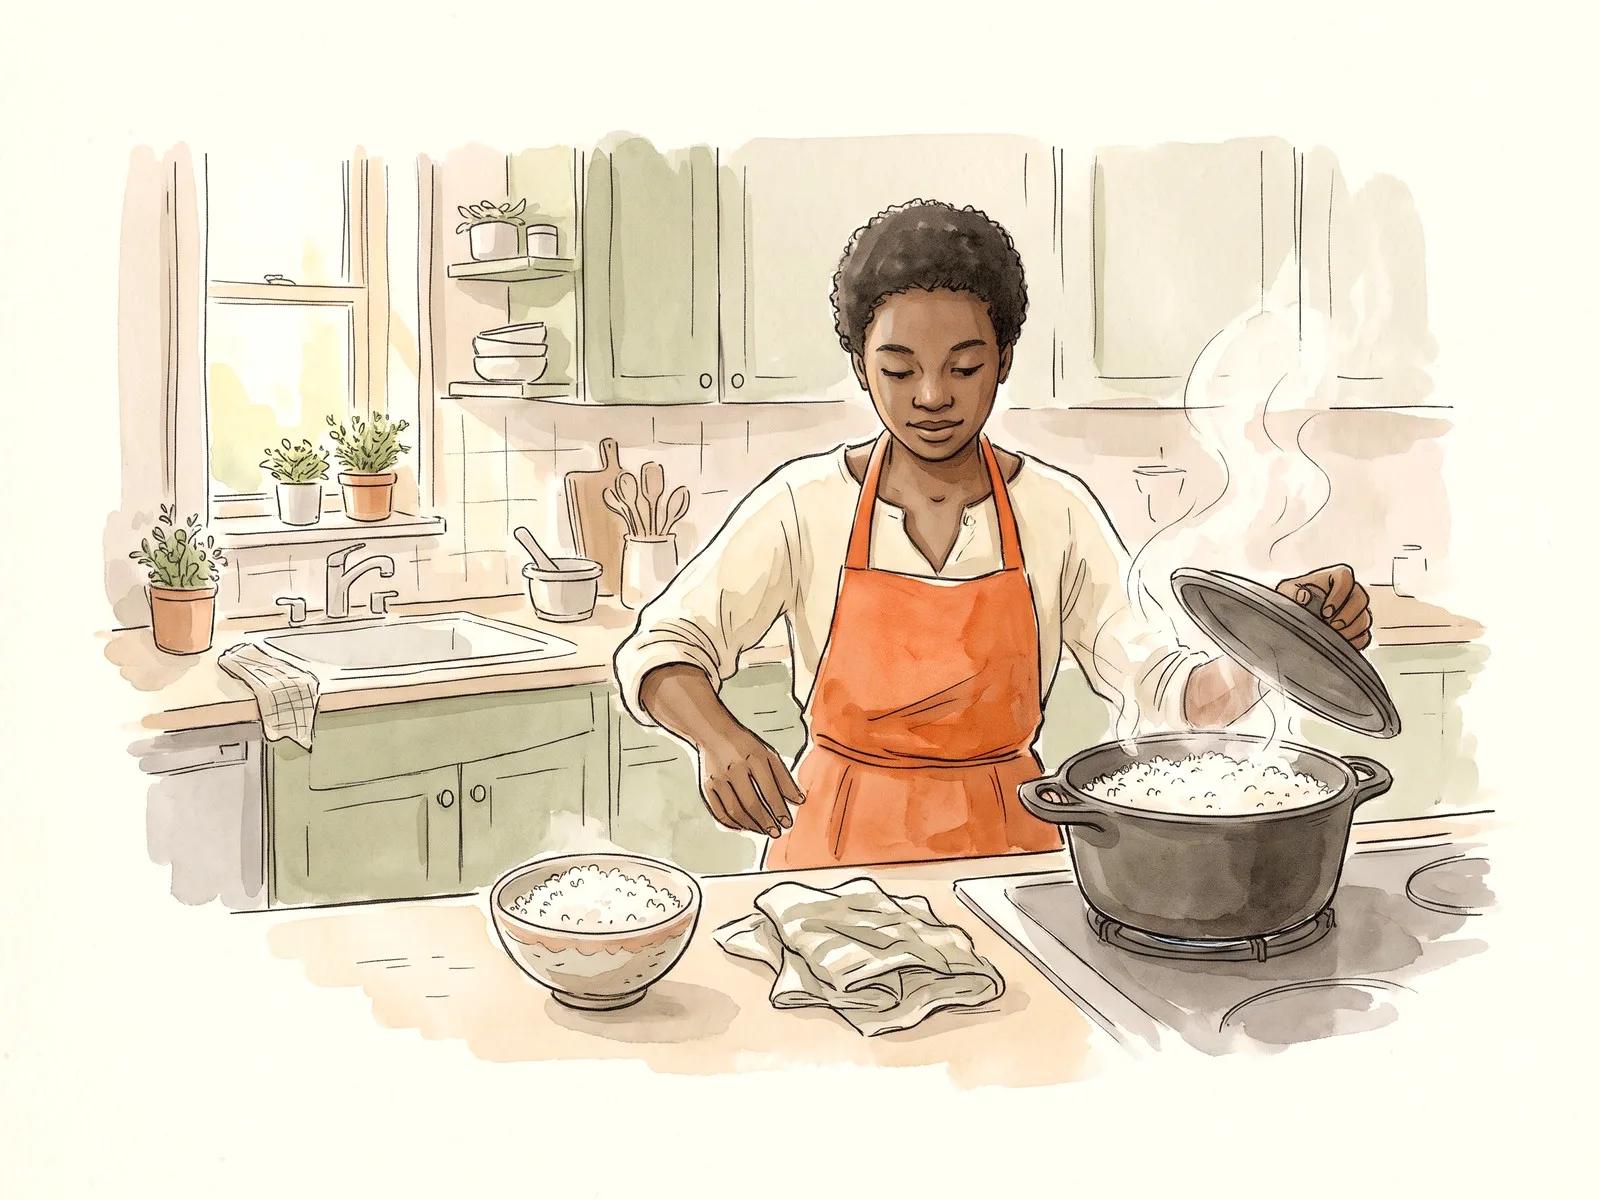
Steps
3 methods · 12 steps · 12 illustrationsPart 1 of 3
Using the Absorption Method
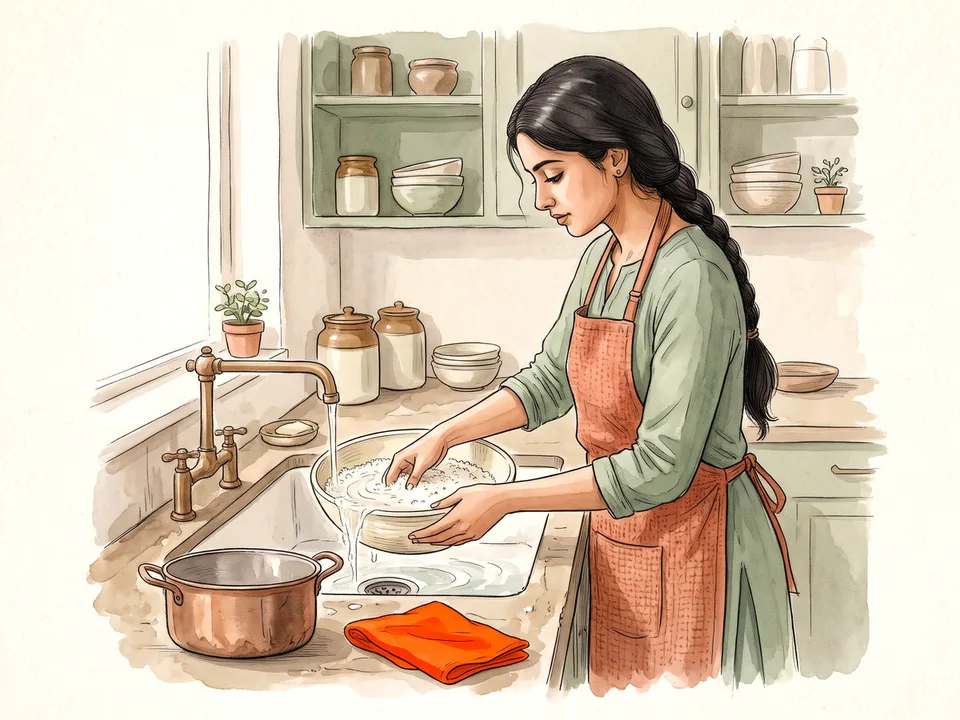 Step 1 / 12
Step 1 of 12: Rinse the rice 1Rinse the rice
Put the rice in a bowl, cover it with cool water, and swirl it with your fingers. Pour off the cloudy water and repeat two or three times, until the water is only slightly cloudy. Rinsing removes surface starch, which is what makes rice gluey and clumpy.
Do not rinse fortified rice if the package says it has added vitamins; you will wash some of them away. Drain the rice well in a fine-mesh sieve and shake out the excess water before measuring. Wet rice throws off the water ratio.
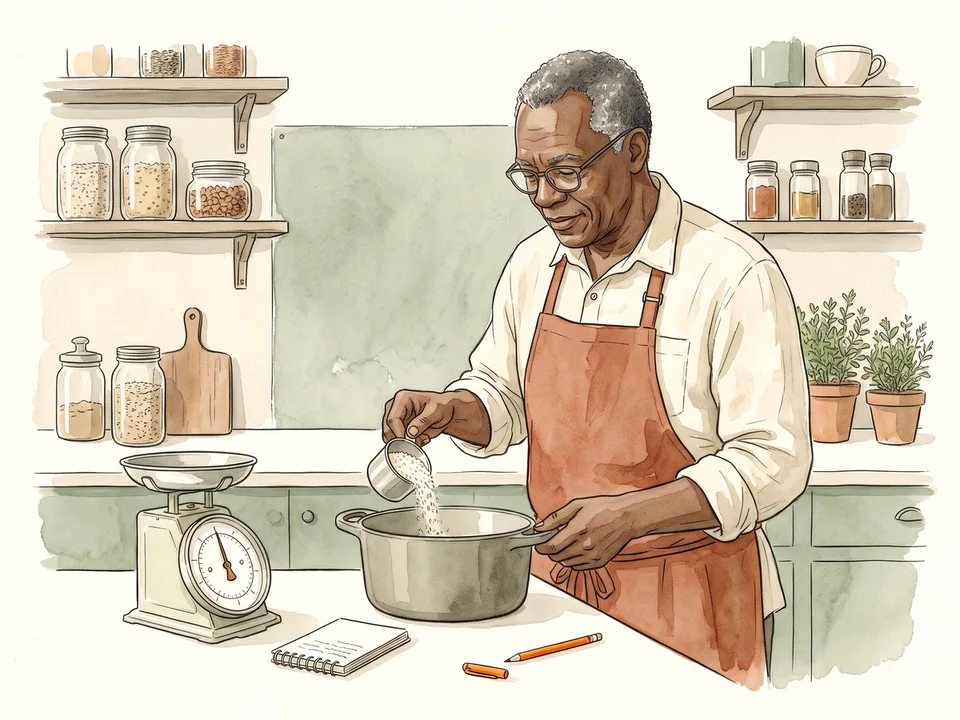 Step 2 / 12
Step 2 of 12: Measure rice and water 2Measure rice and water
For long-grain white rice, use one part rice to about one and a half parts water by volume. A cup of rice and 1½ cups of water is a reliable starting point. Add a pinch of salt if you like, but do not salt heavily; you can season later.
Brown rice, short-grain rice, and very old rice need more water. Start with the package directions and adjust by two tablespoons at a time. Use a heavy-bottomed pot with a tight-fitting lid so steam does not escape.
Tip: A glass measuring cup is more accurate than a coffee mug. If you use a mug, use the same mug for rice and water.
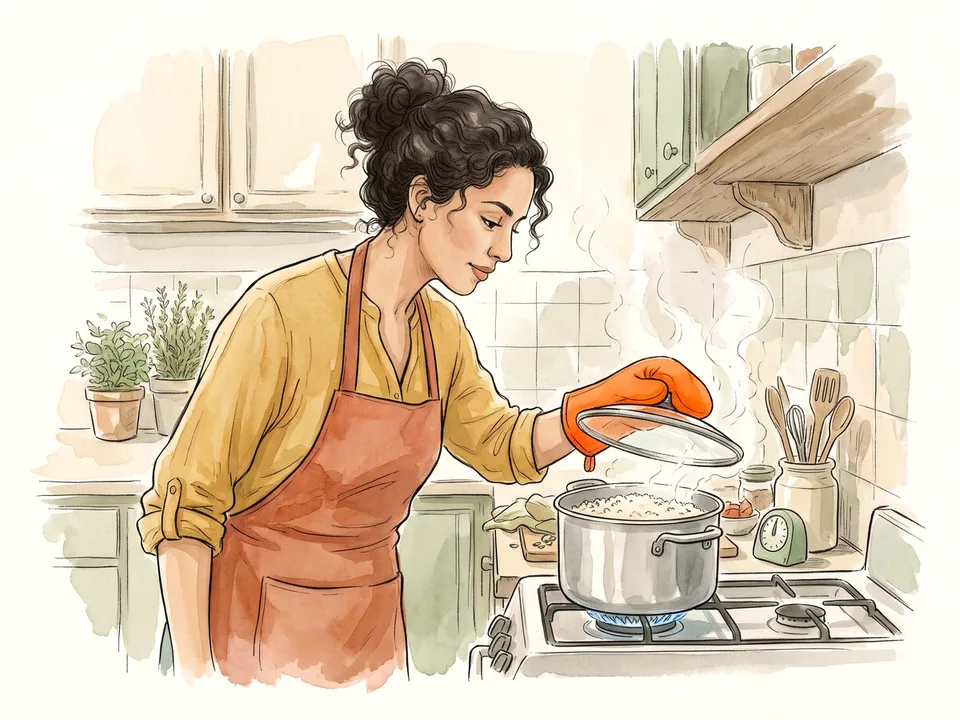 Step 3 / 12
Step 3 of 12: Bring to a boil, then cover and simmer 3Bring to a boil, then cover and simmer
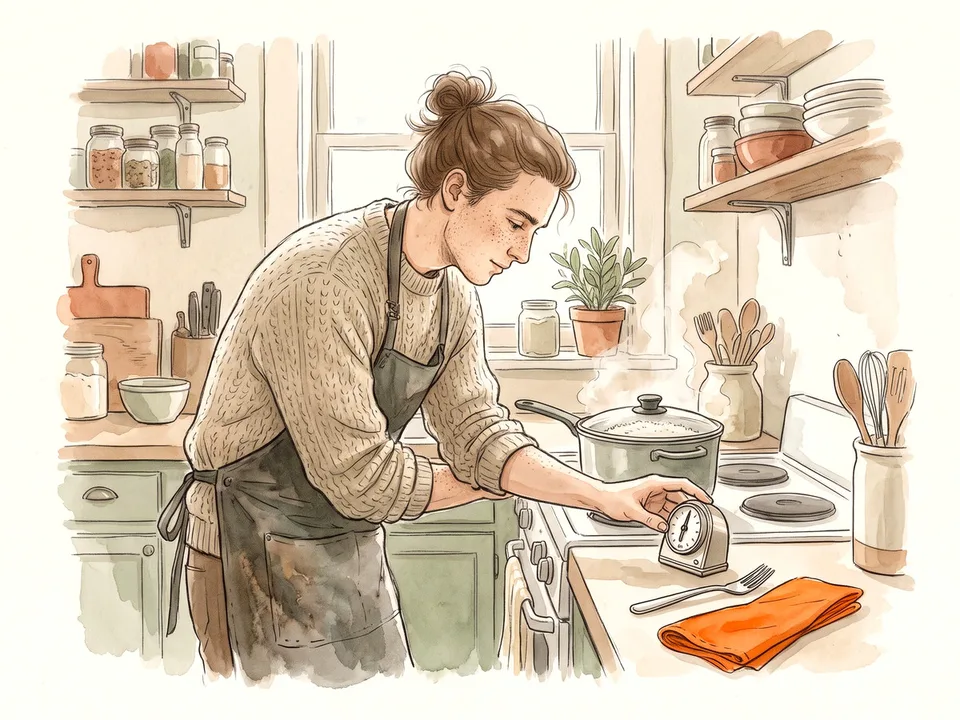
Bring the rice and water to a rolling boil over medium-high heat. Stir once, then turn the heat to the lowest setting, cover the pot, and set a timer for 15 minutes. Do not lift the lid while it cooks; the steam trapped inside is doing the work.
If you hear violent bubbling or smell scorching, the heat is too high. Move the pot to a smaller burner or use a heat diffuser. Keep the lid on until the timer goes off, then check quickly and replace the lid if the rice is still wet.
 Step 4 / 12
Step 4 of 12: Rest, then fluff with a fork 4Rest, then fluff with a fork
Take the pot off the heat and let it sit, covered, for 10 minutes. The rice finishes absorbing water and the grains firm up. Remove the lid, fluff gently with a fork, and taste. If the rice is still crunchy, add two tablespoons of hot water and cook for five more minutes.
Do not stir vigorously; that releases starch and turns the rice sticky. Serve immediately, or spread it on a tray to cool quickly if you are storing it. Cooled rice should go into the fridge within two hours.
Tip: If there is a thin layer of browned rice at the bottom, you are close to the right heat. Turn the burner down slightly next time.
Part 2 of 3
Using the Pasta Method
 Step 5 / 12
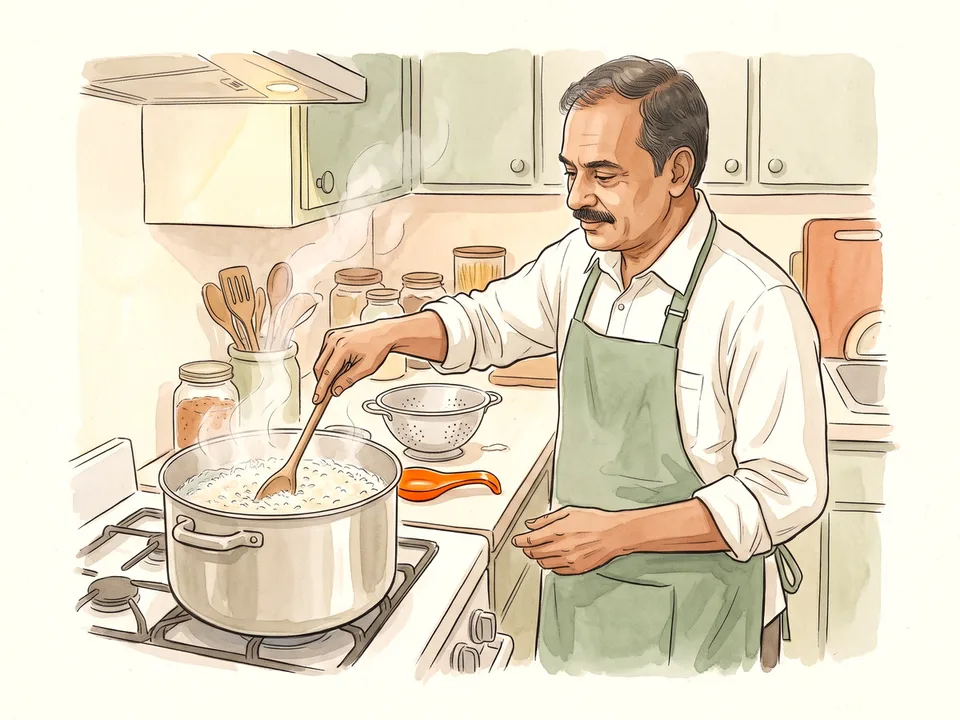
Step 5 of 12: Boil plenty of salted water 5Boil plenty of salted water
Fill a large pot with at least four litres of water and bring it to a rolling boil. Add about a tablespoon of salt. The rice needs room to move so the grains do not stick together, and the extra water keeps the temperature stable when you add the rice.
Use a pot that leaves plenty of headspace; boiling water can foam up when the rice goes in. Keep a lid nearby but leave it off for this method so you can watch the water and stir once.
 Step 6 / 12
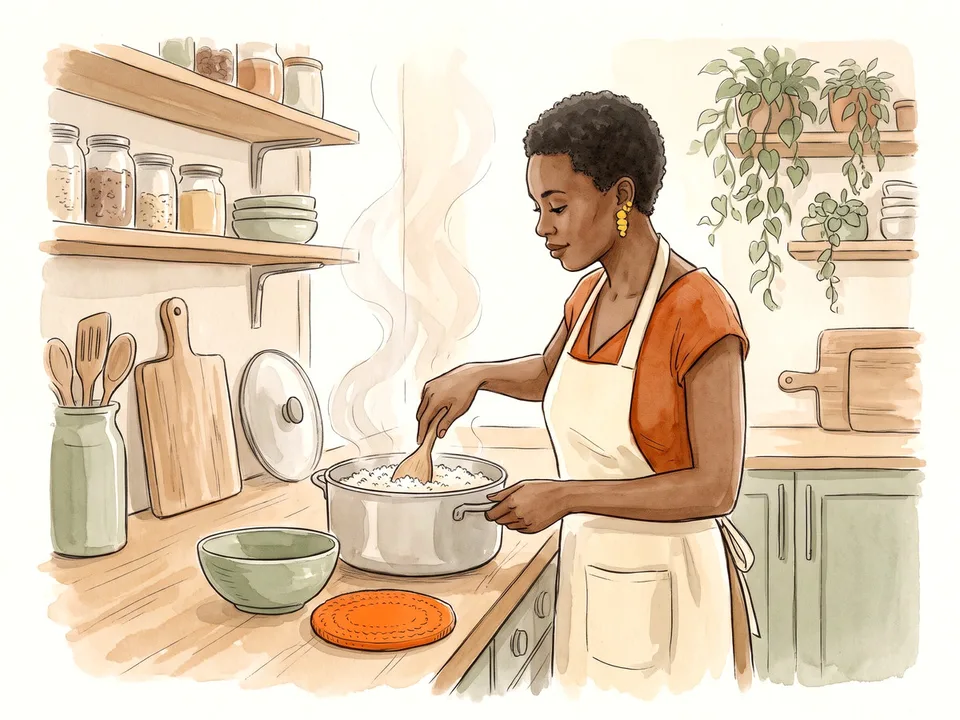
Step 6 of 12: Add the rice and stir once 6Add the rice and stir once
Pour the rinsed rice into the boiling water and stir once to separate the grains. Keep the water at a steady boil and start checking after about 10 minutes. Do not walk away; the difference between tender and mushy rice is only a few minutes.
If the water threatens to boil over, lower the heat slightly rather than covering the pot. A wooden spoon across the rim can help break the foam. Stir only once or twice; too much stirring makes the rice sticky.
 Step 7 / 12
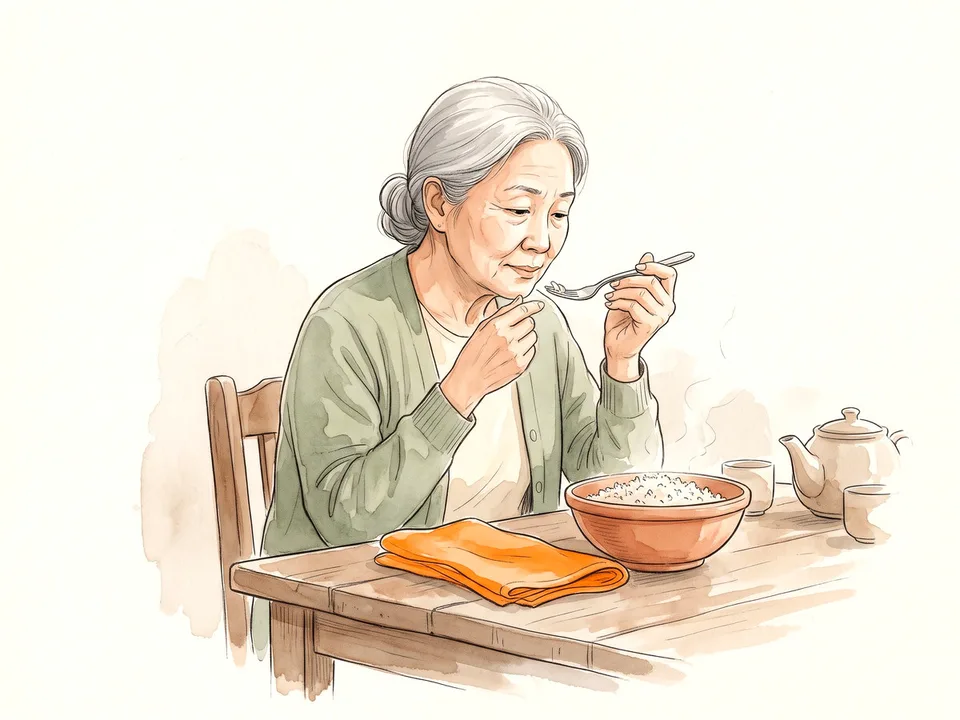
Step 7 of 12: Test for doneness 7Test for doneness
Fish out a few grains with a spoon and bite them. The rice is done when it is tender but still has a little bite in the centre. Long-grain white rice usually takes 10–15 minutes; brown rice can take 30–40 minutes, so check the package and start tasting early.
If the rice is chalky in the middle, keep boiling and check every two minutes. If it is already soft but the water is still cloudy, the rice may be overcooked — drain it immediately.
 Step 8 / 12
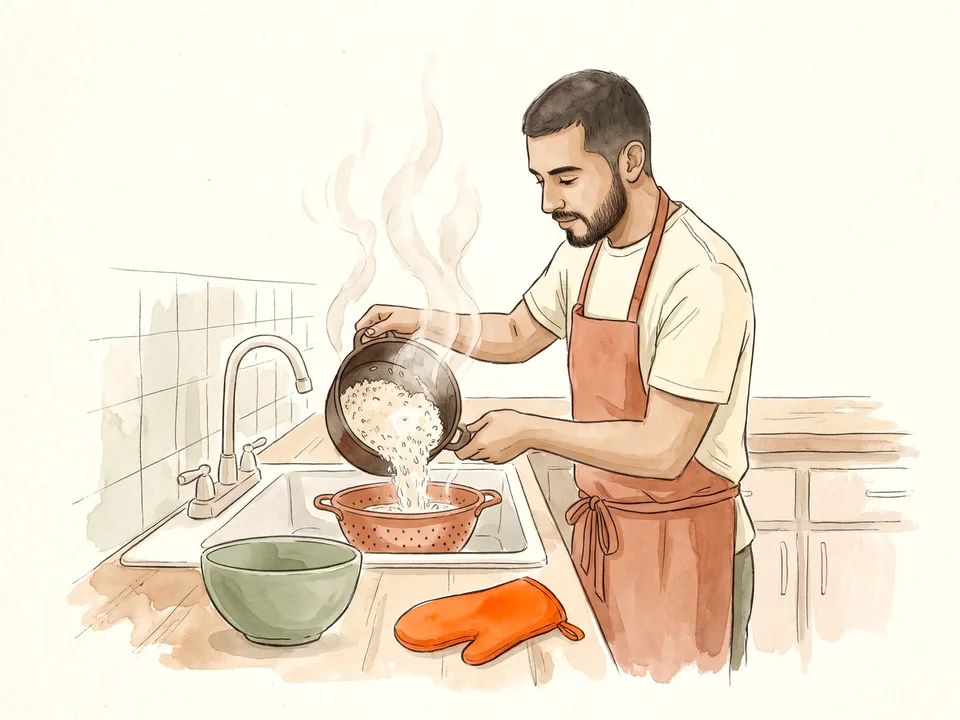
Step 8 of 12: Drain and steam-dry 8Drain and steam-dry
Pour the rice into a colander and let it drain for a minute. Return it to the warm pot, off the heat, and cover with a clean towel and the lid. Let it sit for five minutes so the surface moisture steams away and the grains separate.
Fluff with a fork and serve. This method is forgiving if you are cooking rice for a crowd, but it uses more water and energy than the absorption method. It also works well for rice you plan to cool and use in salads.
Tip: Do not rinse cooked rice with cold water unless you are making rice for a cold salad. It cools the rice and makes it watery.
Part 3 of 3
Using the Microwave
 Step 9 / 12
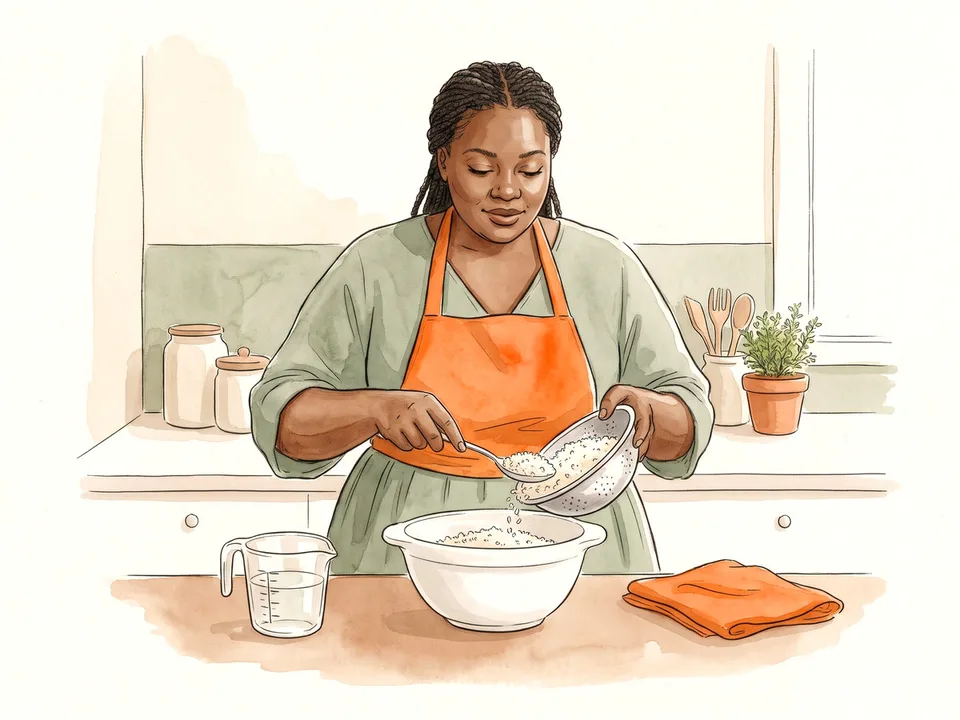
Step 9 of 12: Use a large microwave-safe bowl 9Use a large microwave-safe bowl
Choose a bowl that holds at least twice the volume of the rice and water; microwave rice foams up and can spill over. Glass or ceramic is easier to inspect than plastic, and it does not stain. Make sure the bowl is labelled microwave-safe.
Rinse the rice first, then drain it well. Add the rice and water to the bowl and stir once. A wide bowl cooks more evenly than a narrow, deep one because the rice sits in a thinner layer.
 Step 10 / 12
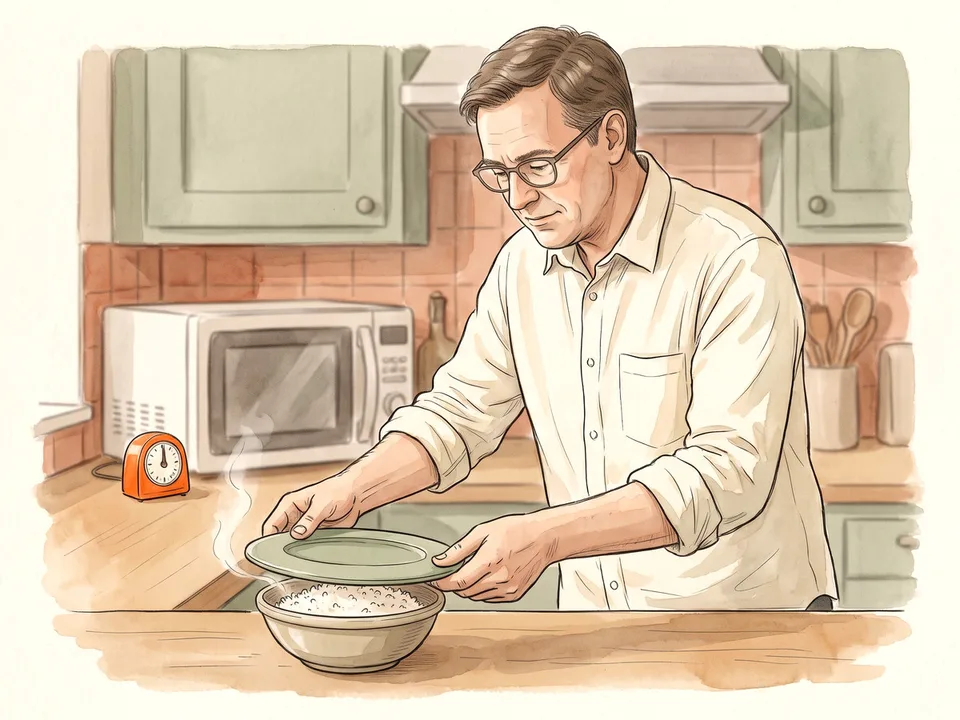
Step 10 of 12: Add water and cover 10Add water and cover
Use about one part rice to two parts water for microwave cooking, because more water evaporates during the cooking and resting time. Add a pinch of salt if you like. Cover the bowl with a microwave-safe lid or a plate, leaving a small gap for steam to escape.
Do not seal the bowl tightly; pressure can build up and the lid can pop off. If you use plastic wrap, make sure it is microwave-safe and not touching the rice. A glass lid with a vent is the simplest option.
 Step 11 / 12
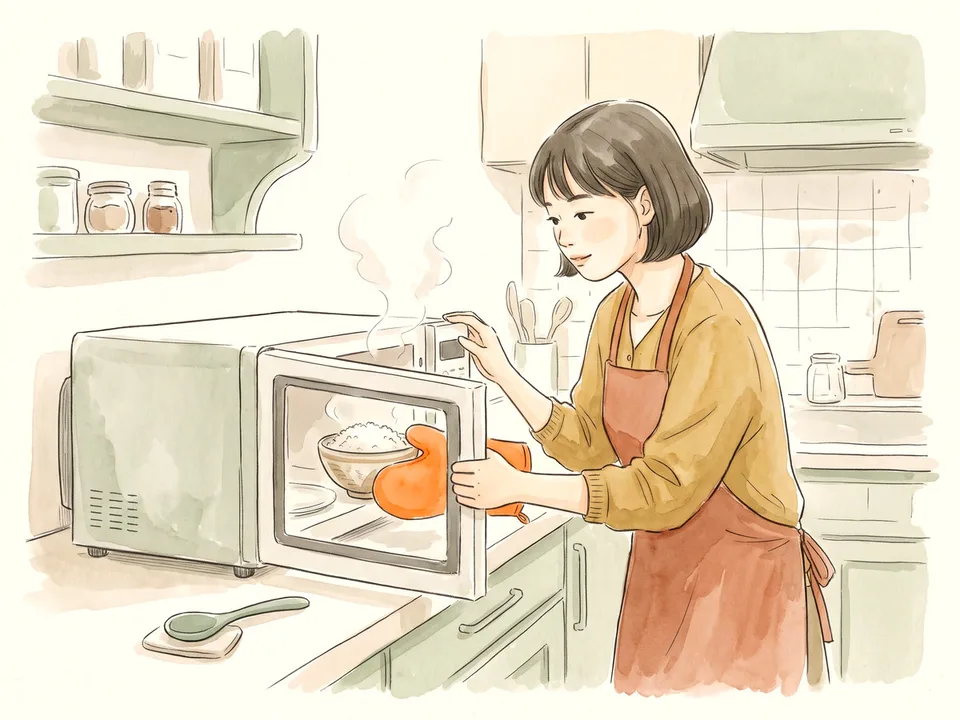
Step 11 of 12: Cook in intervals and check 11Cook in intervals and check
Microwave on high for five minutes, then stop and stir gently. Cook for another three to five minutes, depending on the wattage and the amount of rice. Let it stand for five minutes before checking; the rice continues to cook in the residual heat.
If the rice is still crunchy, add two tablespoons of hot water and microwave for two more minutes. If it is dry at the edges but wet in the centre, stir and rest again. Microwaves vary widely, so use the first batch to learn your machine.
Tip: Use oven mitts. A covered bowl of rice gets very hot, and steam can burn your hand when you lift the lid.
 Step 12 / 12
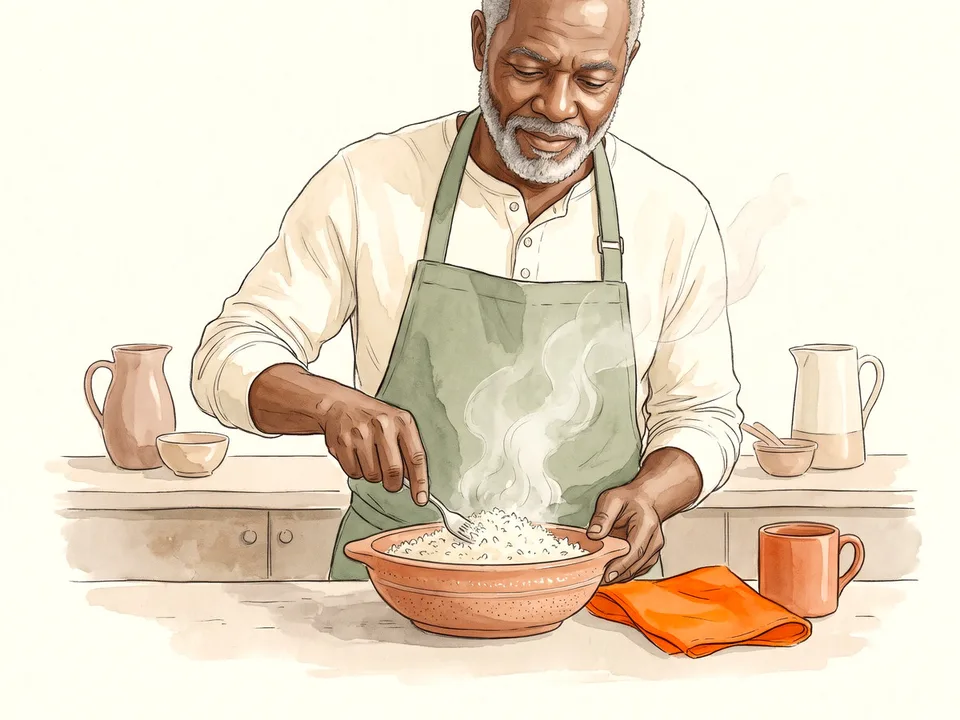
Step 12 of 12: Rest and fluff 12Rest and fluff
Leave the covered bowl on the counter for five minutes, then remove the lid away from your face. Fluff the rice with a fork and taste. If it needs more time, cover and microwave in one-minute bursts rather than cooking it dry.
Serve immediately or cool it quickly for storage. Microwave rice can dry out faster than stovetop rice, so keep the lid on until serving. A splash of hot water and a short re-cover will revive leftovers.
Tips
- Rinse white rice until the water is mostly clear; this is the easiest way to avoid sticky rice.
- Use a heavy pot with a tight lid for the absorption method. Thin pots scorch the bottom before the rice is done.
- Let rice rest off the heat for 10 minutes. The grains finish cooking and firm up.
- For brown rice, start tasting at 30 minutes and add water two tablespoons at a time if it is still chalky.
- Cool leftover rice quickly, refrigerate within two hours, and reheat until steaming hot.
Warnings
- Steam from a covered pot or microwave bowl can cause serious burns. Lift lids away from your face and use oven mitts.
- Cooked rice left at room temperature for more than two hours should be discarded. Bacillus cereus can grow quickly in warm rice.
- Do not put a sealed container of rice in the microwave. Pressure can build up and the lid can fail.
Community Q&A
Do I have to rinse rice?+
Rinsing improves texture by removing surface starch, especially for long-grain white rice. If the package says the rice is fortified, rinsing may remove added vitamins, so check the label.
Why is my rice crunchy in the middle?+
The heat is too high, the lid is not tight, or there is not enough water. Add two tablespoons of hot water, cover, and cook on low for five more minutes.
Can I use the pasta method for any rice?+
It works best for long-grain white rice and for rice you plan to drain and cool. Brown rice and short-grain rice can become watery; the absorption method is more reliable.
How much water does microwave rice need?+
Start with one part rice to two parts water. Microwave ovens vary, so adjust after the first batch and write down what worked.
How long does cooked rice keep?+
About three to four days in a sealed container in the fridge. Reheat until steaming hot, and do not reheat more than once.
References
- USA Rice Federation. “How to cook rice.” 2024.
- USDA FoodData Central. “Rice, white, long-grain, regular, cooked.”
- FoodSafety.gov. “Leftovers and food safety.” 2024.
Related on Howly
About This Article
Written by Site Admin. A subject-matter reviewer checked the steps before publication. Last updated Oct 28, 2026. 18,242 readers have viewed this guide.
89% of readers found this article helpful.
312 votes - 89%
Click a star to add your vote
Grace L.
Oct 25, 2026
“The absorption method finally gave me rice that was not gluey. Rinsing three times was the step I had been skipping.”