How to Care for a Houseplant
Most houseplants fail because of water, light, or a pot that cannot drain — not because the owner lacks a green thumb. Learn three routines that keep a plant healthy.
Co-authored by:
Maya Chen
Horticulturist & Indoor Plant Specialist
Steps
3 methods · 12 steps · 12 illustrationsPart 1 of 3
Getting Water and Light Right
 Step 1 / 12
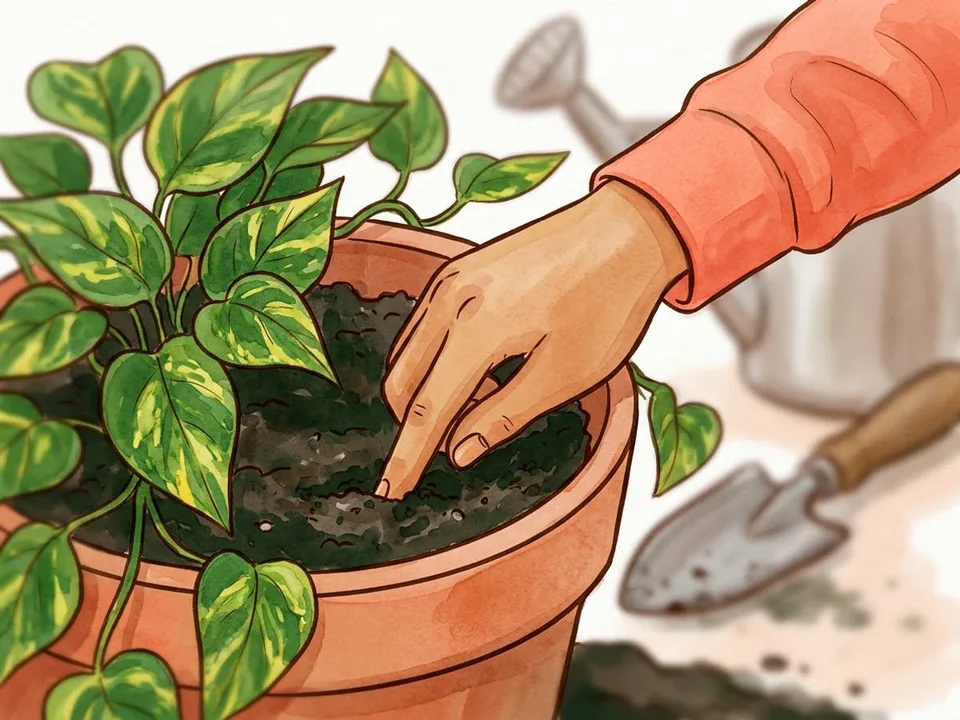
Step 1 of 12: Check the soil before you water 1Check the soil before you water
Push a finger about 2–3 cm into the potting mix. If it feels dry at that depth, water; if it still feels damp, wait another day or two. You can also lift the pot: a plant that has just been watered is noticeably heavier than one that is dry. A moisture meter is useful for large pots, but do not trust a cheap meter blindly — check with your finger as well.
A watering schedule is a starting point, not a rule. Light, season, pot size, and active growth all change how quickly a plant drinks. Most houseplants need less water in winter, when growth slows and indoor air is cooler. Keep a short log on your phone or a sticky note so you can see what actually happened rather than guessing.
Tip: If the pot feels light and the leaves are limp, water slowly until it drains. If the soil smells sour, the plant is probably staying too wet.
 Step 2 / 12
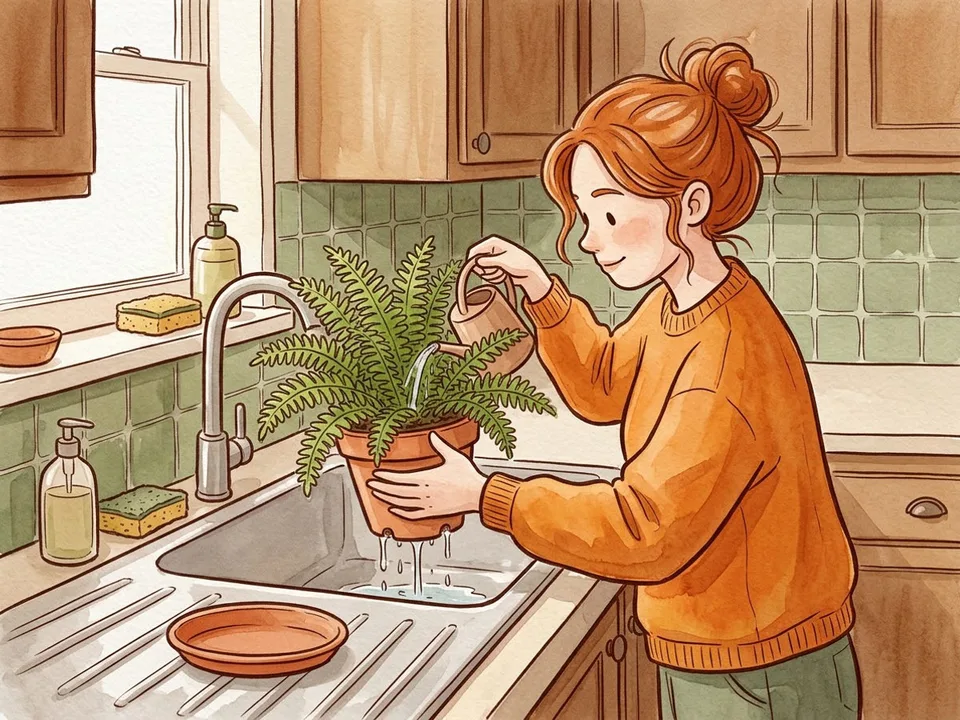
Step 2 of 12: Water thoroughly and let it drain 2Water thoroughly and let it drain
Water until it runs out of the drainage hole. A small splash every few days only wets the top layer and leaves dry pockets lower down, where roots cannot reach. Use room-temperature water and empty the saucer after about fifteen minutes so the pot is not sitting in a puddle.
If your pot has no drainage hole, move the plant into a nursery pot with holes and use the decorative pot as a cover. A plant left in standing water is the most common cause of root rot. Skip ice cubes: tropical plants dislike cold roots, and melting ice delivers water too unevenly.
Tip: A kitchen scale is a surprisingly useful plant tool. Weigh the pot after watering and again when it feels light; the difference tells you how much water the mix holds.
 Step 3 / 12
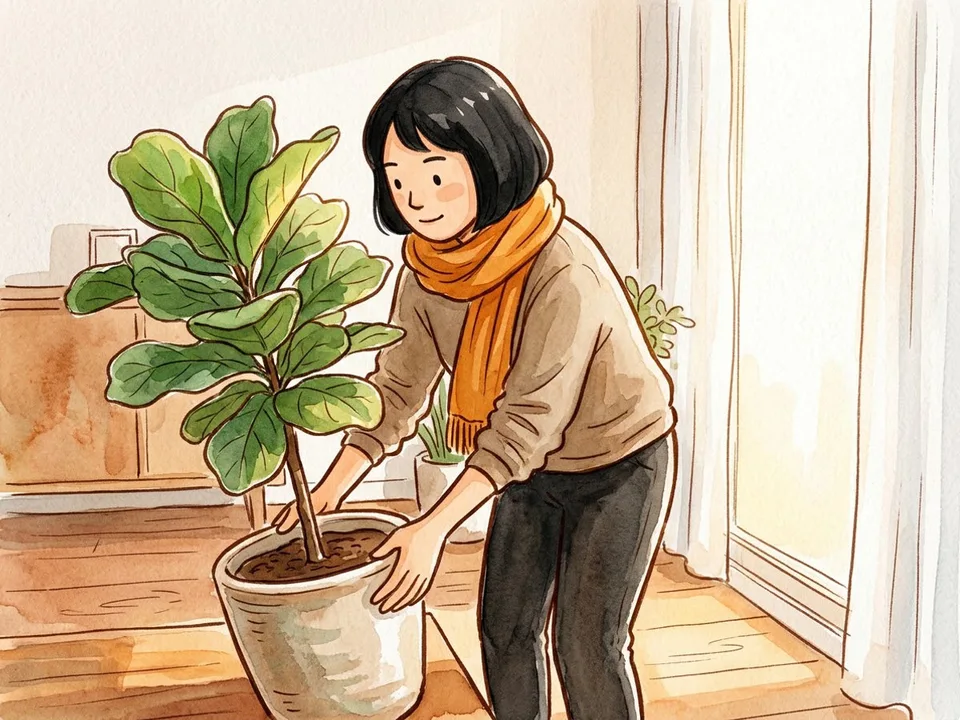
Step 3 of 12: Match the plant to the light 3Match the plant to the light
Read the window before you read the plant label. A south-facing window gives strong light all day, an east window gives gentle morning sun, a west window gets hot afternoon light, and a north window is low light. Distance matters too: a plant a metre back from a bright window may receive a fraction of the light it would get on the sill.
Acclimatize new plants instead of moving them straight into harsh sun. Sheer curtains soften direct light, and a quarter turn each week keeps growth even. Leggy stems with wide gaps between leaves usually mean too little light; crisp brown patches on the leaves usually mean too much direct sun.
 Step 4 / 12
Step 4 of 12: Rotate and clean the leaves 4Rotate and clean the leaves
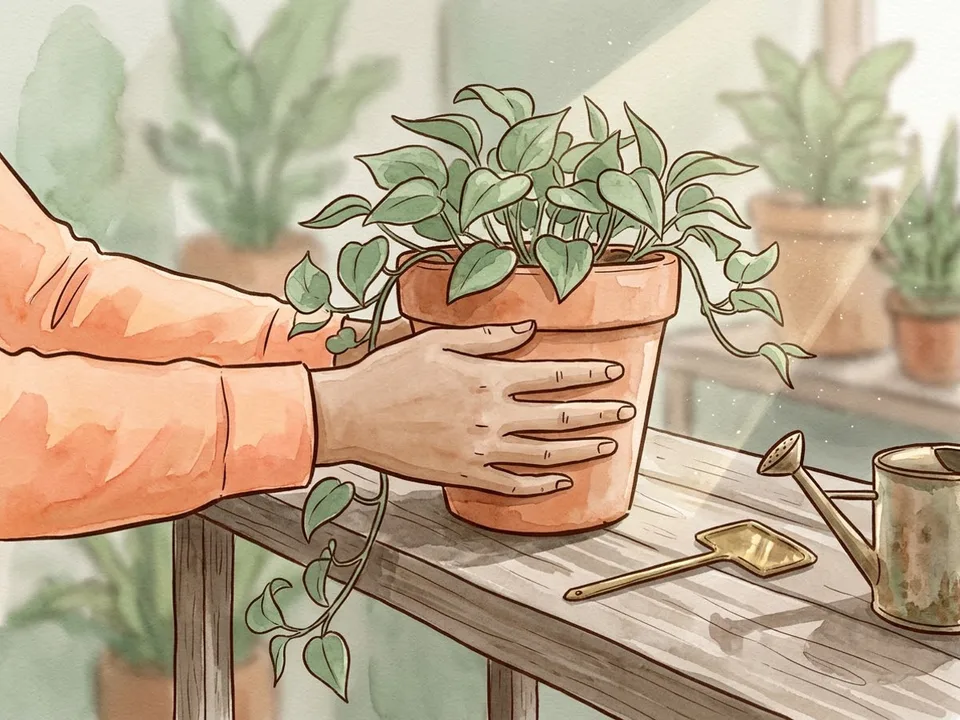
Give the pot a quarter turn every time you water so all sides receive light and the plant grows evenly. Dust blocks light and clogs pores, so wipe broad leaves with a soft damp cloth every few weeks. Support each leaf with one hand while you clean it, especially on thin-leaved plants.
Skip leaf-shine products and home remedies such as milk or oil; they attract dust and can burn in strong sun. Check the undersides while you are there, because that is where pests usually start. Avoid wetting the leaves late in the day when the plant cannot dry before the room cools.
Tip: A soft paintbrush is useful for fuzzy leaves that should not be wiped with a wet cloth.
Part 2 of 3
Repotting Without Shock
 Step 5 / 12
Step 5 of 12: Choose a pot one size up 5Choose a pot one size up
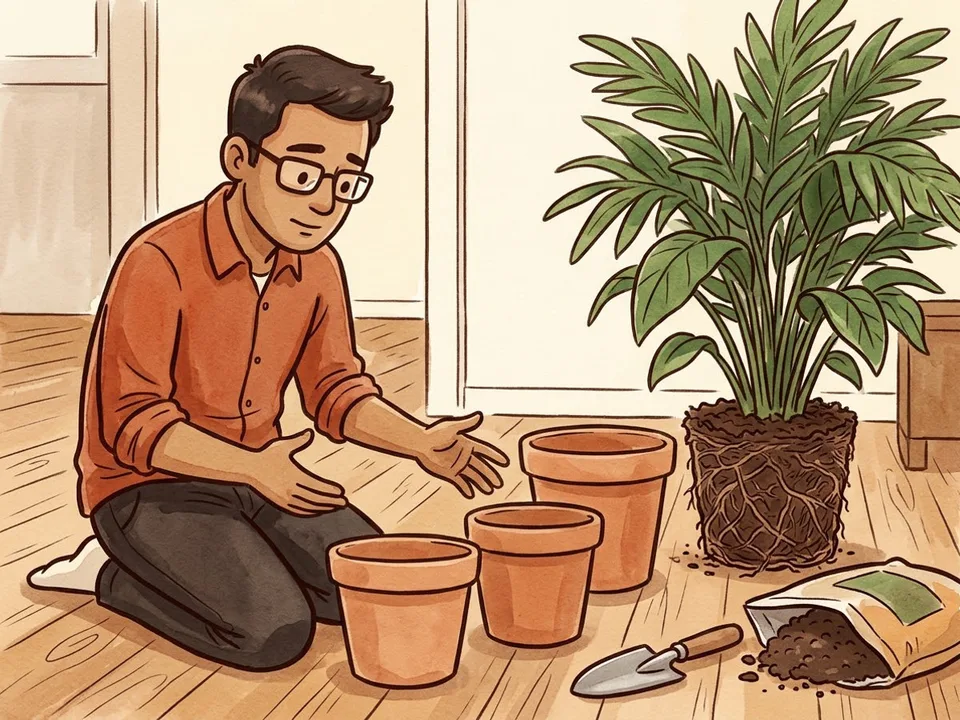
Pick a pot only 2–5 cm wider than the current one. A much larger pot holds far more wet soil than the roots can use, which keeps the mix soggy for longer and invites rot. Make sure the new pot has a drainage hole and clean it before use.
Terracotta dries faster and suits plants that like to dry out; glazed ceramic and plastic hold moisture longer. If you are reusing a pot, scrub away old soil and disinfect it with a dilute bleach solution, then rinse well. Never pot directly into a decorative container without drainage.
 Step 6 / 12
Step 6 of 12: Loosen the root ball 6Loosen the root ball
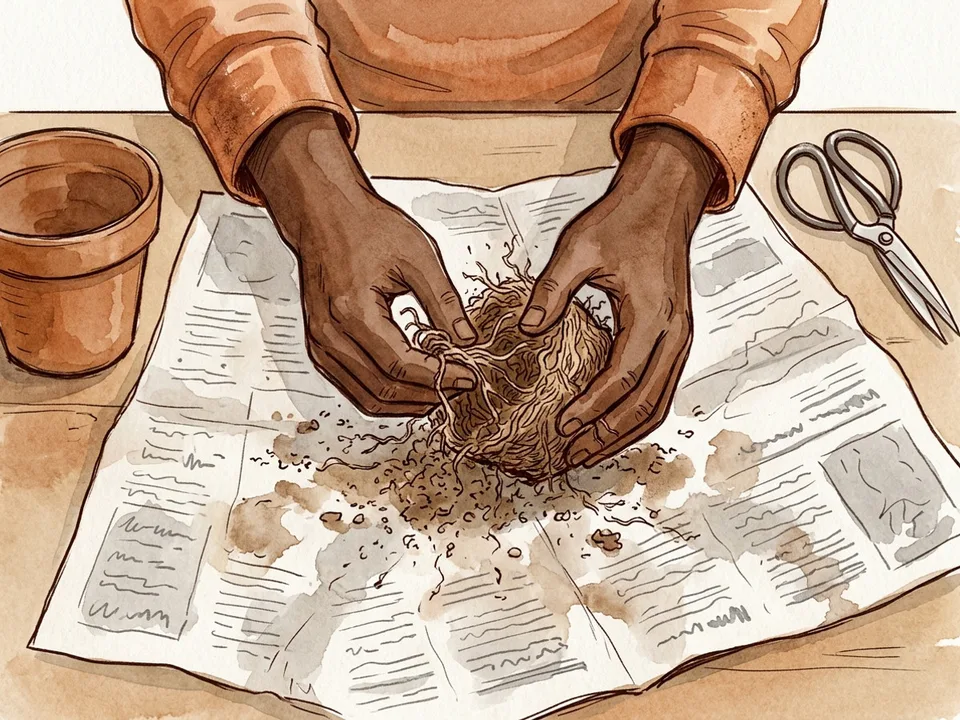
Water the plant a day before repotting so the root ball holds together. Squeeze the sides of the old pot, turn the plant on its side, and support the stems as you slide it out. If the roots are circling the bottom, tease them apart with your fingers and trim only the damaged or dead ones.
Do not rip healthy roots just to loosen them. If the root ball is a solid mat, score the sides in a few places with a clean knife and shake away some of the old mix. Remove any rotten roots, which are soft and brown, and keep the healthy white roots intact.
Tip: Repot in spring or early summer when the plant is actively growing. Avoid repotting a stressed plant that is already dropping leaves.
 Step 7 / 12
Step 7 of 12: Set the plant at the right depth 7Set the plant at the right depth
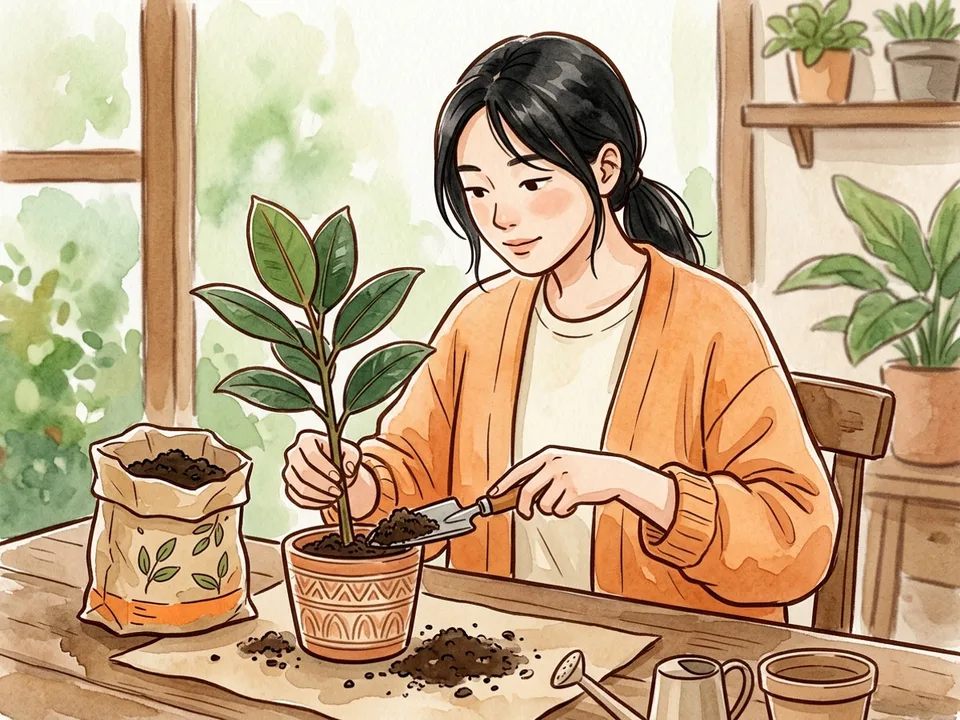
Fill the new pot with fresh potting mix until the root ball sits at the same height as before. The crown — where stems meet roots — should sit just above the soil line, never buried. Hold the plant upright with one hand and fill around the root ball in layers.
Firm the mix gently with your fingers, but do not compact it. Leave about 2 cm of space below the rim so water can pool and drain rather than spilling over. If the plant is top-heavy, add a stake now rather than waiting for it to tip.
 Step 8 / 12
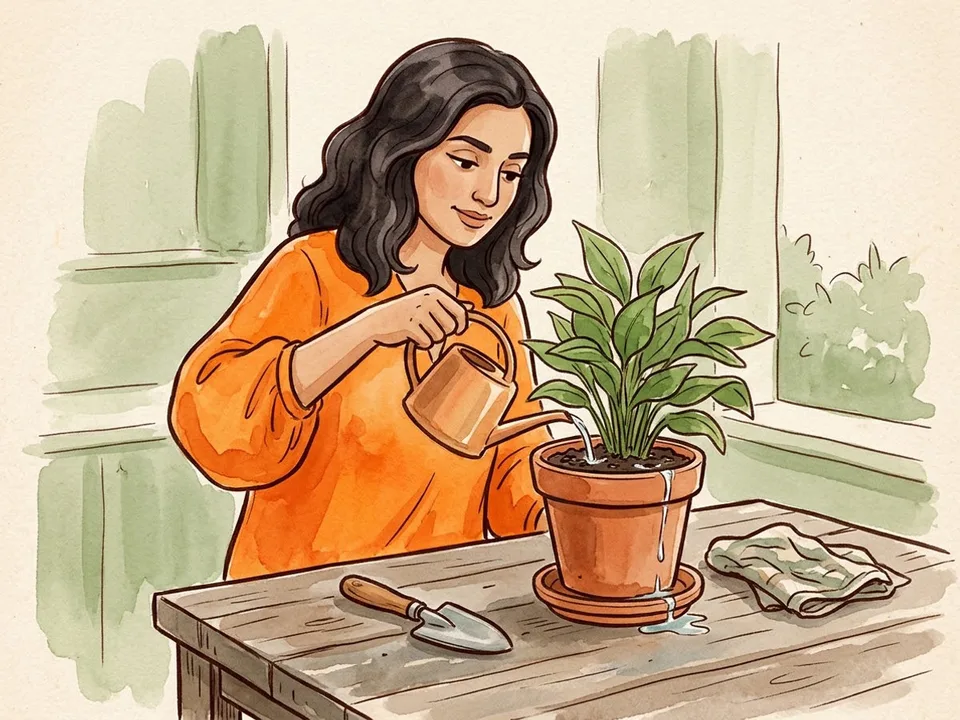
Step 8 of 12: Water in and settle 8Water in and settle
Water deeply until it runs from the drainage hole, then let the pot drain completely. Keep the plant out of direct sun for about a week and do not fertilize until you see new growth. The roots need time to recover before they can use extra nutrients.
Expect a few yellow leaves after repotting; that is normal transplant stress. Check the moisture every few days rather than following a fixed schedule. If the plant collapses, the mix may be too wet or the roots may have been damaged — inspect before watering again.
Tip: Do not feed a newly repotted plant for at least two to three weeks. Fertilizer on damaged roots can burn them.
Part 3 of 3
Troubleshooting Common Problems
 Step 9 / 12
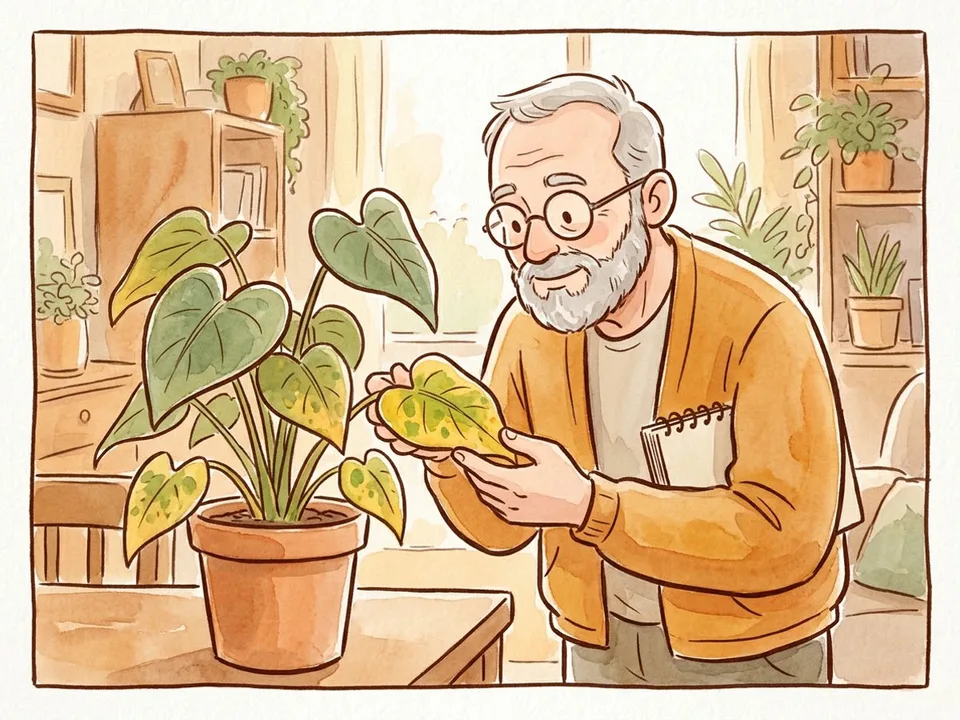
Step 9 of 12: Read yellow leaves correctly 9Read yellow leaves correctly
One yellow leaf at the bottom of the plant is often just normal aging. Several soft, yellow leaves with a sour smell point to overwatering; dry, crisp yellow leaves usually mean the plant has been too dry. Uniformly pale new growth can signal a nutrient deficiency or too little light.
Check the soil before you change anything. Do not fertilize a plant that is sitting in wet soil — fix the watering first. If the stem is mushy at the base, root rot has likely started; remove the affected roots and repot into fresh, well-draining mix.
 Step 10 / 12
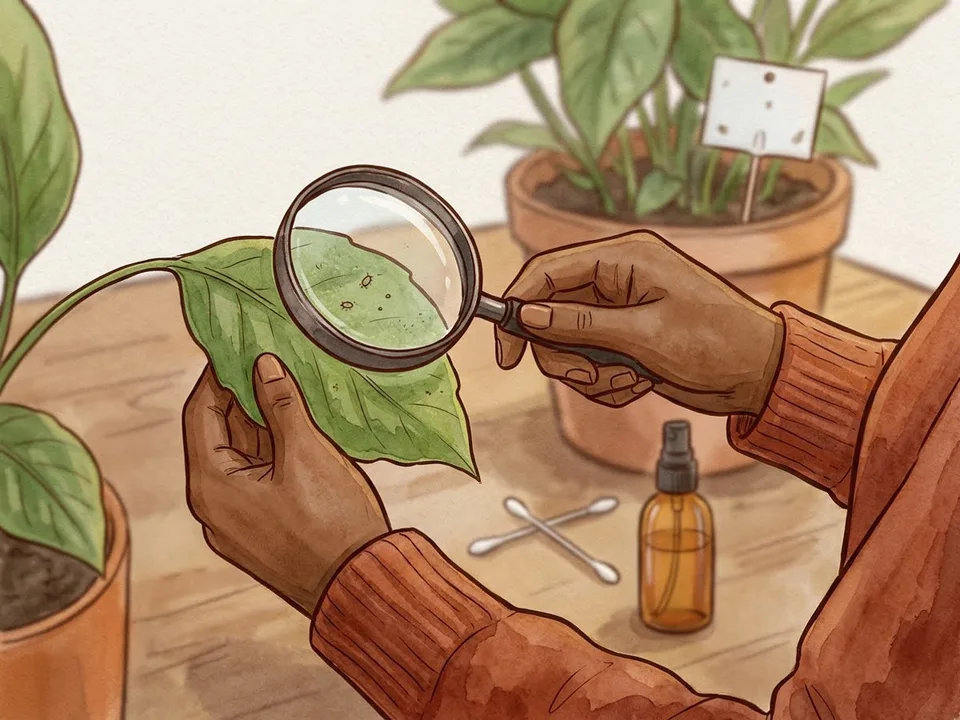
Step 10 of 12: Check for pests 10Check for pests
Look on the undersides of leaves, along stems, and around new growth. Sticky honeydew, fine webbing, white cottony patches, or tiny moving specks are all warning signs. A magnifying glass makes it much easier to tell fungus gnats from spider mites or mealybugs.
Isolate the affected plant immediately. Wipe visible pests with a cotton swab dipped in insecticidal soap, then treat the whole plant according to the product label. Repeat every week for three or four weeks, because eggs hatch in waves. Keep the plant away from your other plants until two treatments pass with no new signs.
Tip: Do not spray a plant in direct sun. Move it to shade first, treat, and let the leaves dry before returning it to bright light.
 Step 11 / 12
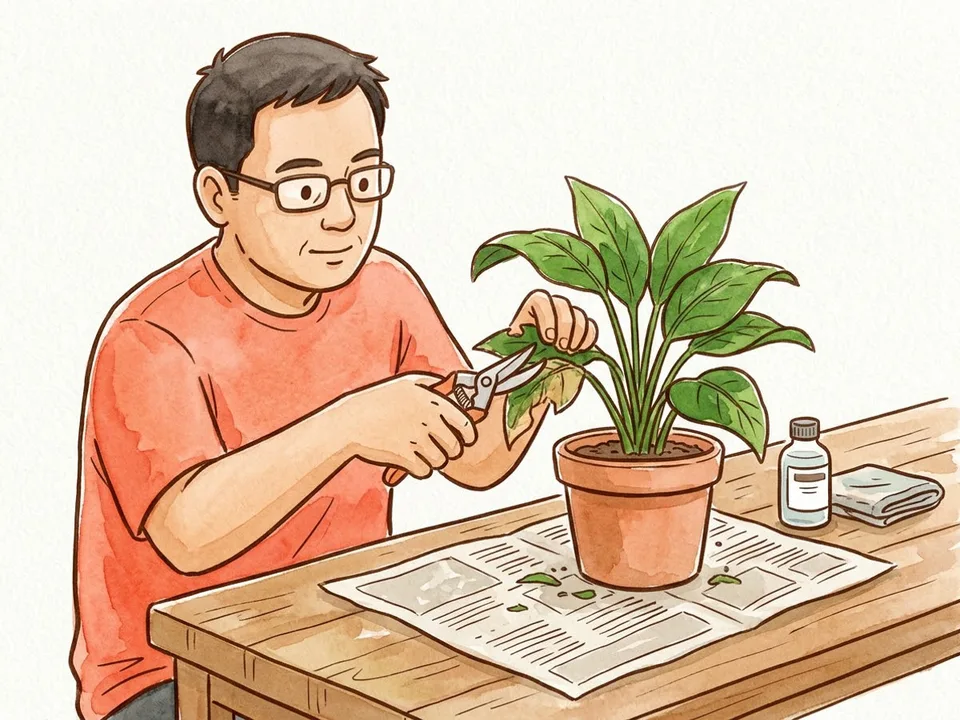
Step 11 of 12: Trim damaged growth 11Trim damaged growth
Use clean, sharp scissors or pruners. Remove dead, damaged, or diseased leaves at the stem, and cut leggy stems just above a leaf node so the plant can branch. Do not remove more than about a third of the foliage at once; the plant needs leaves to make energy.
Sterilize the blades with rubbing alcohol between plants, especially if you are treating a suspected infection. Dispose of diseased material in the trash rather than the compost. Take a photo before and after so you can see whether the plant is recovering.
 Step 12 / 12
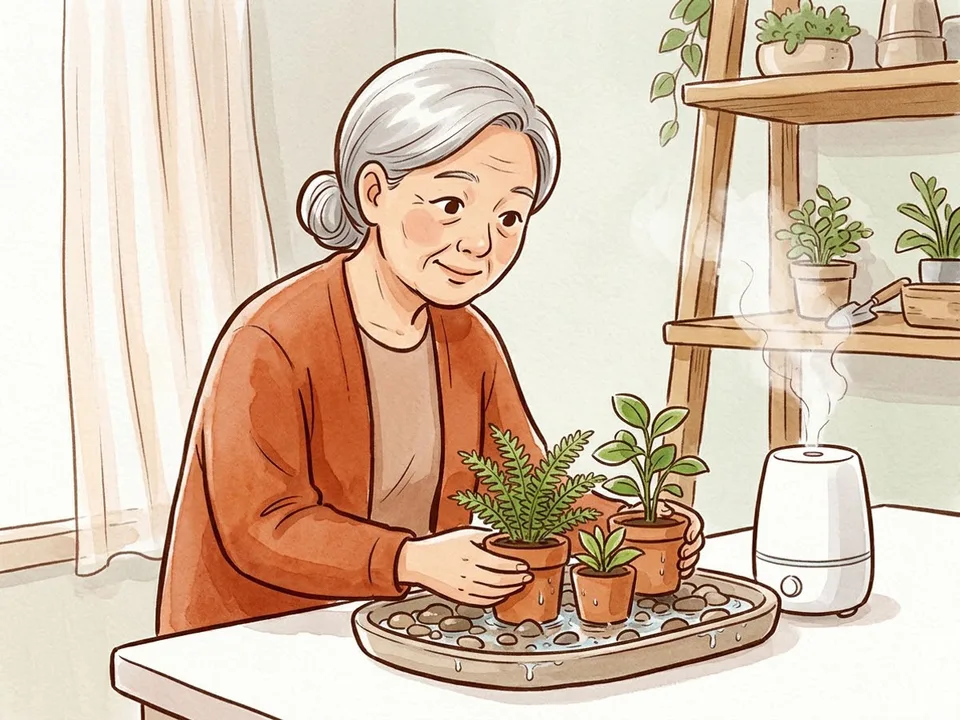
Step 12 of 12: Adjust humidity and airflow 12Adjust humidity and airflow
Most tropical houseplants are comfortable at 40–60% humidity. A pebble tray, grouping plants together, or a small humidifier can raise humidity around a plant; misting helps only briefly and can encourage leaf spots. Do not mist fuzzy-leaved plants such as African violets.
Airflow matters as much as humidity. Keep plants away from radiators, air-conditioning vents, and drafty doors, and do not crowd them so tightly that leaves stay wet. A small fan on low, aimed away from the plants, can keep air moving in a stuffy room.
Tip: If water beads on the inside of a terrarium or cover, open it for a few hours. Too much humidity with no airflow leads to mould.
Tips
- Water in the morning so leaves and soil have time to dry before the room cools.
- Use a pot with a drainage hole; if you love a decorative pot, use it as a cachepot and hide a nursery pot inside.
- Learn one plant well before buying ten. The same watering rule rarely suits every species.
- Keep new plants separate for two weeks so pests do not spread through your collection.
- A cheap moisture meter is a guide, not a verdict. Check with your finger and the weight of the pot.
Warnings
- Do not use household bleach straight from the bottle on pots or tools. Dilute it, rinse thoroughly, and let everything dry.
- Some houseplants are toxic to cats, dogs, or children. Check the species before you bring it home, especially if pets chew leaves.
- Do not seal a wet plant in a closed terrarium or plastic bag. Without airflow, mould and rot develop quickly.
Community Q&A
How often should I water a houseplant?+
There is no single schedule. Check the soil at 2–3 cm deep and water when it is dry, then adjust for season, light, and pot size. Most plants need less in winter.
Why are the leaf tips turning brown?+
Brown tips often mean inconsistent watering, low humidity, or salt buildup from fertilizer. Water thoroughly, let the pot drain, and flush the soil every few months.
Can I use garden soil for a houseplant?+
No. Garden soil compacts in a pot and may carry pests. Use a sterile potting mix designed for containers, and choose one that drains well.
Should I mist my plants?+
Misting raises humidity for only a few minutes and can leave leaves wet. A humidifier, pebble tray, or grouping plants is more effective and less likely to cause leaf spots.
How do I know when to repot?+
Roots coming out of the drainage hole, water running straight through, or a pot that dries out within a day are signs it is time. Repot in spring or early summer.
References
- Royal Horticultural Society. “Houseplants: care and cultivation.” RHS, 2024.
- University of Minnesota Extension. “Growing houseplants.” 2023.
- Missouri Botanical Garden. “Plant Finder: indoor culture notes.”
Related on Howly
About This Article
Written by Site Admin. A subject-matter reviewer checked the steps before publication. Last updated Oct 28, 2026. 14,320 readers have viewed this guide.
90% of readers found this article helpful.
246 votes - 90%
Click a star to add your vote
Lena M.
Oct 24, 2026
“I stopped watering on a schedule and started checking the soil. My pothos stopped dropping leaves within two weeks.”