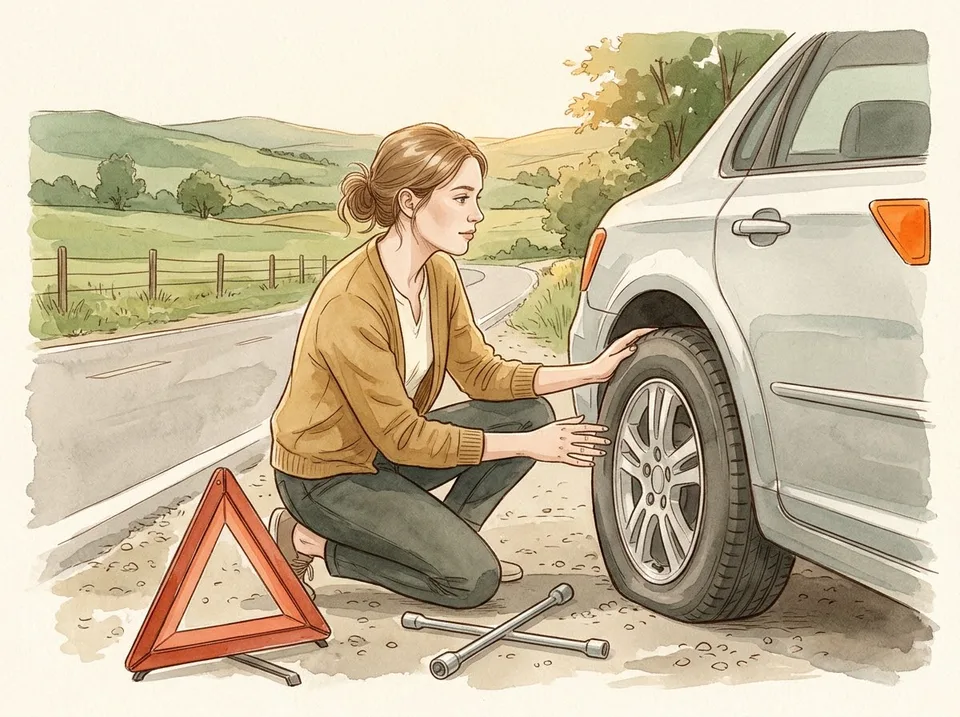
How to Change a Flat Tire
A flat tire on a shoulder is a physics problem and a traffic problem at the same time. Get the car and the people out of the lane first, then work slowly enough that the wheel goes back on straight.
Co-authored by:
Howly editors
Steps
3 methods · 15 steps · 15 illustrationsPart 1 of 3
Getting Off the Road Safely
 Step 1 / 15
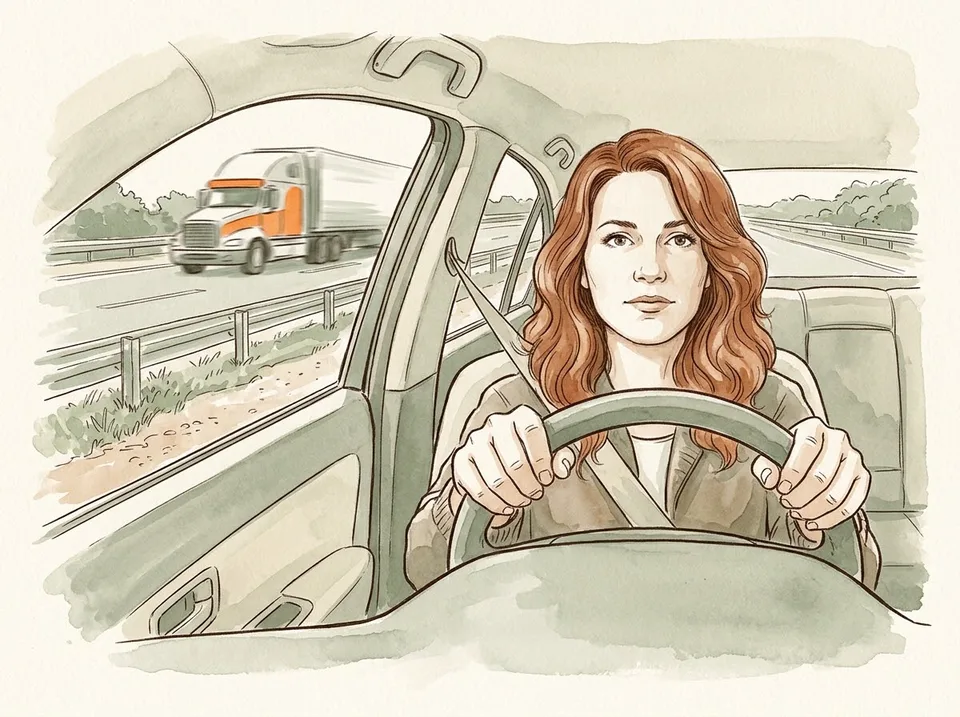
Step 1 of 15: Hold the wheel straight and coast to a stop 1Hold the wheel straight and coast to a stop
A front blowout pulls the car toward the flat, so the instinct to yank the wheel back is the thing that puts you into the next lane. Grip both sides of the wheel, keep it pointed where the car is already going, and lift off the accelerator. Let the car slow itself down.
Brake gently once you are under about 30 mph. Hard braking on a deflating tire shifts weight onto the destroyed corner and can spin you. Turn on your indicator early, and aim for the widest, flattest piece of shoulder you can see ahead rather than the first patch of gravel.
Tip: If the flat is on the front, the steering will feel heavy and pull. That pull is normal — correct with small inputs, not one big tug.
 Step 2 / 15
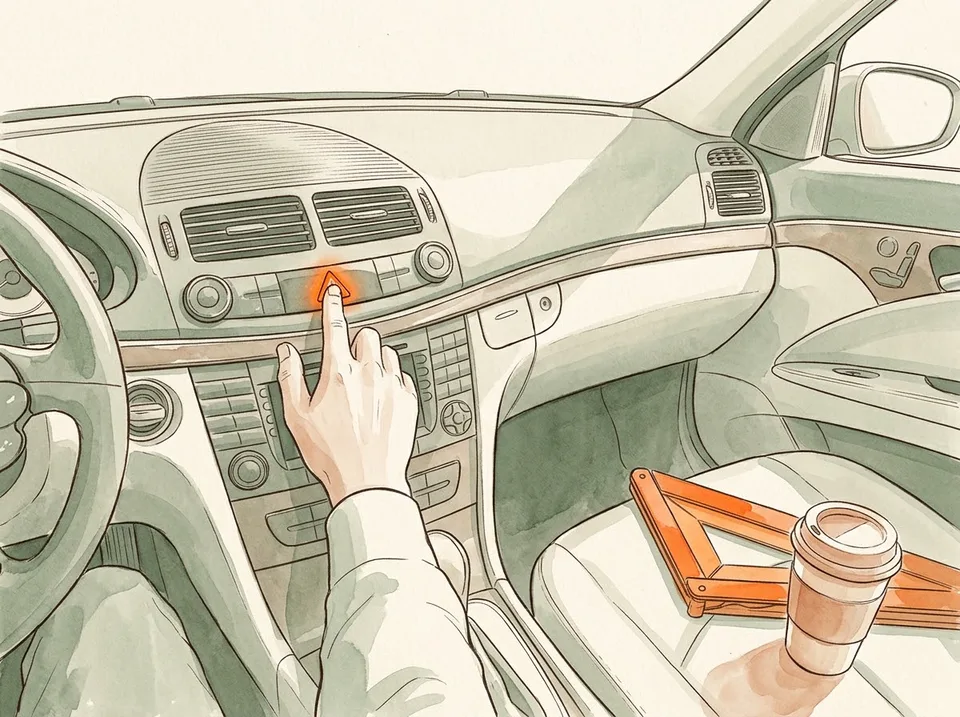
Step 2 of 15: Switch on the hazards and set out a warning triangle 2Switch on the hazards and set out a warning triangle
Hazard lights go on before you open a door, not after. On a fast road, a car parked on the shoulder is invisible until it is close, and the four-way flashers are the cheapest thing you own that changes that.
If you carry a reflective triangle, set it 30 to 50 paces behind the car on the same shoulder. On a highway curve, put it before the curve so drivers see it while they still have room to move over. Walk back along the verge, never in the lane, and keep your eyes on traffic the whole time.
Tip: No triangle? A bright jacket or a flashlight waved at chest height beats standing behind the trunk.
 Step 3 / 15
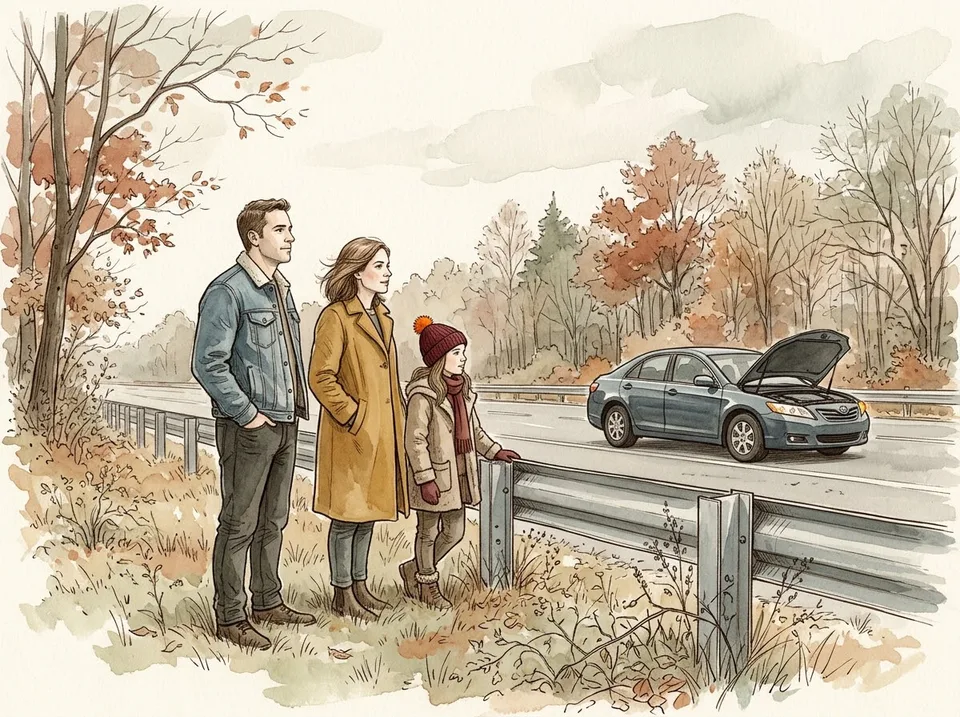
Step 3 of 15: Move passengers behind the barrier, not beside the car 3Move passengers behind the barrier, not beside the car
Everyone gets out on the side away from traffic and walks to the far side of the guardrail or well up the embankment. Standing next to a stopped car on a highway shoulder is one of the most dangerous places a person can be, because the next distracted driver aims at the biggest object in their lane.
Take the keys, take the phone, and leave the doors unlocked in case you need to get back in quickly. If you have a dog, leash it before opening the door — a frightened animal on a highway is a second emergency.
Tip: In cold or wet weather, keep everyone in the car only if there is a real risk of exposure and the car is well off the lane. Otherwise, get behind the barrier.
 Step 4 / 15
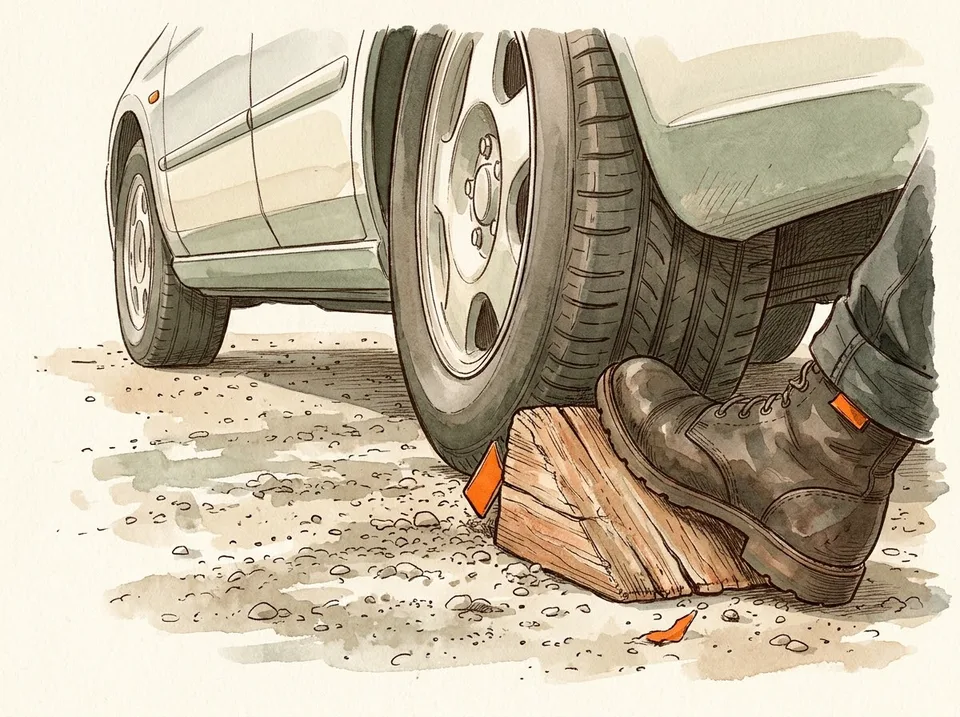
Step 4 of 15: Chock the wheel diagonally opposite the flat 4Chock the wheel diagonally opposite the flat
Before anything goes up in the air, block the wheel that is diagonally across from the flat — right rear if the front left is flat. A wedge of wood, a wheel chock, or a heavy rock jammed against the tread stops the car from rolling when you lift one corner.
Push the chock in tight with your foot, then rock the car gently by hand to confirm it does not creep. This is the step people skip, and it is the reason cars slide off jacks.
Tip: Do not use the spare tire as a chock — you are about to need it, and a round object rolls.
 Step 5 / 15
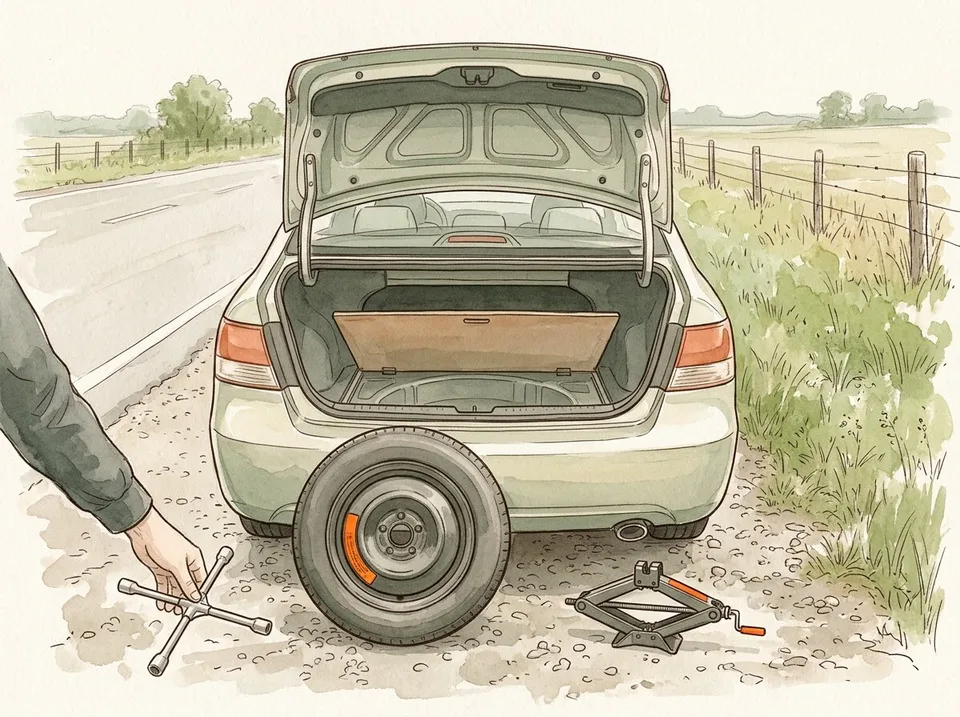
Step 5 of 15: Lay out the spare, the jack, and the wrench before you lift anything 5Lay out the spare, the jack, and the wrench before you lift anything
Open the trunk and take everything out first: the spare, the scissor jack, the lug wrench, and the jack handle. Check that the spare is actually inflated — a surprising number of compact spares sit at 15 psi for years — and that the wrench fits the nuts. Some cars hide a locking nut key in the glovebox or under the floor panel.
Set the tools on the ground next to the wheel you are working on, not behind the car. Kneeling on gravel to hunt for a wrench while traffic passes three feet away is how people get hurt.
Tip: If the nuts are rusted solid, a length of pipe over the wrench handle gives you leverage without wrecking your knuckles.
Part 2 of 3
Loosening, Lifting, and Swapping
 Step 6 / 15
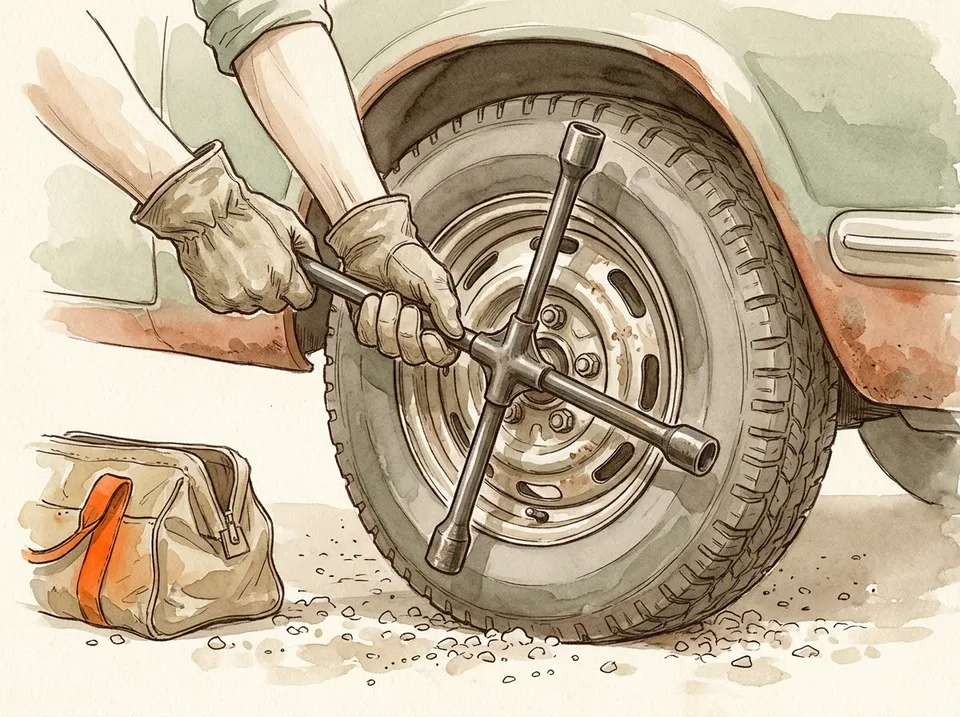
Step 6 of 15: Crack the lug nuts loose while the tire is still on the ground 6Crack the lug nuts loose while the tire is still on the ground
Break each nut about a quarter turn before the car leaves the ground. With the tire planted, the wheel cannot spin and your effort goes into the nut instead of into chasing the wheel around.
Fit the wrench squarely over the nut, then push down on the handle with your body weight rather than pulling up. Work around the wheel in a cross pattern, not in a circle, so the wheel does not cock on the studs. Leave the nuts on by a few threads — they hold the wheel in place while you raise the car.
Tip: Righty-tighty, lefty-loosey applies on almost every car. If a nut will not budge, check for a locking nut before you bend the wrench.
 Step 7 / 15
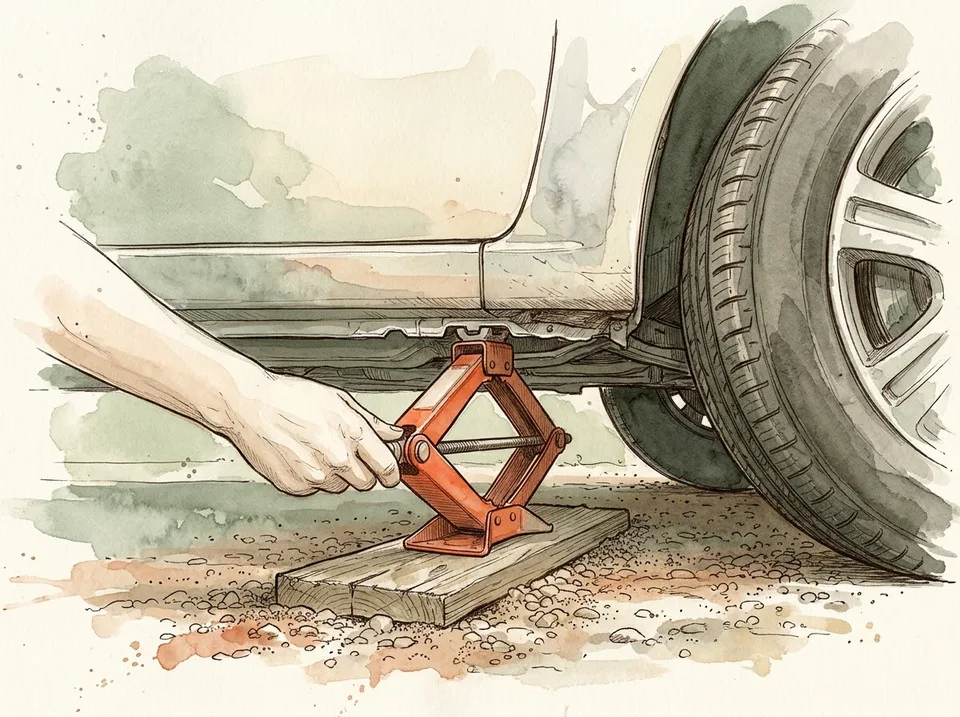
Step 7 of 15: Find the reinforced jack point behind the front wheel 7Find the reinforced jack point behind the front wheel
Slide under the car on your back, near the flat, and look for the pinch weld — the seam where the body panel folds under the sill. Most cars mark the correct spot with a notch or a small arrow, roughly a hand's width behind the front wheel arch.
The jack goes there, not under the door, not under the floor pan, and not under a suspension arm. Putting it in the wrong place dents the rocker panel or, worse, lets the car slip off. Set the jack on firm ground; if the shoulder is soft, put a flat board under the base.
Tip: The owner's manual has a diagram of the exact jack point for your model. It is worth the thirty seconds it takes to find it.
 Step 8 / 15
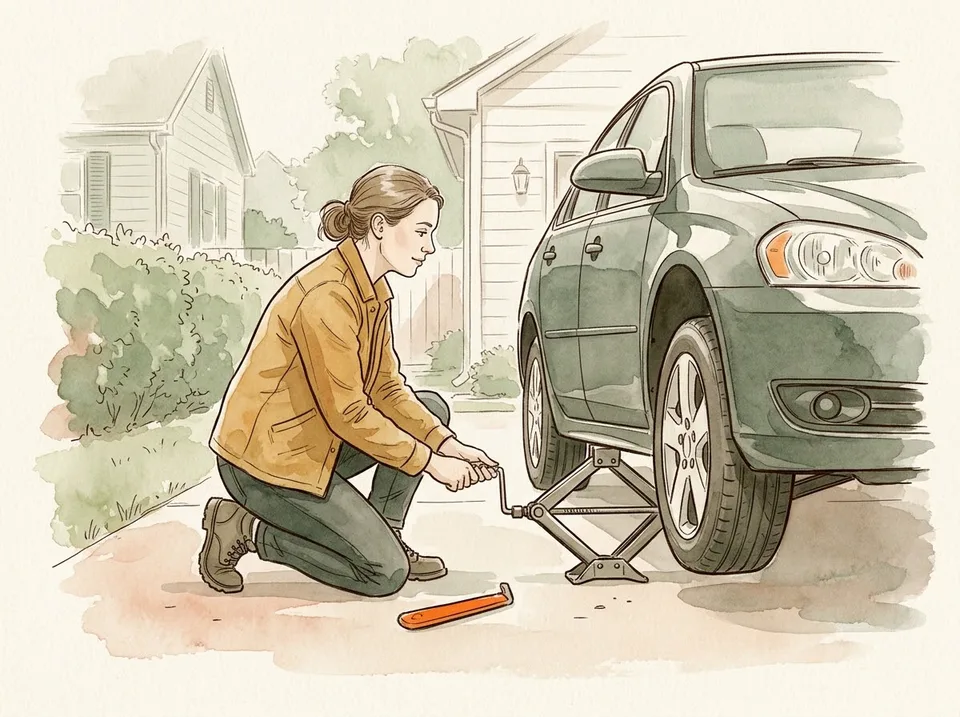
Step 8 of 15: Raise the car only until the flat clears the ground 8Raise the car only until the flat clears the ground
Turn the jack handle clockwise, keeping the saddle seated in the jack point as the car rises. Stop when the flat tire has about an inch of air under it — just enough to slide the wheel off the hub.
Going higher buys you nothing and costs stability. A scissor jack at full extension is a tall, narrow column on a small base, and every extra inch makes the car more likely to shift. If you feel the jack lean, lower it fully, reset the base, and start again.
Tip: Never put any part of your body under a car held only by a scissor jack. Use it to change a wheel, not to inspect anything underneath.
 Step 9 / 15
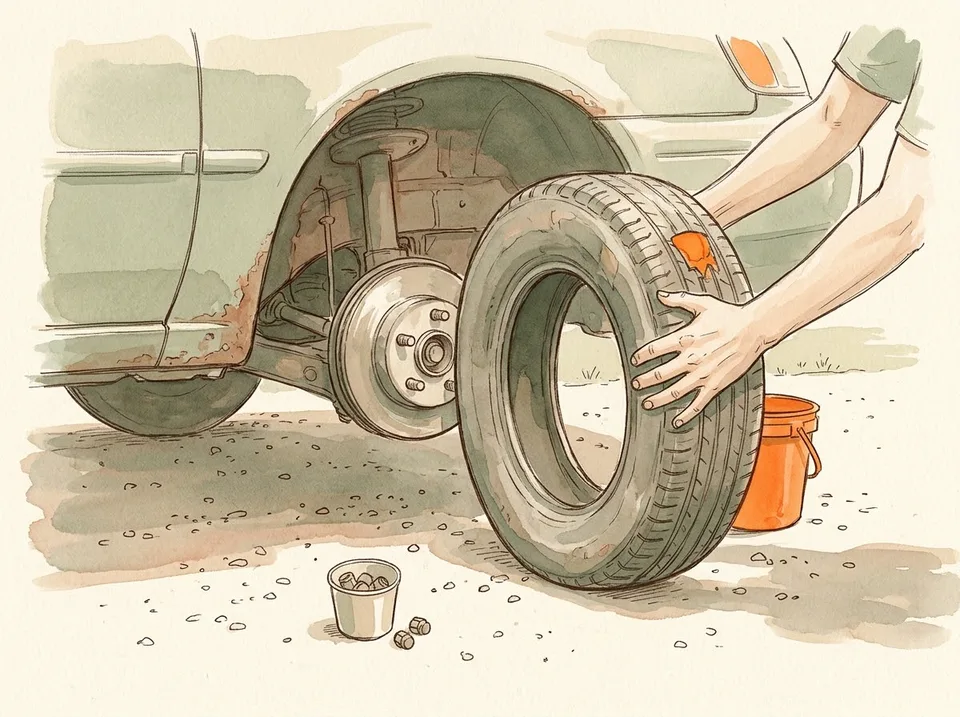
Step 9 of 15: Take the nuts off in a circle and keep them in one place 9Take the nuts off in a circle and keep them in one place
Once the wheel is free of the ground, spin the nuts off by hand and put them in the jack handle, a cup, or your pocket — anywhere they cannot roll into a drain. Grip the tire at nine and three o'clock, pull it straight toward you, and lower it to the ground rather than letting it drop.
Look at the hub before you fit the spare. If the studs are chewed, the wheel is cracked, or the hub is full of grit, that changes the plan: clean it, or call for a tow instead of forcing a wheel onto damaged hardware.
Tip: A wheel that will not come off is usually rusted to the hub. A firm kick with your heel at the bottom of the tire usually breaks the seal.
 Step 10 / 15
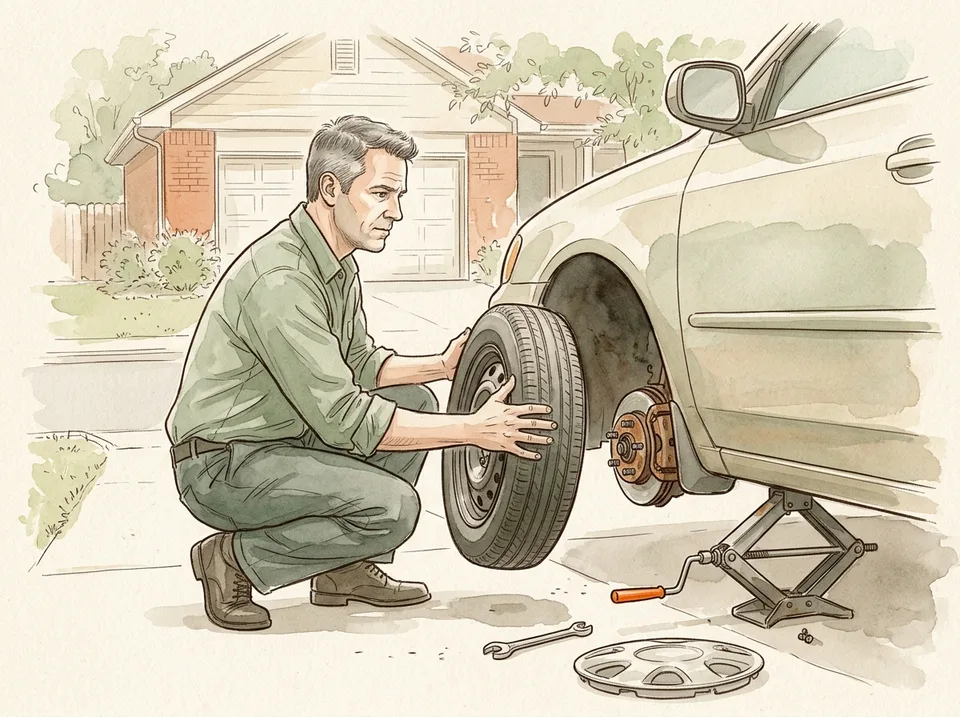
Step 10 of 15: Lift the spare with your legs and set it on the hub 10Lift the spare with your legs and set it on the hub
Roll the spare to the wheel well, squat down, and lift it with your legs close to your body. Line the bolt holes up with the studs and push the wheel on until it sits flat against the hub. A full-size wheel weighs 20 to 25 kg; a compact spare is lighter but still awkward at knee height.
If the spare does not sit flat, one of the studs is probably not aligned. Pull it off, rotate it one hole, and try again — do not lever it on with the wrench, which is how threads get stripped.
Tip: Compact spares are usually marked with a 50 mph limit and a range of about 70 miles. Plan the trip to a tire shop before you drive off.
Part 3 of 3
Tightening and Getting Home
 Step 11 / 15
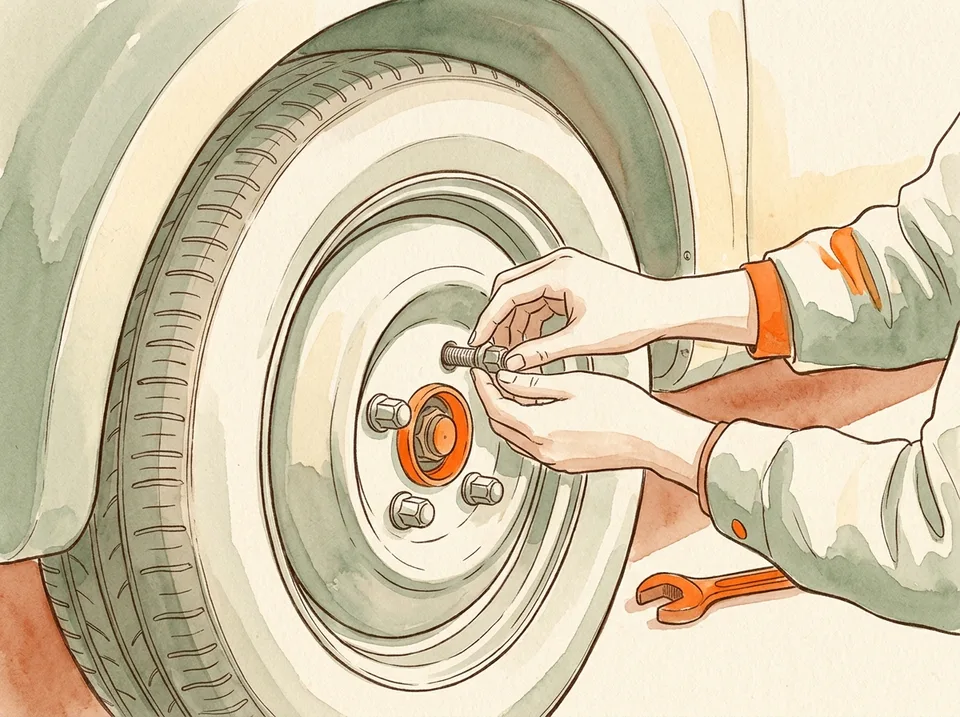
Step 11 of 15: Thread the nuts by hand so you do not cross the threads 11Thread the nuts by hand so you do not cross the threads
Start every nut by hand, turning it the wrong way until you feel the thread click, then turning it the right way. That small backward turn seats the nut square on the stud and prevents cross-threading, which is the failure that turns a ten-minute job into a tow.
Snug them in a star pattern with your fingers until the wheel is flat against the hub. The wheel should not wobble when you push the top of the tire.
Tip: If a nut goes on hard, take it off and start again. Forcing it will strip the stud, and a stripped stud means a new hub.
 Step 12 / 15
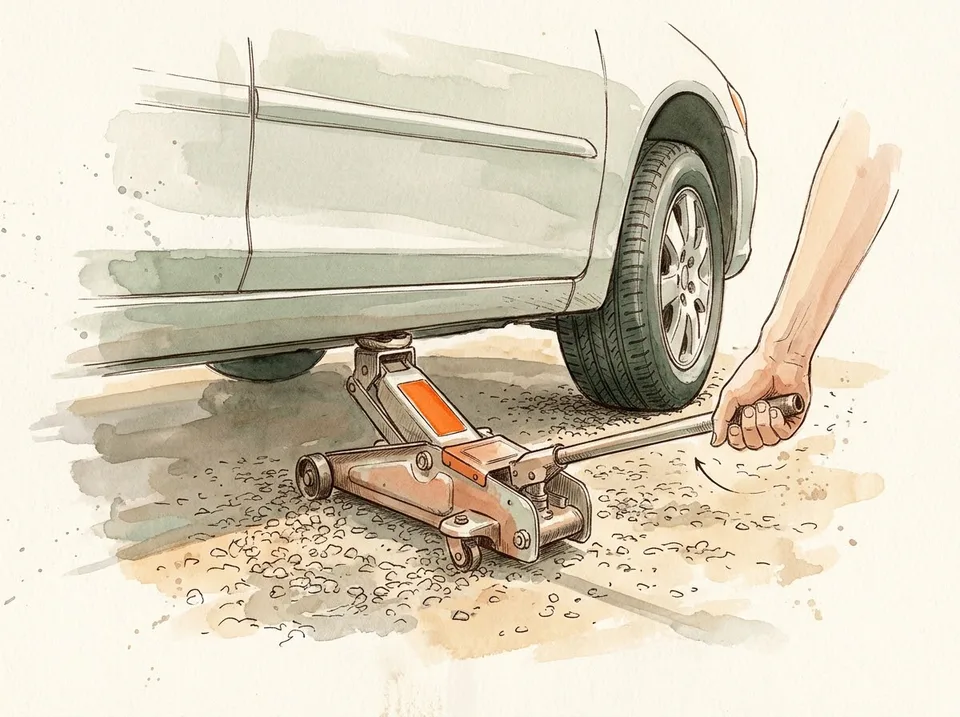
Step 12 of 15: Lower the car until the tire grips the ground 12Lower the car until the tire grips the ground
Turn the jack counterclockwise until the car settles and the tire takes weight. Do not drop it — lower it in slow, even turns and watch that the jack saddle stays in the jack point as it comes down.
Once the tire is firmly planted, pull the jack out from under the car. The wheel is now held by friction, which is exactly what you need to finish tightening without the wheel spinning.
Tip: If the car does not settle evenly, stop and check that the jack is still seated. A jack that has slipped sideways will fold when it takes the load.
 Step 13 / 15
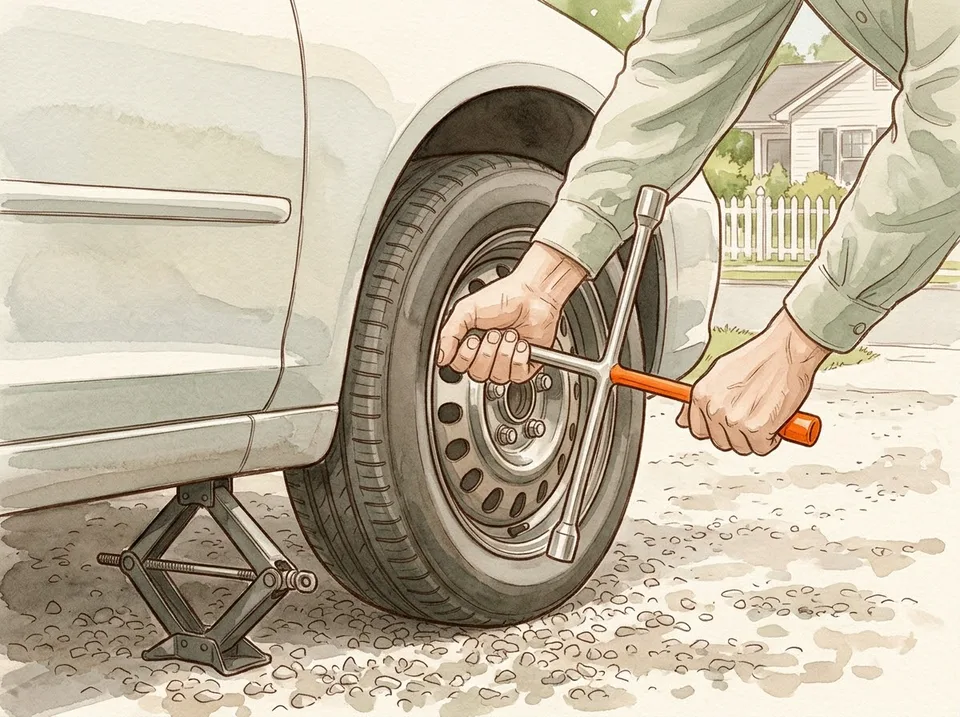
Step 13 of 15: Tighten in a star pattern, then check them again after 50 miles 13Tighten in a star pattern, then check them again after 50 miles
Work around the wheel in a star, tightening each nut a little at a time rather than finishing one before moving on. Two or three passes gets every nut evenly loaded, which keeps the wheel seated flat and prevents the vibration that comes from a wheel tightened on one side only.
Use the wrench with steady pressure — a firm push with your foot on the handle is normal, but do not jump on it. Re-check all the nuts after 50 miles of driving, because new wheels and new studs settle and can loosen.
Tip: The correct torque is in your owner's manual, usually 90 to 120 Nm for a passenger car. Overtightening warps brake rotors.
 Step 14 / 15
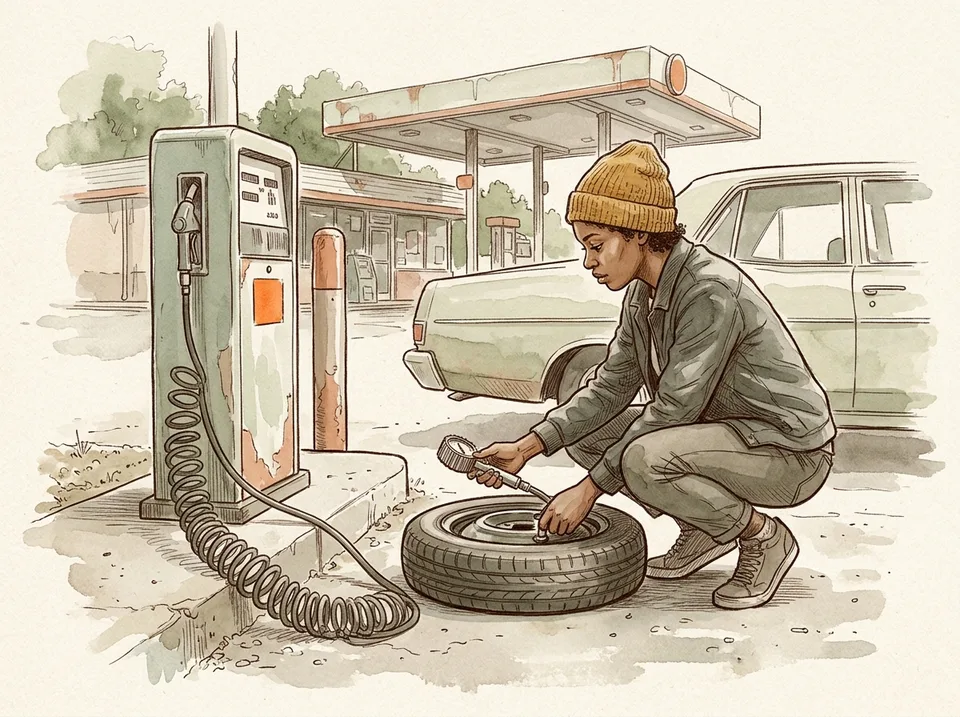
Step 14 of 15: Check the spare's pressure before you drive away 14Check the spare's pressure before you drive away
Press a gauge onto the spare's valve and read it. A compact spare usually wants 60 psi, far more than a road tire, and it will feel vague and hot if it is half flat. If you have no gauge, stop at the first gas station — most have a working air pump.
Check that the wheel nuts are all present, that the jack and wrench are back in the trunk, and that nothing is left on the ground behind the car.
Tip: A spare that has been in the trunk for three years is often low. Check it twice a year, along with the jack and the wrench.
 Step 15 / 15
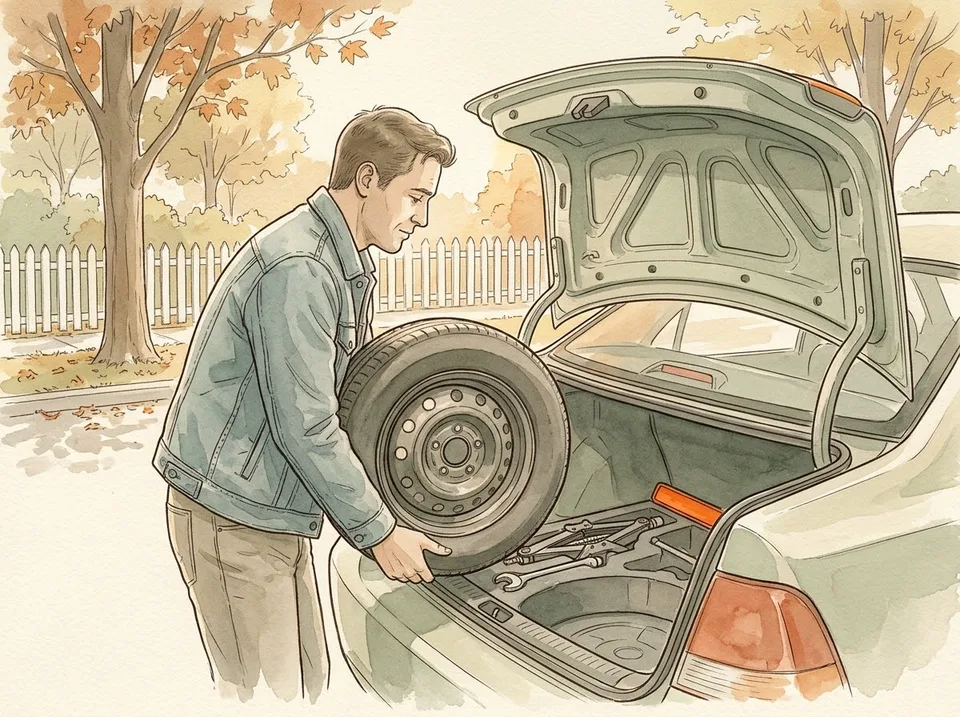
Step 15 of 15: Drive straight to a tire shop and get the flat repaired 15Drive straight to a tire shop and get the flat repaired
Put the flat tire in the trunk — a shop can often patch it for the price of a sandwich, and a repairable tire thrown away is money in a landfill. Drive below the spare's speed limit, avoid hard braking, and go directly to a shop rather than running errands on a temporary wheel.
Tell the technician which corner was changed and ask them to re-torque the nuts with a torque wrench. Then wash your hands, check your jacket for grease, and put a proper jack and a working gauge back in the car for next time.
Tip: Most punctures in the tread can be patched. A puncture in the sidewall cannot, and neither can a tire with a torn belt — that one is replacement, not repair.
Tips
- Practise the whole sequence once in your driveway on a dry afternoon. The first time you change a tire should not be on a highway shoulder at night.
- A cheap pair of work gloves and a small tarp live happily in the spare-tire well and make the job far less miserable.
- Photograph the jack point on your own car and keep the picture in your phone — every model hides it somewhere slightly different.
Warnings
- Never work under a car supported only by a scissor jack.
- Do not stand between the car and the traffic lane while you work; keep the wheel you are changing on the traffic-free side whenever the shoulder allows.
Community Q&A
Can I drive on a compact spare on the highway?+
Only at the speed and distance printed on the sidewall, which is usually 50 mph for about 70 miles. Stay in the right lane, avoid hard braking, and get the original tire repaired or replaced as soon as you can.
What if a lug nut will not come off?+
Check for a locking nut first, then add leverage with a length of pipe over the wrench handle. If it still will not move, do not shear the stud — call for roadside assistance.
How often should I check the spare?+
Twice a year, at the same time you check the road tires. Compact spares lose pressure slowly and are usually forgotten until they are needed.
References
- National Highway Traffic Safety Administration. Tire Safety: Everything Rides on It.
- American Automobile Association. How to Change a Flat Tire.
Related on Howly
About This Article
Last updated Oct 29, 2026. 48,211 readers have viewed this guide.
0% of readers found this article helpful.
No votes yet
Click a star to add your vote
No reader stories yet. Be the first to share how this guide worked out for you.