How to Start a Nature Journal
A nature journal is a place to slow down, notice what is around you, and record it in words and pictures. You do not need drawing skill — only a few tools and a repeatable habit.
Co-authored by:
Clara Bennett
Nature Journaling Instructor & Illustrator

Steps
3 methods · 12 steps · 12 illustrationsPart 1 of 3
Set Up Your Journal and Kit
 Step 1 / 12
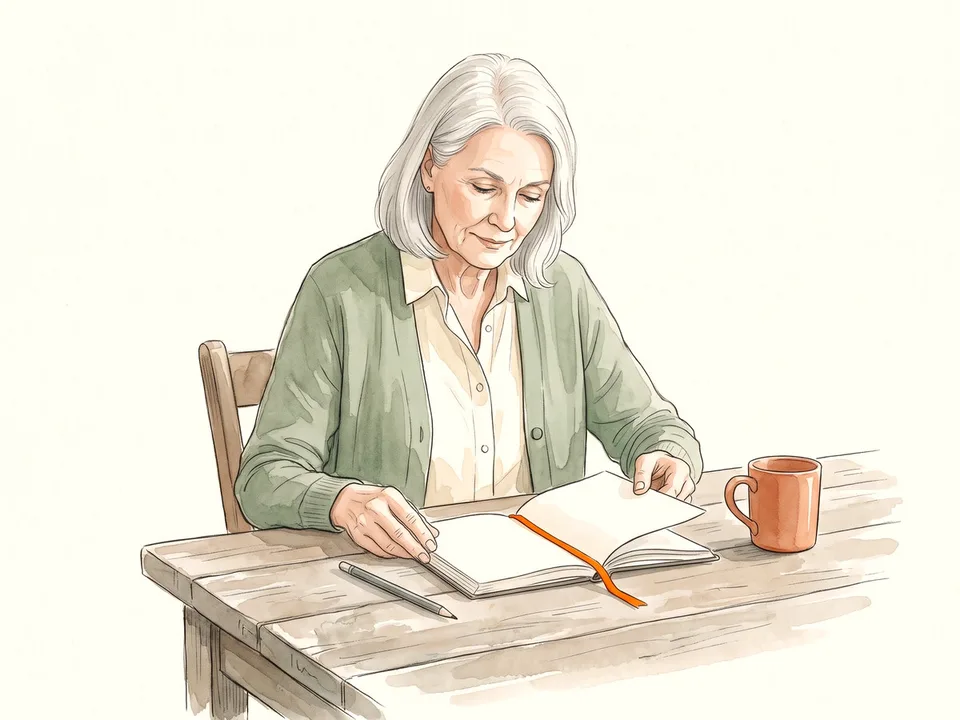
Step 1 of 12: Choose a notebook that opens flat 1Choose a notebook that opens flat
Look for a notebook that lies flat when open, because a stiff spine makes it awkward to sketch across two pages. A5 or A4 is portable; mixed-media paper around 120 gsm handles pencil, pen, and light watercolour without buckling. A hard cover gives you a firm surface when you draw on your knee.
Do not wait for an expensive sketchbook. A cheap notebook you are willing to fill is better than a beautiful one you are afraid to spoil. If you already have a half-used notebook, start there. The first page does not need to be a title page; date it and begin.
Tip: Test your pen and watercolour on the last page before you use them on a sketch you care about.
 Step 2 / 12
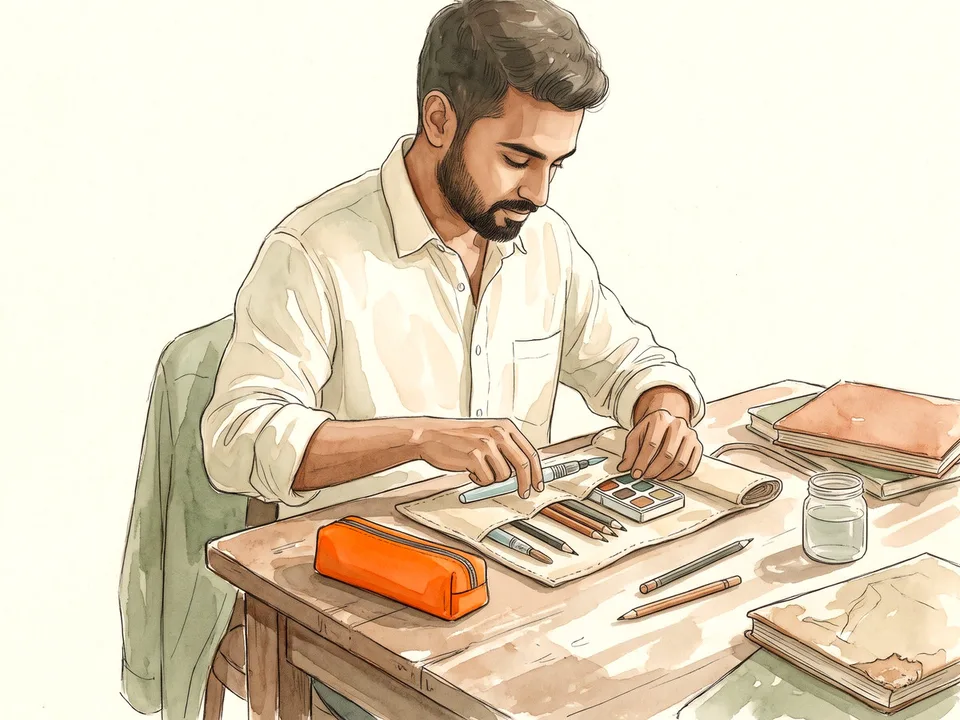
Step 2 of 12: Pick a few portable drawing tools 2Pick a few portable drawing tools
A graphite pencil, a waterproof fine-liner, and a small watercolour set cover most field sketches. Add a water brush or a collapsible brush and a tiny jar, plus a paper towel or cloth. If you prefer colour pencils, choose a small range rather than a heavy box: two greens, an earth brown, a blue, a yellow, and one bright accent are enough.
Keep the kit small enough to fit in a coat pocket or a small pouch. The best tools are the ones you will carry on an ordinary walk. Leave the full studio set at home until you know what you actually reach for.
Tip: A waterproof pen matters if you plan to add watercolour; a water-soluble pen will blur into the wash.
 Step 3 / 12
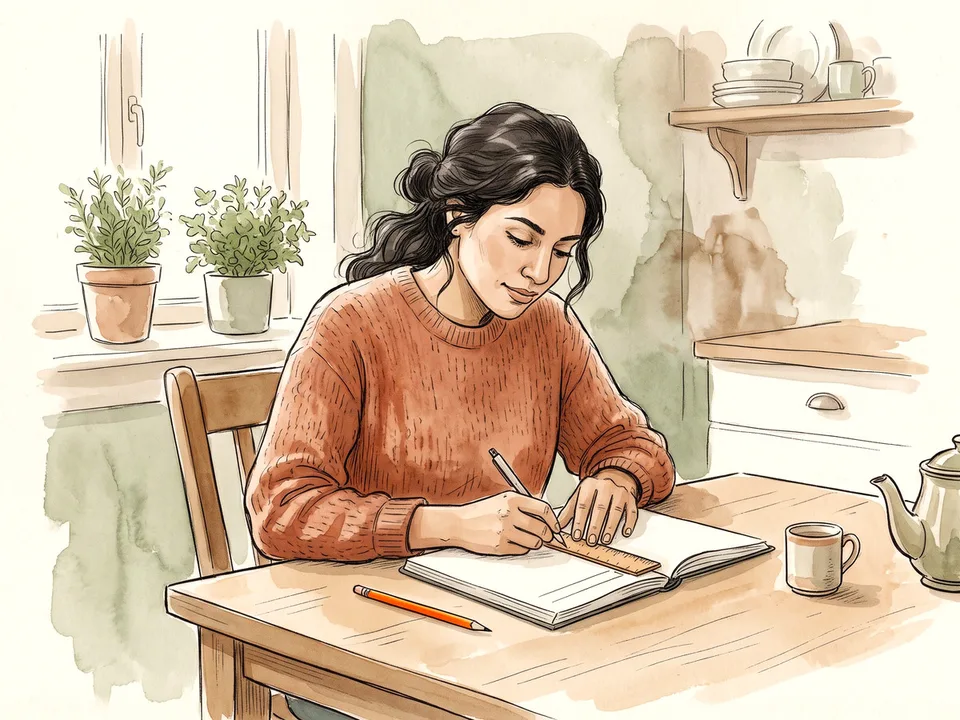
Step 3 of 12: Make a simple page template 3Make a simple page template
Rule a light header for the date, place, time, weather, and temperature. Leave a large open area for a sketch and a narrower column for notes. Add a small box for a colour swatch or a scale bar. The template should take less than a minute to draw, so you can set up a page in the field without losing the moment.
You can also prepare ten pages at home with the same header. Having a few ready pages lowers the barrier on a busy day. Leave plenty of white space; a page that is too structured can feel like a form to fill in rather than a place to look.
Tip: A simple header is enough. Do not spend more time decorating the page than observing the subject.
 Step 4 / 12
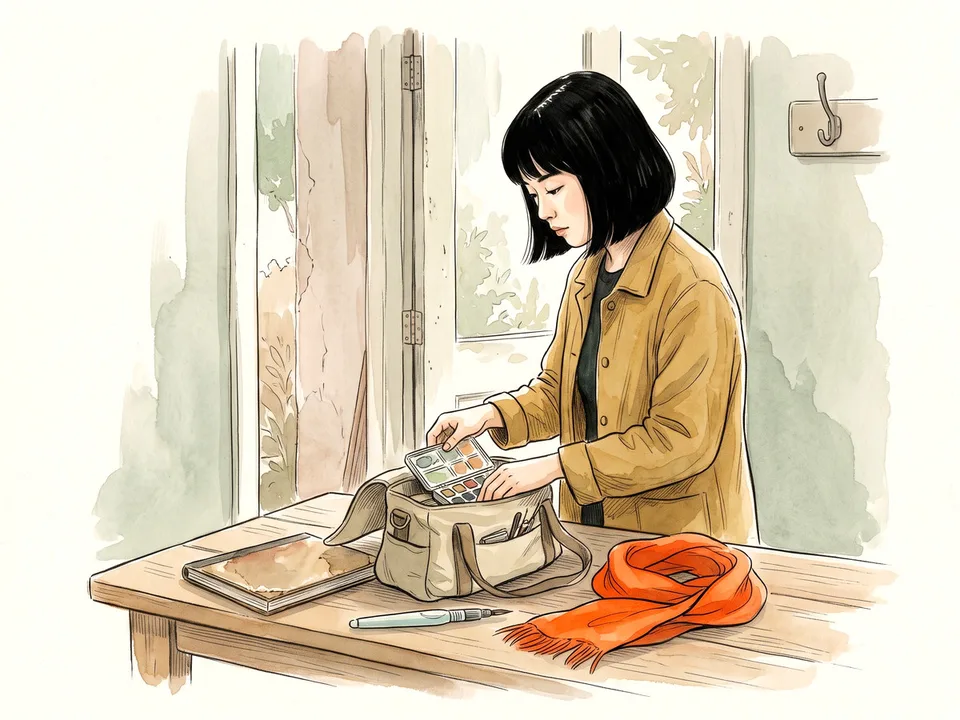
Step 4 of 12: Prepare a small field kit 4Prepare a small field kit
Put the notebook, pencil, pen, water brush, palette, cloth, and a small sharpener in one pouch. Add a folded plastic bag to sit on if the ground is wet, and a snack or water bottle for longer walks. A lightweight clip can hold the page open in wind, and a small envelope can collect fallen leaves without crushing them.
Check the kit before you leave: a dry water brush and an empty pen are common disappointments. Keep a second pencil in the bag. The goal is to remove decisions so that when you stop, you can start looking immediately.
Tip: Do not collect protected plants, nests, or anything from a nature reserve without permission.
Part 2 of 3
Record What You Notice
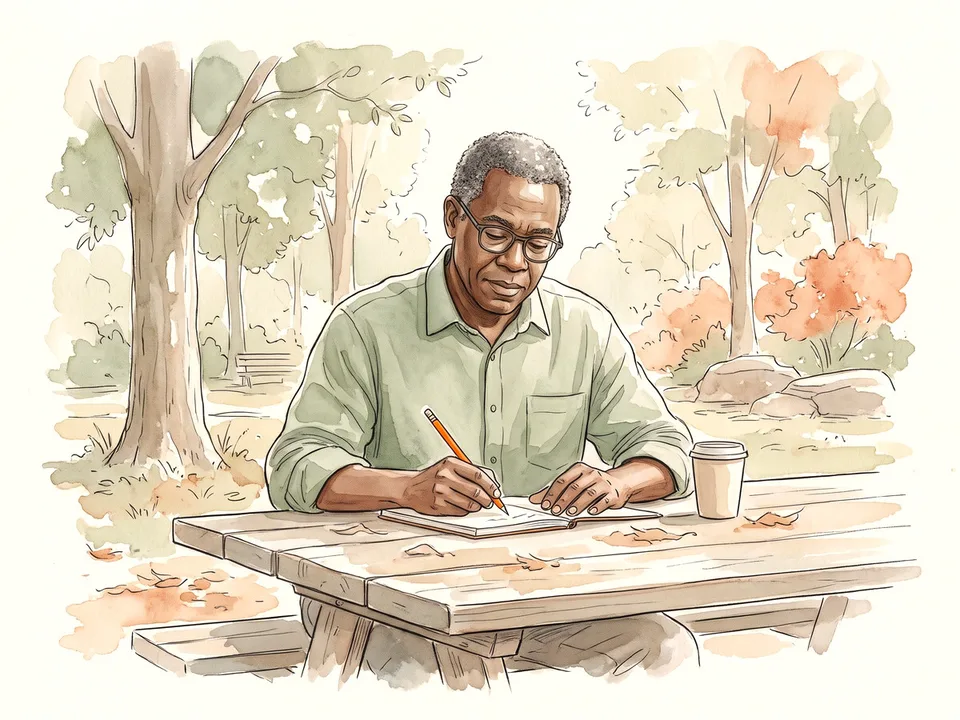 Step 5 / 12
Step 5 of 12: Start with the date, place, and weather 5Start with the date, place, and weather
Write the date, time, location, and weather before you draw. Add the habitat — pavement crack, garden hedge, woodland edge, or pond — and the first thing that caught your attention. These details turn a pretty sketch into a record that you can compare with the same place next month or next year.
Note the light and the wind, too. A plant that is backlit at noon looks different at dusk, and insect activity changes with temperature. If you are in a public place, use a general location rather than a precise address, especially if the site is sensitive.
Tip: A five-second voice memo can capture sounds or a quick description when your hands are busy.
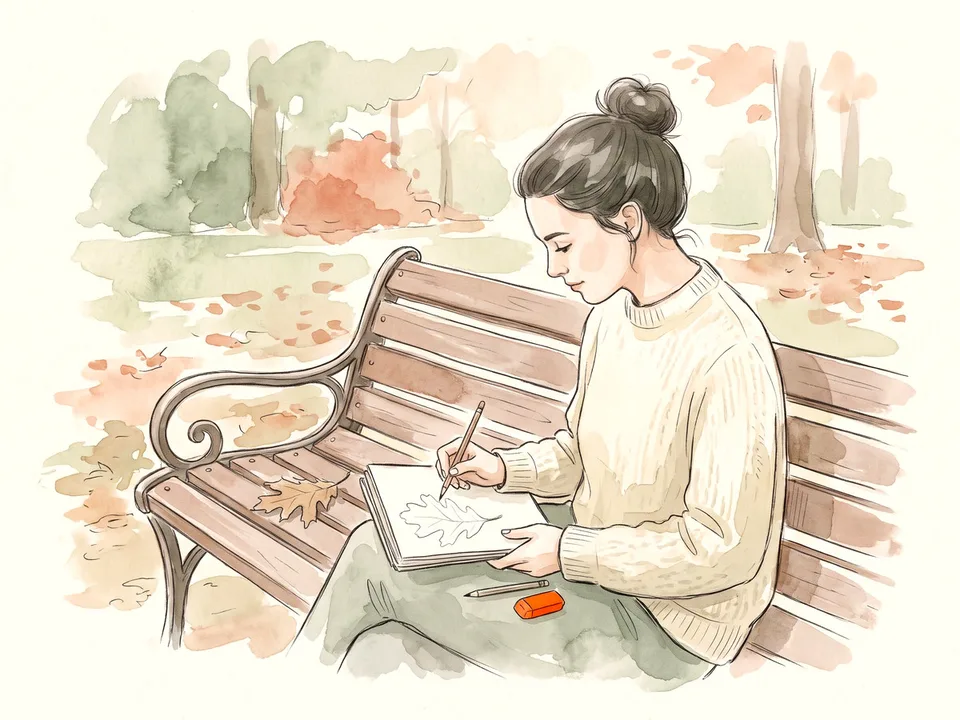 Step 6 / 12
Step 6 of 12: Sketch the big shape before details 6Sketch the big shape before details
Start with a light outline of the whole subject: the curve of a leaf, the angle of a branch, the boxy shape of a bird’s body. Compare widths and negative spaces before you add veins or feathers. A two-minute gesture drawing is enough to get the proportions down, and it is fine to leave the sketch loose.
Resist the urge to erase every wrong line. Overlapping lines show how you looked and corrected, and they often make the drawing more alive. If the subject moves, keep drawing the new position beside the old one and note what changed.
Tip: Draw the biggest shape first, then the second biggest. Details are the last layer, not the first.
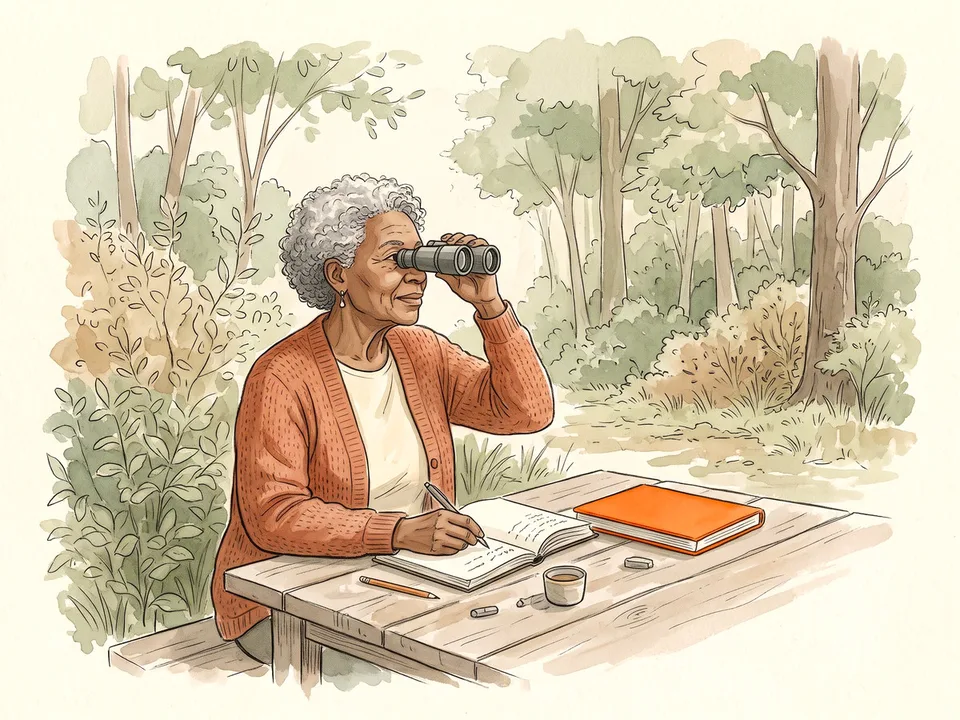 Step 7 / 12
Step 7 of 12: Add notes about behaviour and sound 7Add notes about behaviour and sound
Write what the subject is doing, not just what it looks like. Is the bee probing one flower or moving along a row? Is the bird calling, feeding, or chasing another bird? Note the sound in words — a thin “see-see” or a low chuckle — and the distance between calls. These observations are often more valuable than a perfect drawing.
Add questions as they arise: What is it eating? Where did it go? Why is this leaf curled? You do not need to answer them on the spot. A journal is allowed to contain loose ends, and those questions give you a reason to return.
Tip: Use arrows to connect a note to the part of the drawing it describes.
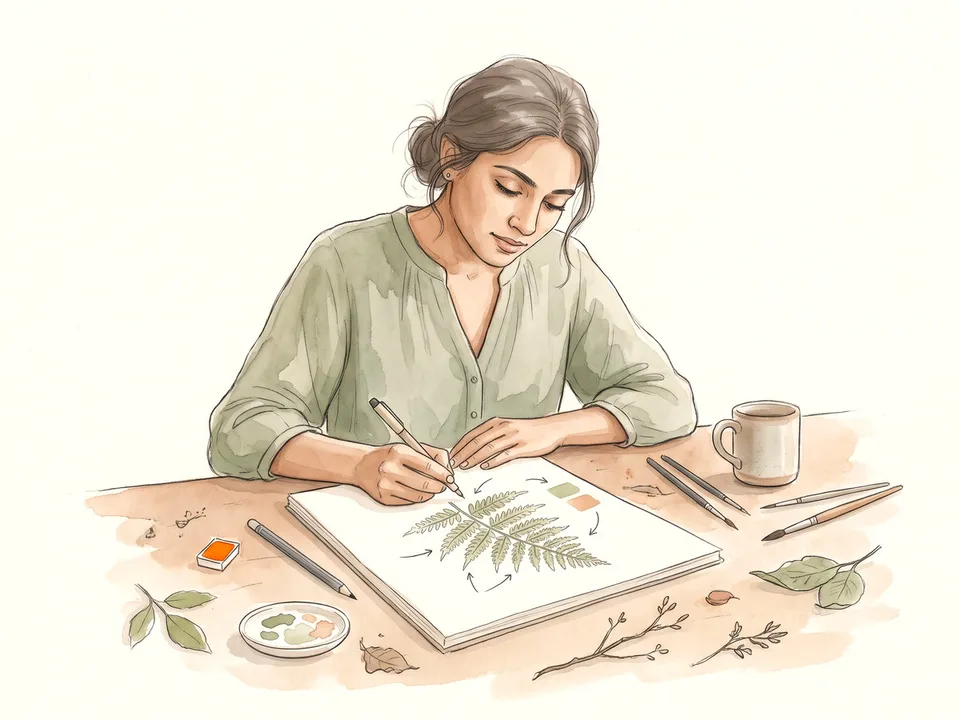 Step 8 / 12
Step 8 of 12: Use labels, arrows, and colour swatches 8Use labels, arrows, and colour swatches
Label the parts you can identify and mark the ones you cannot with a question mark. Add a scale bar or a coin for size, and note the colours you see rather than mixing a perfect match. A small swatch of green, brown, or ochre beside the sketch helps you remember the light and the season.
Your page does not need to look like a finished plate. A sketch with annotations, a few measurements, and a colour note can be more useful than a polished drawing with no context. Date every page; future you will want to know when it was made.
Tip: Write the colour name and the light conditions, not just a paint chip. “Olive green, backlit” is more useful than a square of green.
Part 3 of 3
Build a Regular Practice
 Step 9 / 12
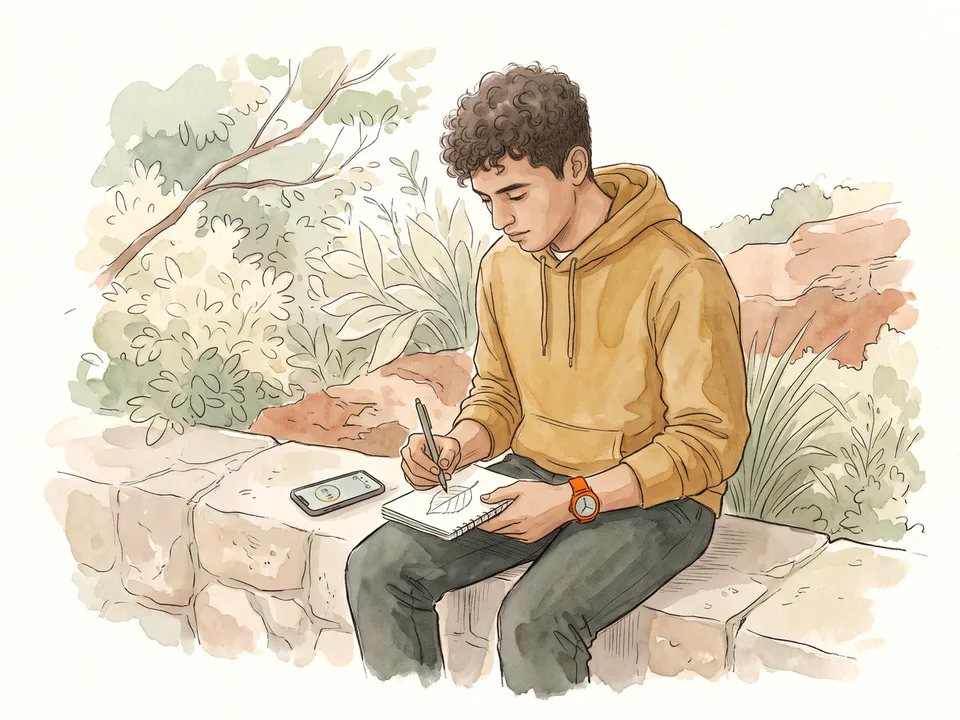
Step 9 of 12: Start with ten minutes 9Start with ten minutes
Set a timer for ten minutes and choose one small subject: a single leaf, a weed in a pavement crack, a bird on a wire. Ten minutes is long enough to notice more than you expect and short enough to fit into a lunch break. If you are enjoying it, continue; if not, stop and come back another day.
A short, regular practice beats an occasional ambitious outing. Keep the notebook where you will see it, and lower the stakes by allowing a page to be messy. The goal is attention, not output.
Tip: A kitchen timer or phone timer keeps the practice bounded and makes it easier to begin.
 Step 10 / 12
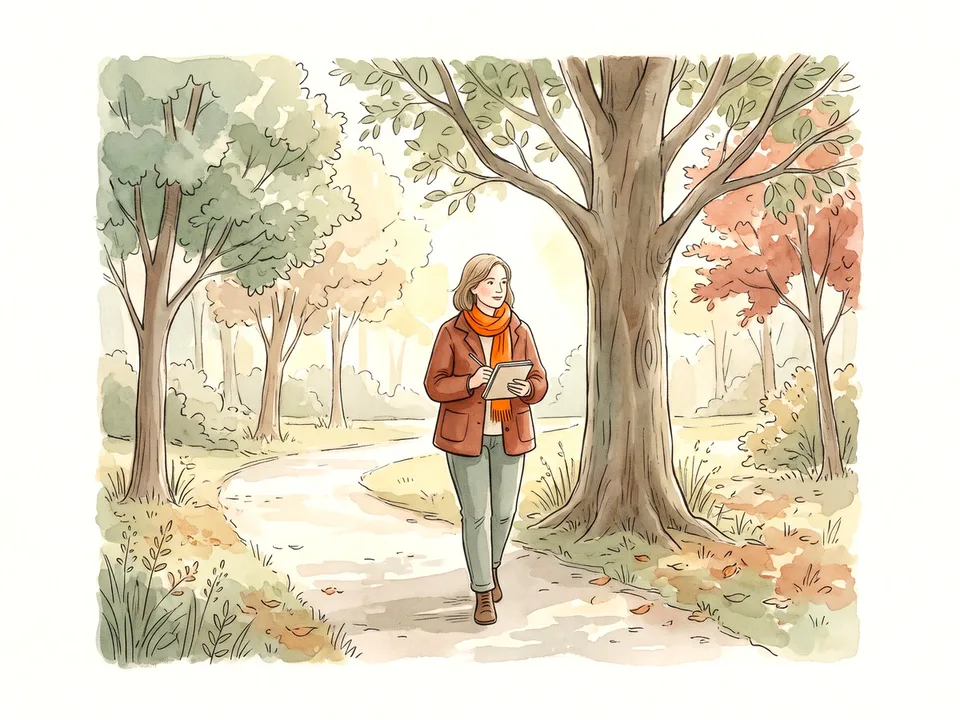
Step 10 of 12: Follow the same route once a week 10Follow the same route once a week
Choose a route you can walk regularly — a block, a park loop, a path to the shops — and record the same spot each time. Note what has changed: buds opening, leaves falling, water level, birds arriving or leaving. Repetition turns a series of sketches into a seasonal record.
Sit in one place for five minutes before drawing. Let the ordinary sounds settle, and look at the ground as well as the horizon. The same route will keep showing you things you missed when you were walking quickly.
Tip: Pick a landmark you can find again, and note it in the margin so future pages line up.
 Step 11 / 12
Step 11 of 12: Review and revisit pages 11Review and revisit pages
Once a month, look back through the journal with a pencil in hand. Add a correction, a date, or a question in the margin. Compare the same tree, pond, or patch of grass across pages. You may notice a pattern you missed at the time, such as a plant flowering after a run of warm days.
Reviewing is not about judging the drawings. It is a second pass at observation, and it helps you decide what to look for next. If a page is unfinished, that is part of the record; add a note about why you stopped.
Tip: Use a different coloured pencil for later notes so you can see what you added after the day itself.
 Step 12 / 12
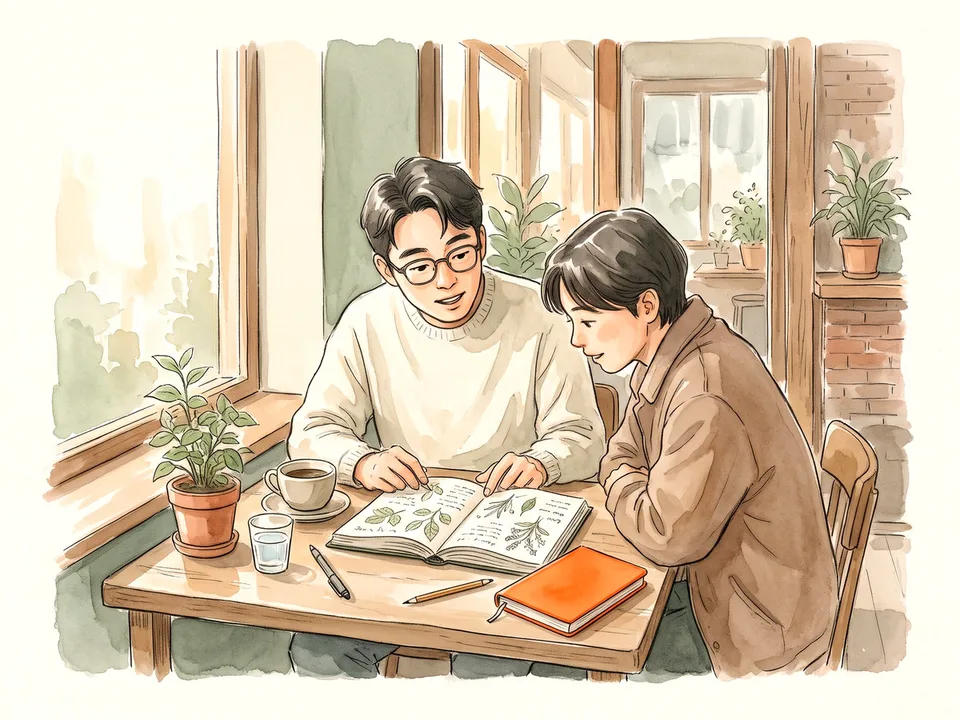
Step 12 of 12: Share it or keep it private 12Share it or keep it private
Some people share pages with a friend, a class, or an online nature group; others keep the journal completely private. Both are valid. Sharing can give you new identification hints and encouragement, but it can also make you self-conscious. Decide what you need, and protect the locations of sensitive species if you post publicly.
If you share, describe the habitat and the observation rather than giving a precise location for rare plants or nests. A journal is a personal record first; the audience can come later. The practice works best when you feel free to be unfinished.
Tip: Do not post precise coordinates for rare species, active nests, or private land.
Tips
- Draw the same ordinary weed every week; repetition teaches more than a new subject every day.
- Write down one question on every page. Questions keep the practice alive.
- Use a pencil first if you are nervous about mistakes, then go over the lines with pen.
- Keep a cheap notebook in your bag so a ten-minute walk can become a page.
Warnings
- Stay on marked trails and respect closures, private land, and signs.
- Do not disturb nests, dens, or animals by getting too close for a drawing.
- Do not pick protected plants or collect natural objects where it is not allowed.
- Keep a safe distance from wildlife and never feed animals to get a better view.
Community Q&A
Do I need to be good at drawing?+
No. The journal is a record of attention, not a portfolio. Simple shapes, labels, and notes are enough to make a useful page.
Can I keep a digital nature journal?+
Yes. A tablet or phone with a drawing app works, but a paper notebook is often faster in the field and easier to use in rain or bright sun.
How long should a page take?+
Ten to twenty minutes is plenty for a single subject. A quick sketch with a few notes is more sustainable than a two-hour page once a month.
What if I miss a week?+
Start again at the next opportunity. A gap in the dates is part of the record, not a failure; add a note about what the weather was like while you were away.
What should I draw first?+
Choose one small, still subject: a leaf, a stone, a patch of moss, or a single flower. Fill the page with that one thing before trying a whole landscape.
References
- John Muir Laws. “Nature journaling.” 2024.
- Cornell Lab of Ornithology. “Bird Academy: nature journaling.” 2024.
- The Wildlife Trusts. “Nature journaling.” 2024.
Related on Howly
About This Article
Written by Site Admin. A subject-matter reviewer checked the steps before publication. Last updated Oct 28, 2026. 12,760 readers have viewed this guide.
90% of readers found this article helpful.
204 votes - 90%
Click a star to add your vote
Tara M.
Oct 24, 2026
“I started with one dandelion in a pavement crack. Three months later I had a page for every week and could see exactly when the first flowers opened.”