How to Roast a Whole Chicken
A whole chicken is the cheapest way to learn roasting: one bird, one oven, one thermometer. Dry the skin, salt it early, keep the heat high at the start, and take it out before you think it is done.
Co-authored by:
Howly editors
Steps
3 methods · 15 steps · 15 illustrationsPart 1 of 3
Prepare the Bird
 Step 1 / 15
Step 1 of 15: Buy a bird between 1.5 and 2 kg 1Buy a bird between 1.5 and 2 kg
That size feeds four with leftovers and roasts evenly. Much bigger and the breast dries out before the thigh is done; much smaller and you are fighting to keep it from overcooking.
Look for a chicken with intact skin, no tears, and a clean smell. If it is frozen, thaw it in the fridge for a full day — never on the counter.
Tip: Free-range birds often have firmer legs and need an extra five to ten minutes. Use the thermometer, not the clock.
 Step 2 / 15
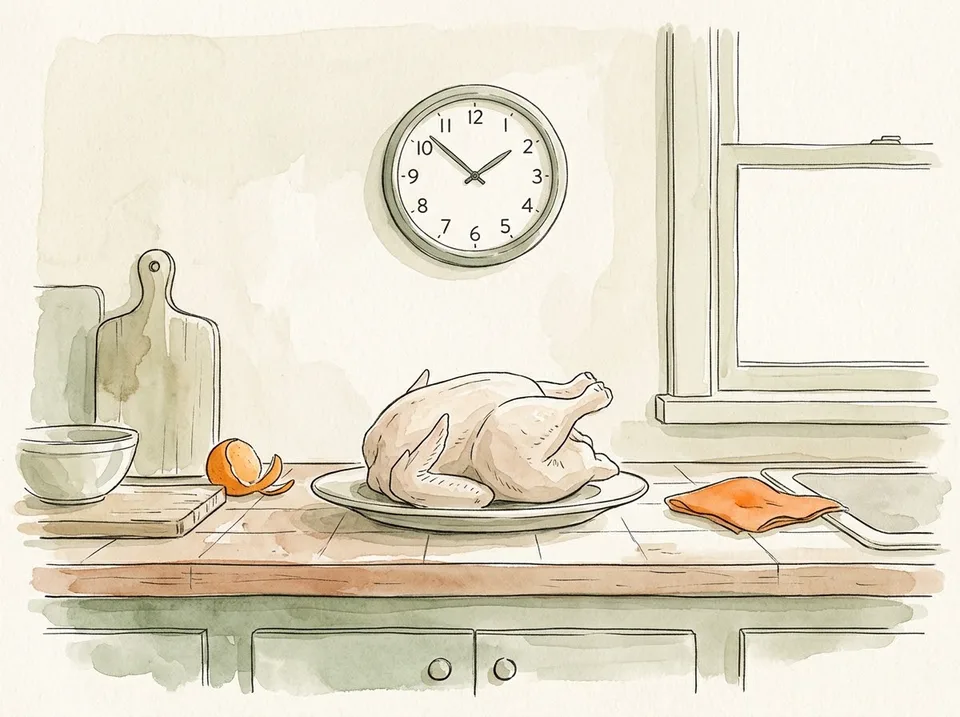
Step 2 of 15: Let it sit at room temperature for thirty minutes 2Let it sit at room temperature for thirty minutes
Take the bird out of the fridge half an hour before roasting and leave it in its tray. A cold centre means the outside overcooks while the inside catches up.
Do not leave it out for hours. Thirty minutes takes the chill off without spending the afternoon in the danger zone.
Tip: If your kitchen is very warm, shorten this to fifteen minutes and rely on the thermometer later.
 Step 3 / 15
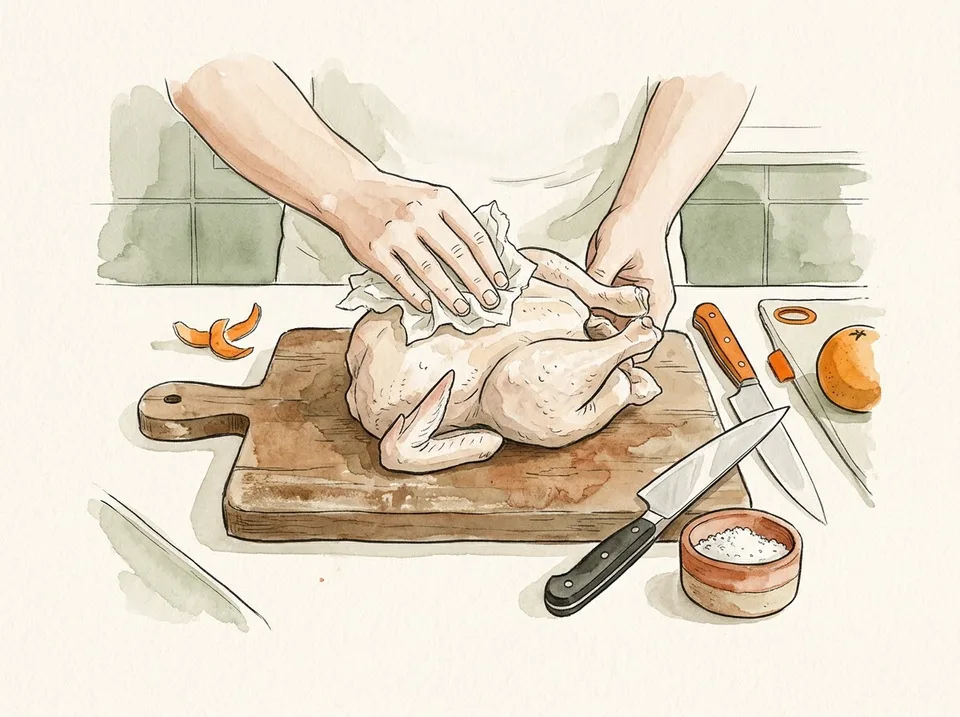
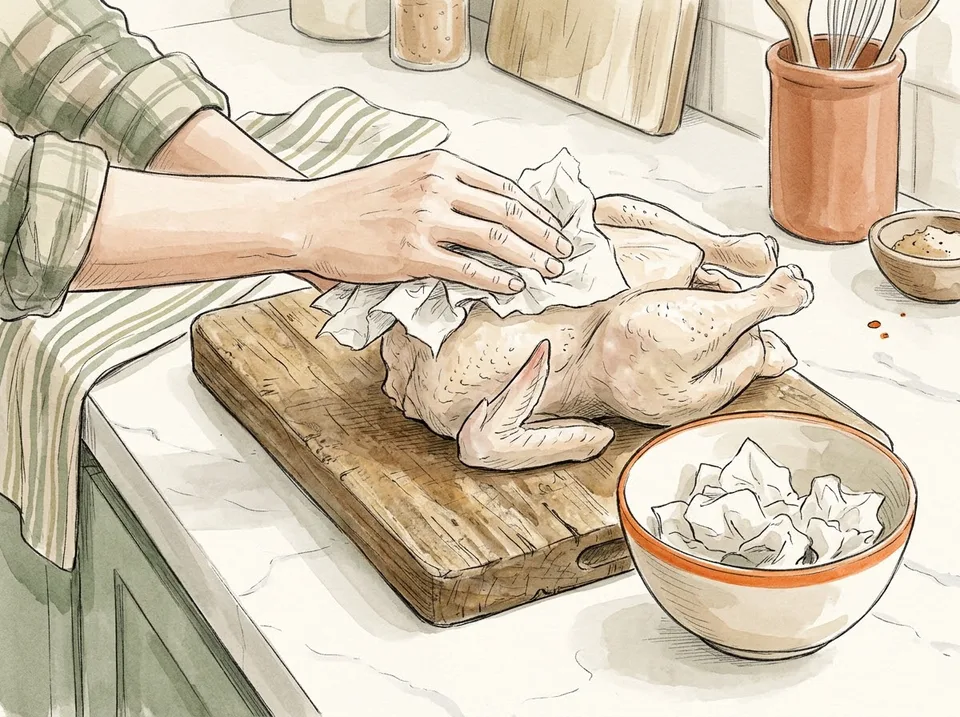
Step 3 of 15: Dry the skin thoroughly 3Dry the skin thoroughly
Pat the chicken all over with paper towel, inside and out, until the skin feels tacky rather than wet. Water on the skin steams instead of browning, and steamed skin is pale and flabby.
This is the single most reliable step for crisp skin. It takes two minutes and it matters more than any butter rub.
Tip: Leave the bird uncovered in the fridge overnight if you have time. Dry skin is crisp skin.
 Step 4 / 15
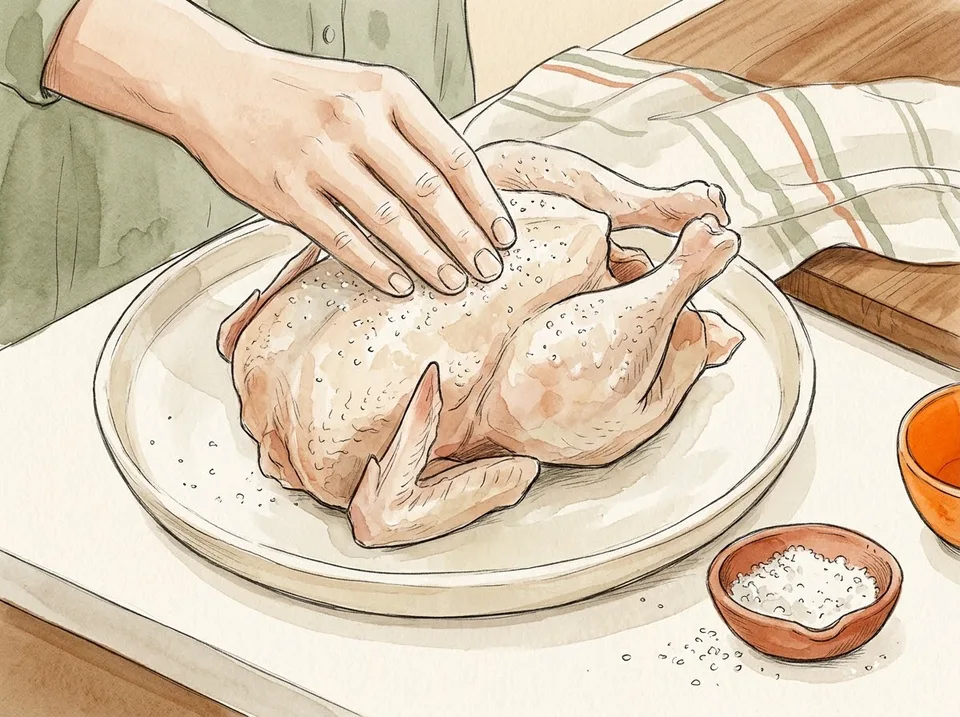
Step 4 of 15: Salt it early or dry-brine overnight 4Salt it early or dry-brine overnight
Rub a generous teaspoon of fine salt over the skin and into the cavity at least an hour before cooking, or the night before. Salt draws moisture out, dissolves, and is drawn back in as seasoned brine.
If you only have twenty minutes, salt the skin and accept a slightly less seasoned bird. Do not skip it entirely.
Tip: Dry-brining needs no water and no bucket. Salt, a plate, and a night in the fridge.
 Step 5 / 15
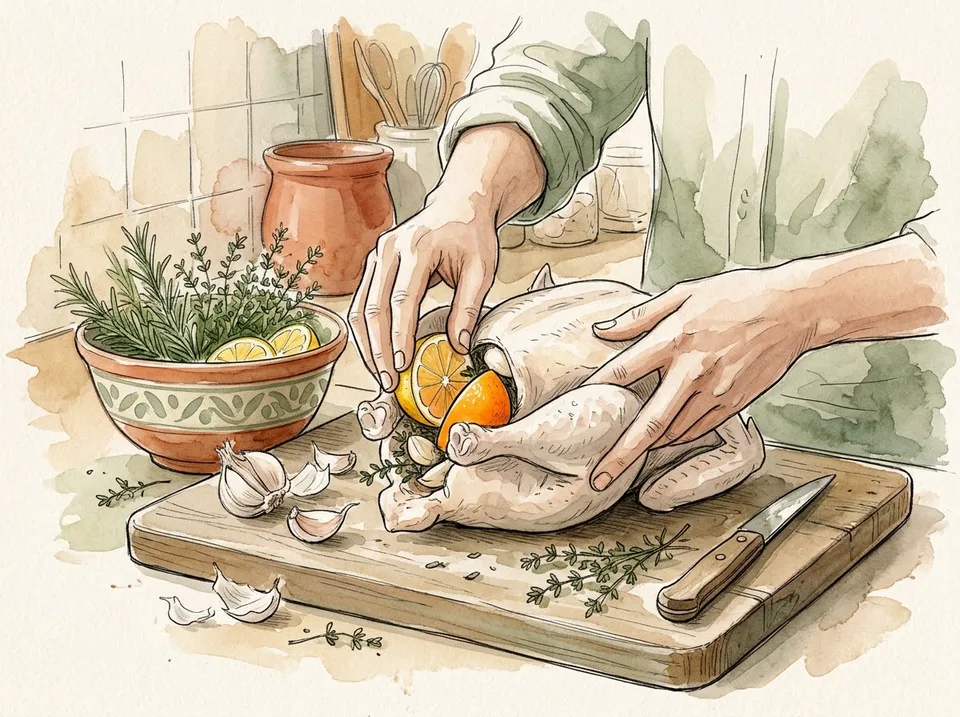
Step 5 of 15: Stuff the cavity with lemon and herbs, not bread 5Stuff the cavity with lemon and herbs, not bread
Put a halved lemon, a few garlic cloves, and a handful of thyme or rosemary inside the bird. They perfume the meat from the inside without slowing the cooking.
Bread stuffing packed into a chicken has to reach a safe temperature too, which means the bird overcooks while the stuffing catches up. Cook stuffing separately.
Tip: Tie the legs loosely with string so the cavity stays closed and the bird roasts evenly.
Part 2 of 3
Roast It
 Step 6 / 15
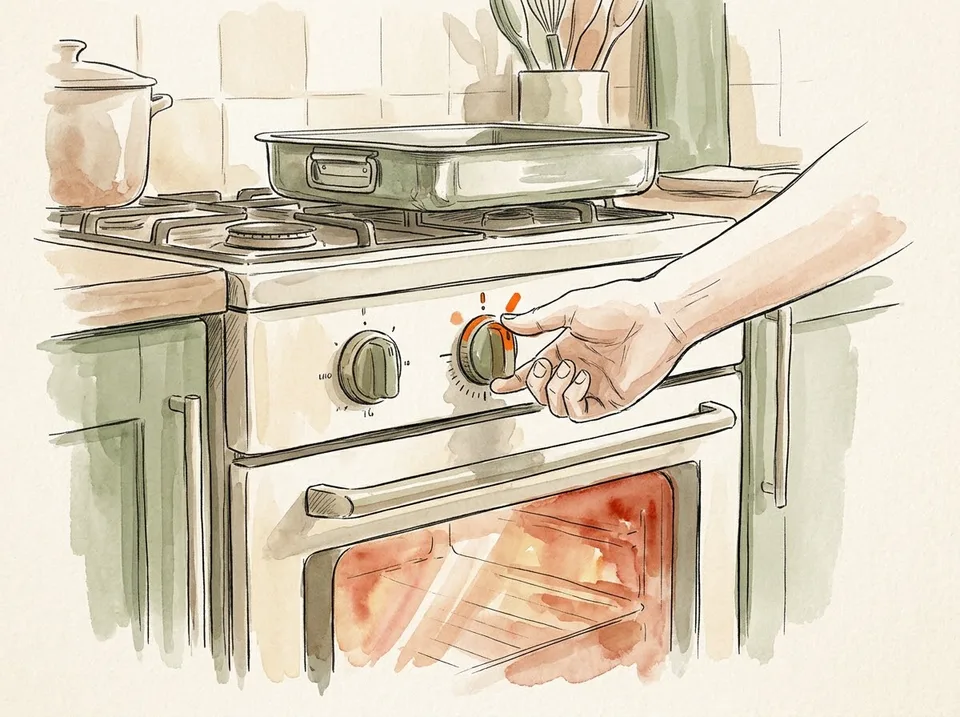
Step 6 of 15: Heat the oven to 220°C (425°F) 6Heat the oven to 220°C (425°F)
A hot start gives the skin a head start on browning before the inside begins to dry. Put the rack in the lower middle so the top of the bird sits at the centre of the oven.
Let the oven come to temperature fully — most ovens lie about being ready. Give it fifteen minutes after the light goes off.
Tip: Fan ovens run hot. Drop the temperature by 20°C and check earlier the first time you cook a bird in a new oven.
 Step 7 / 15
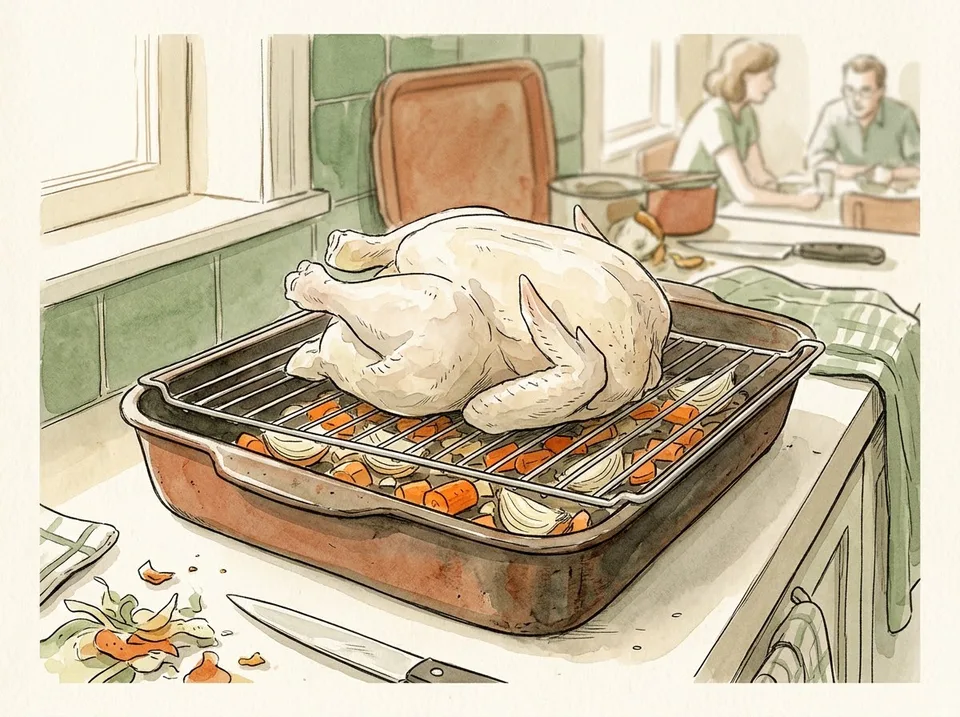
Step 7 of 15: Set it breast-up on a rack in the tin 7Set it breast-up on a rack in the tin
Breast up keeps the skin exposed and lets the fat render into the tin. A rack lifts the bird out of the fat so the bottom crisps instead of boiling.
If you have no rack, make a bed of roughly chopped onion, carrot, and celery. The vegetables hold the bird up and become the base of the gravy.
Tip: Do not crowd the tin. Air has to move around the bird for the skin to crisp.
 Step 8 / 15
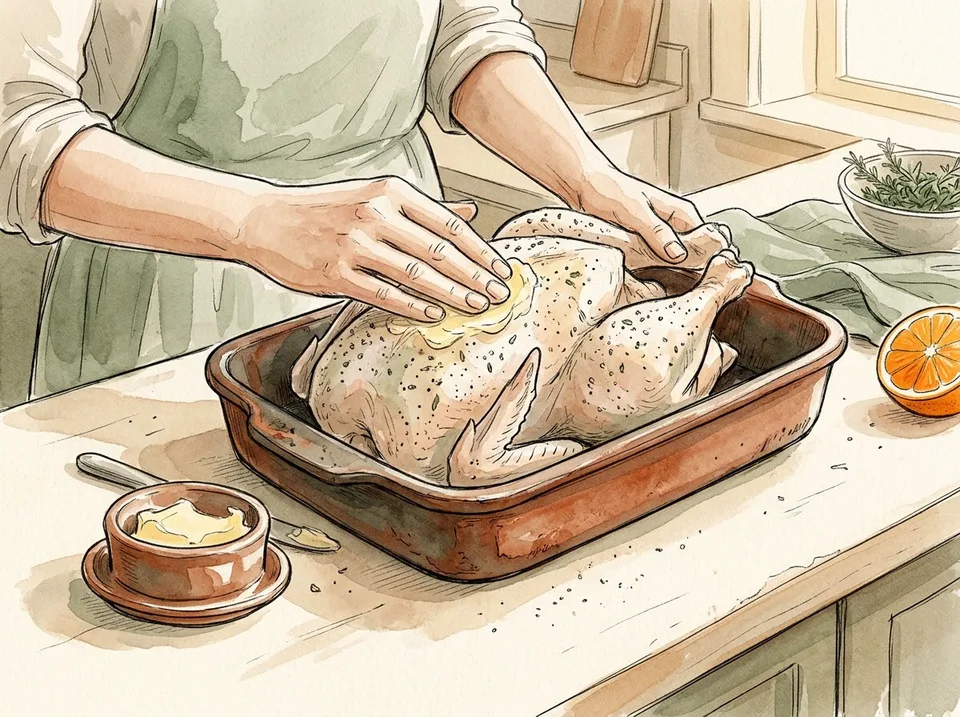
Step 8 of 15: Rub the skin with butter or oil and season again 8Rub the skin with butter or oil and season again
Rub a tablespoon of soft butter or olive oil over the whole bird, getting into the creases at the legs and wings. Fat conducts heat and carries flavour into the skin.
Add black pepper and, if you like, a little smoked paprika for colour. Do not add more salt if you dry-brined.
Tip: Butter browns faster than oil. If you use butter, check the skin after twenty minutes.
 Step 9 / 15
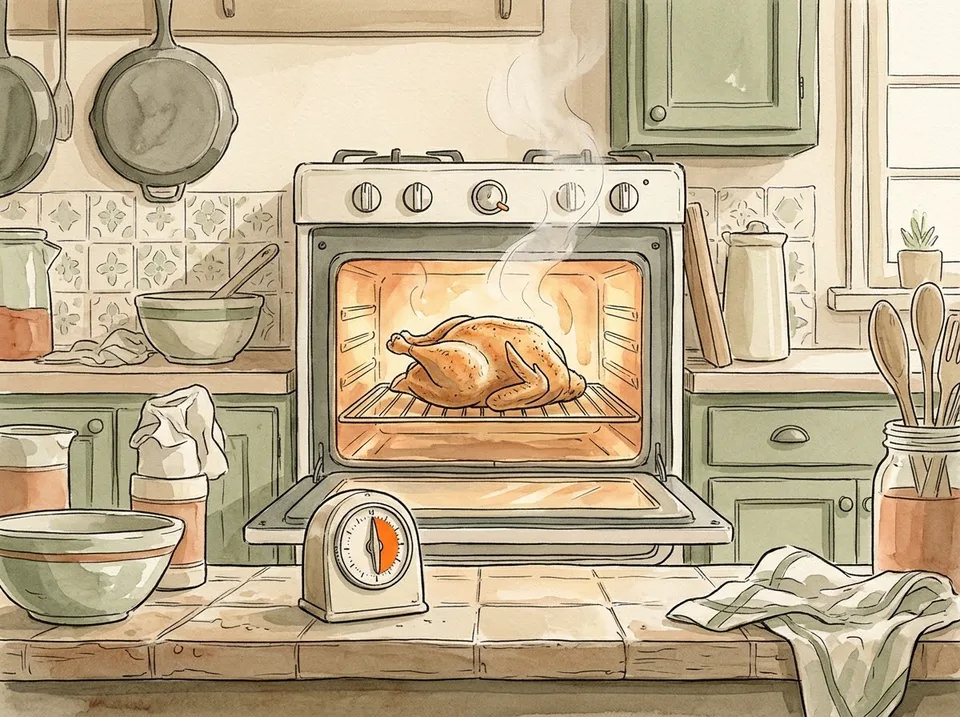
Step 9 of 15: Roast hot for twenty minutes, then lower to 180°C 9Roast hot for twenty minutes, then lower to 180°C
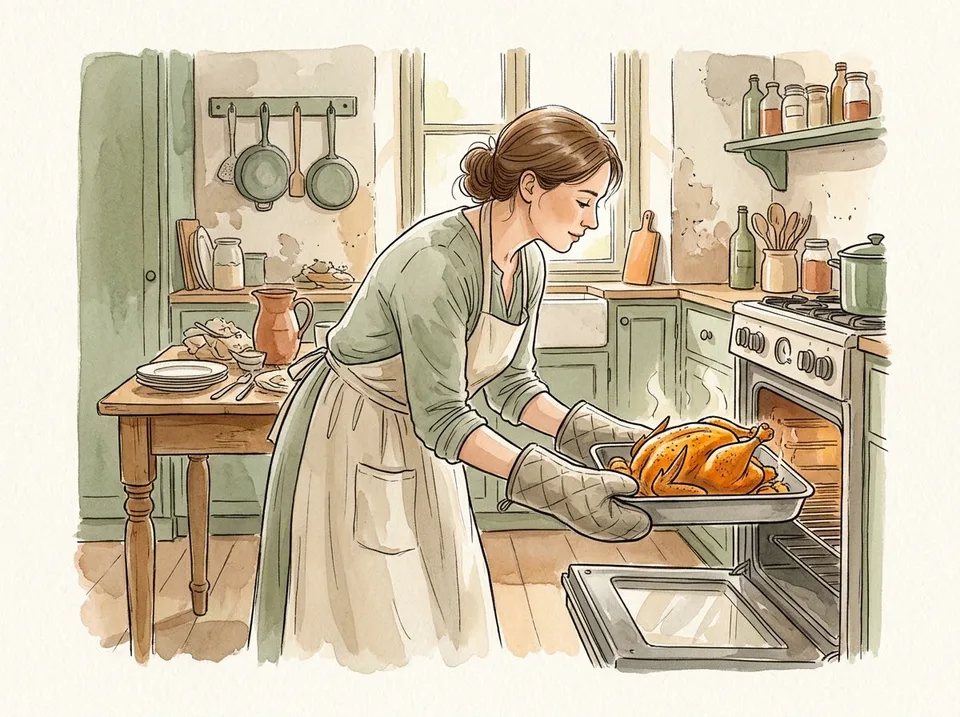
Twenty minutes at 220°C sets the colour, then turn the oven down to 180°C (350°F) for another forty to fifty minutes. The lower heat cooks the thigh through without burning the breast.
For a 1.8 kg bird, start checking at forty-five minutes. Smaller birds are faster than any chart suggests.
Tip: Write down the times you actually used. Your oven, your tin, and your bird size are the only numbers that matter.
 Step 10 / 15
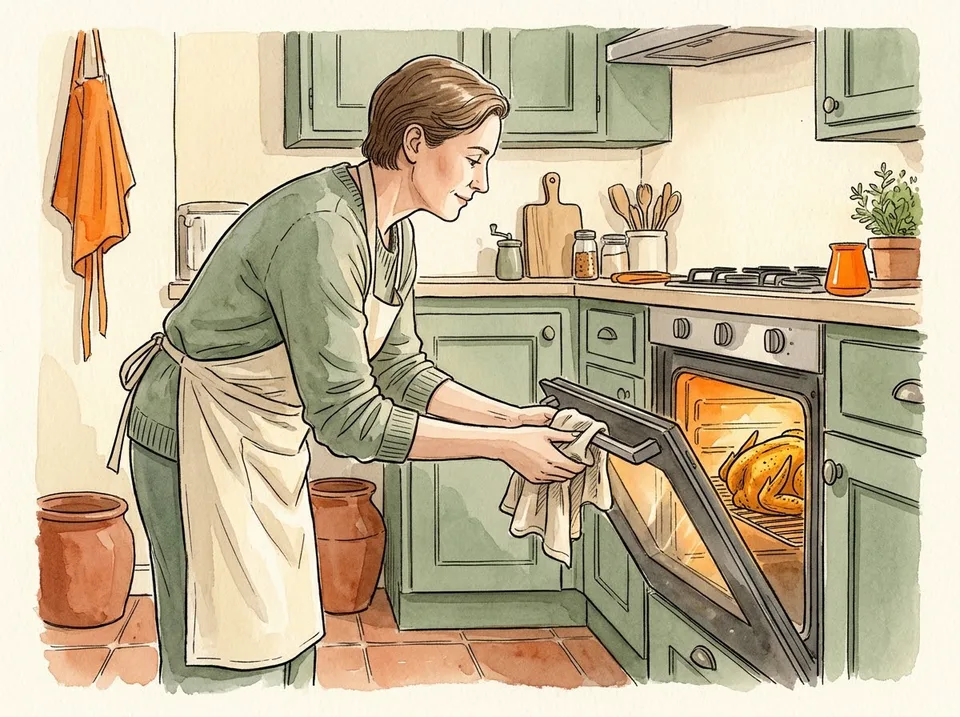
Step 10 of 15: Do not baste — keep the door closed 10Do not baste — keep the door closed
Every time you open the oven you lose twenty degrees of heat and lengthen the cooking time. Basting adds nothing to moisture and softens the skin you have been trying to crisp.
If the skin is browning too fast, lay a piece of foil loosely over the breast and leave the door shut.
Tip: If you want extra flavour, put butter under the skin before roasting instead of spooning fat over it every twenty minutes.
Part 3 of 3
Rest, Carve, and Serve
 Step 11 / 15
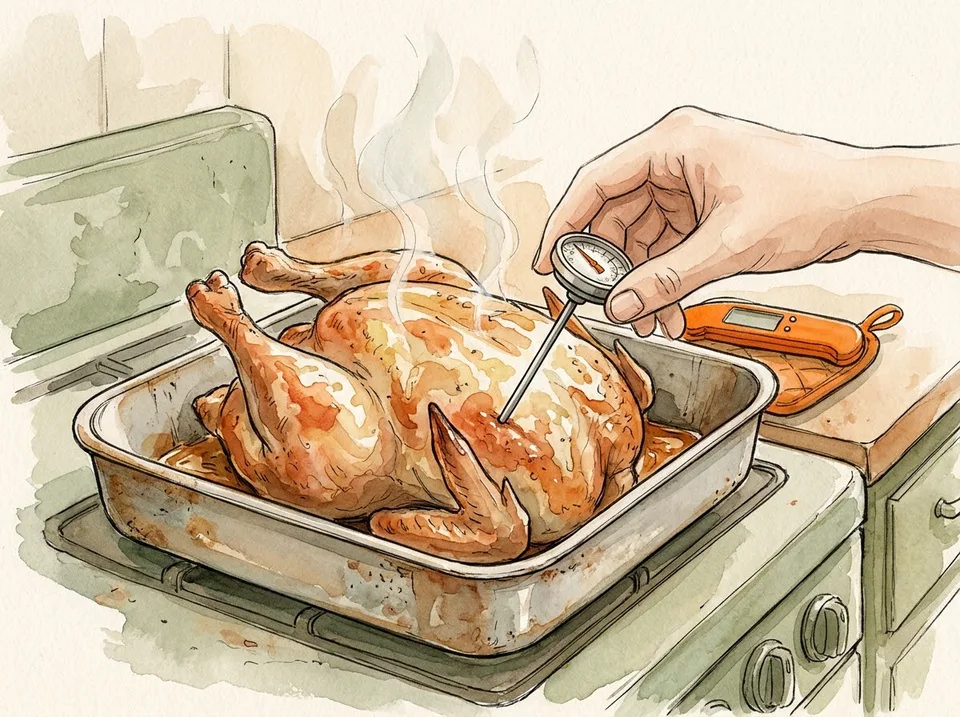
Step 11 of 15: Check the thigh at 74°C (165°F) 11Check the thigh at 74°C (165°F)
Push an instant-read thermometer into the thickest part of the thigh, away from the bone. It should read 74°C. The breast should be around 70°C — it will rise while resting.
If you have no thermometer, pierce the thigh: the juices should run clear, not pink. A thermometer is the better investment.
Tip: Check two places — thigh and the deepest part of the breast. One cold spot is enough to send it back.
 Step 12 / 15
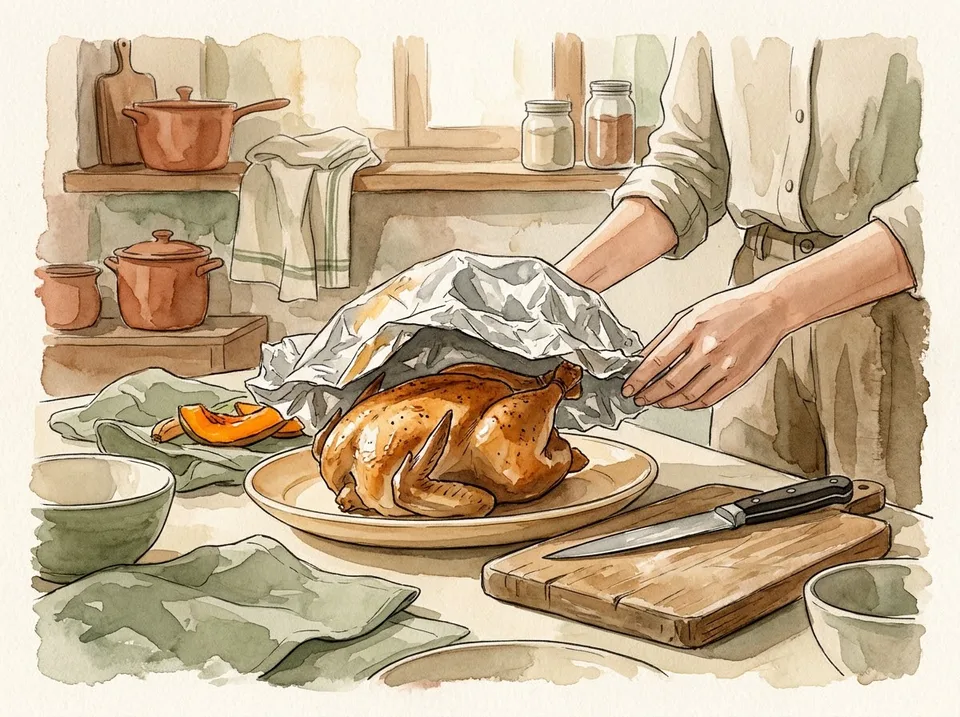
Step 12 of 15: Rest it for fifteen minutes before carving 12Rest it for fifteen minutes before carving
Move the bird to a warm plate, tent it loosely with foil, and leave it alone for fifteen minutes. The juices redistribute and the meat stops bleeding onto the board.
Resting also finishes the cooking: the internal temperature climbs another three to five degrees while it sits.
Tip: Use the resting time to make gravy and put the vegetables on the table. Resting is not wasted time.
 Step 13 / 15
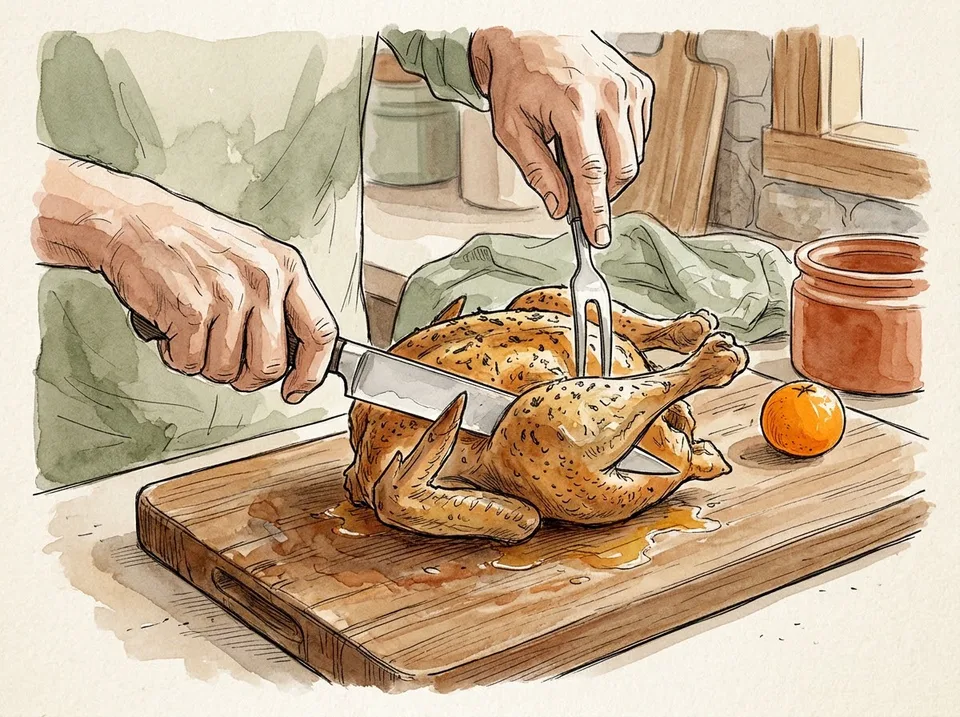
Step 13 of 15: Carve the legs, then the wings, then the breast 13Carve the legs, then the wings, then the breast
Cut through the skin between the leg and the body, press the leg outward until the joint pops, and cut it free. Do the same with the wings. Then slice the breast off the bone in long, thin cuts across the grain.
A sharp knife and a steady board matter more than technique. Do not saw — let the blade do the work.
Tip: Save the carcass. Simmered with an onion and a carrot, it makes a litre of stock for free.
 Step 14 / 15
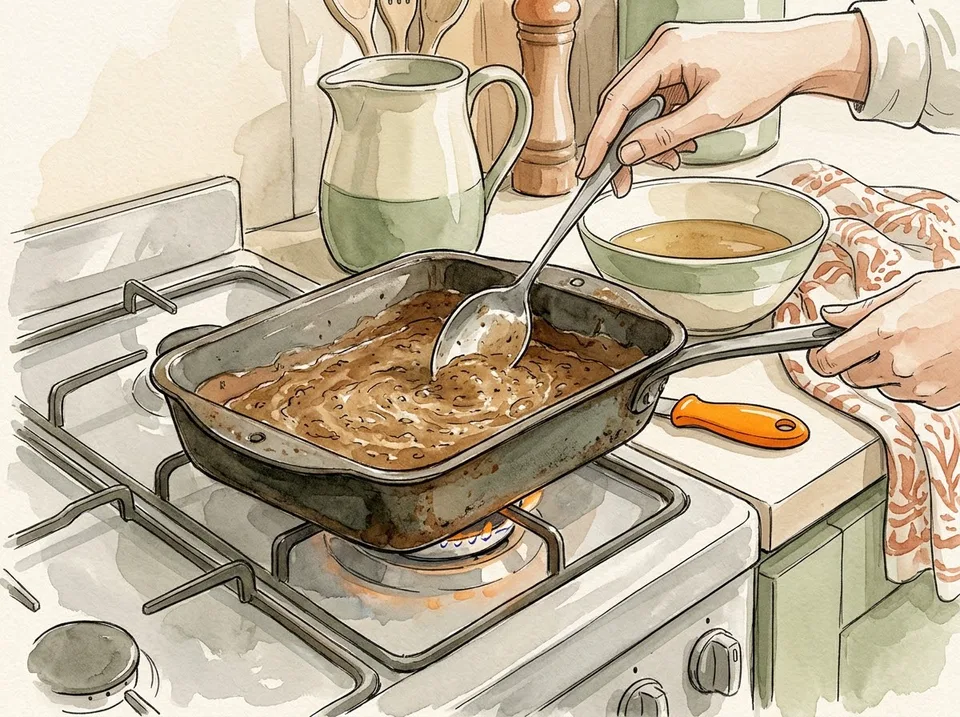
Step 14 of 15: Make gravy from the pan juices 14Make gravy from the pan juices
Set the roasting tin over a low flame, sprinkle in a tablespoon of flour, and stir for a minute. Pour in a cup of stock or wine, scraping the browned bits off the bottom, and simmer until it coats a spoon.
Season, strain if you want it smooth, and pour into a warm jug. This is the step that makes a roast feel like a meal rather than a piece of meat.
Tip: If the juices are very salty from dry-brining, use unsalted stock and taste before adding salt.
 Step 15 / 15
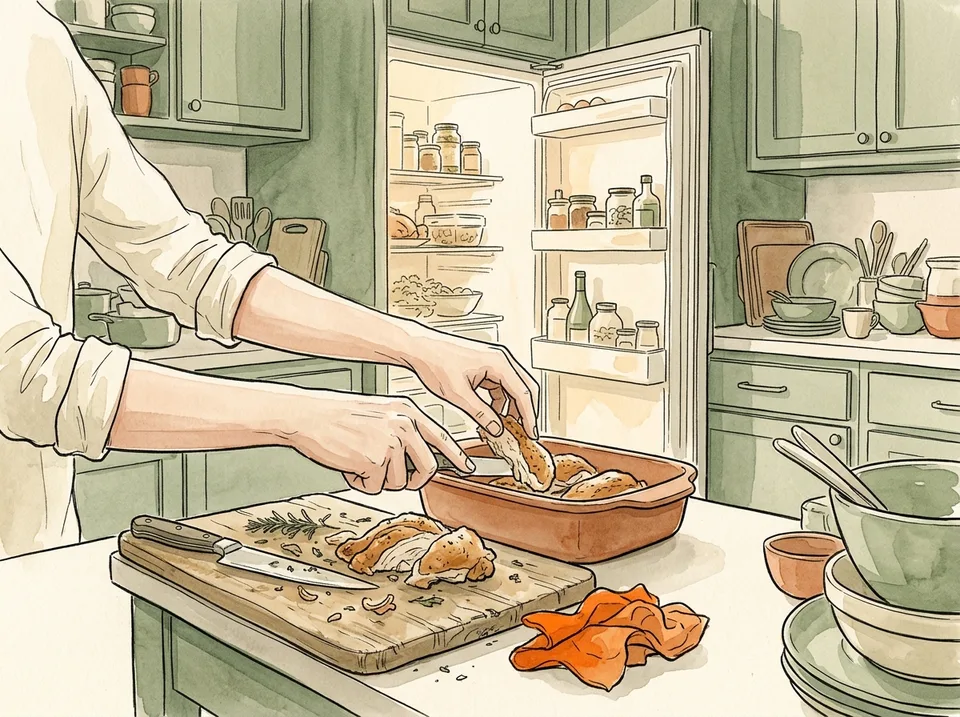
Step 15 of 15: Cool and refrigerate the leftovers within two hours 15Cool and refrigerate the leftovers within two hours
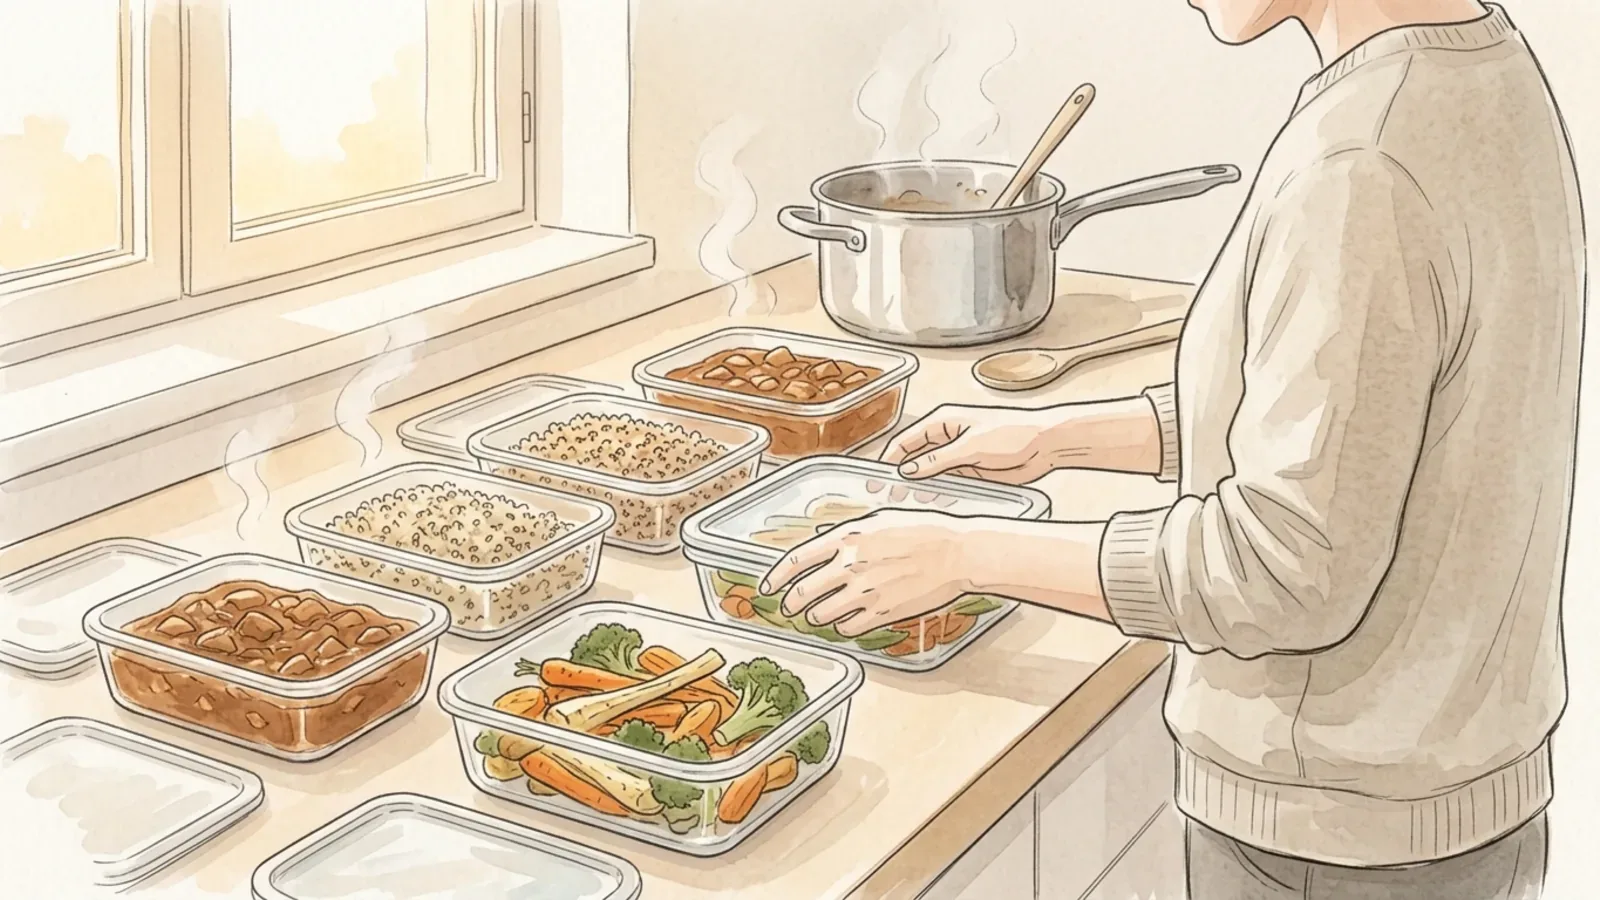
Strip the meat off the carcass, put it in a shallow container, and get it into the fridge within two hours of cooking. Shallow containers cool faster than deep ones.
Use the meat within three days, or freeze it in portions. The carcass goes in the freezer if you are not making stock tonight.
Tip: Never put a whole warm chicken in the fridge — the centre stays warm for hours. Break it down first.
Tips
- Put the chicken on the middle shelf and a tray of chopped potatoes underneath. The fat does the work for you.
- Buy a thermometer before you buy a roasting tin. It is the difference between guessing and knowing.
- A chicken roasted on Sunday is three weekday lunches: sandwiches, a salad, and a soup from the carcass.
Warnings
- Do not wash raw chicken. Splashing spreads bacteria across the sink and the counter.
- Never leave a cooked chicken out overnight to cool; refrigerate it within two hours.
Community Q&A
Should I roast breast-side up or down?+
Up, for crisp skin. Starting breast-down and flipping halfway gives juicier breast meat but softer skin — pick one and be consistent.
Why is my chicken dry?+
Almost always overcooked. Take it out at 74°C in the thigh and rest it; the temperature keeps climbing.
Can I roast vegetables in the same tin?+
Yes, but give root vegetables a head start of twenty minutes and choose a tin big enough that nothing is crowded.
References
- USDA Food Safety and Inspection Service. Chicken from Farm to Table.
- Serious Eats. How to Roast a Whole Chicken.
Related on Howly
About This Article
Last updated Oct 30, 2026. 83,242 readers have viewed this guide.
0% of readers found this article helpful.
No votes yet
Click a star to add your vote
No reader stories yet. Be the first to share how this guide worked out for you.