How to Take Better Notes in Class
Good notes are not a transcript. They are a set of questions you wrote down while listening, plus the five lines you add afterwards that turn a page of fragments into something you can study from.
Co-authored by:
Howly editors
Steps
3 methods · 15 steps · 15 illustrationsPart 1 of 3
Prepare Before the Lecture
 Step 1 / 15
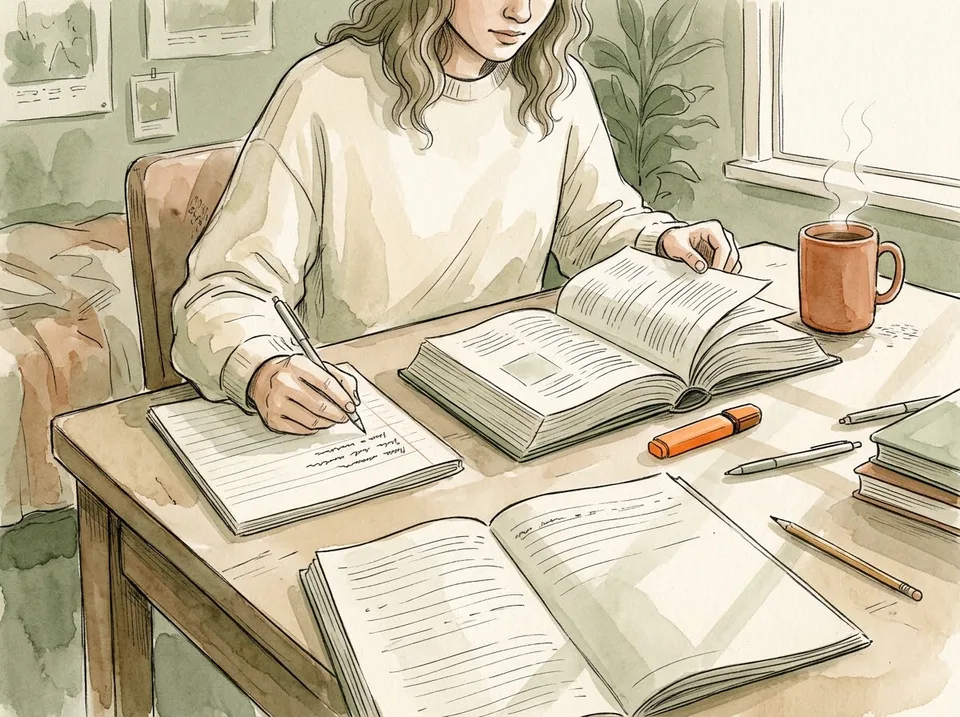
Step 1 of 15: Skim the chapter before you walk in 1Skim the chapter before you walk in
Spend ten minutes on the reading before class, even if you only read the headings, the diagrams, and the summary. The point is not to understand everything; it is to give the lecture somewhere to land.
Write three questions you expect the lecture to answer at the top of a fresh page. You will listen differently for the next hour because your brain now has something to check off.
Tip: Skimming beats reading in advance when you are short on time. Ten minutes is enough to make the lecture feel familiar.
 Step 2 / 15
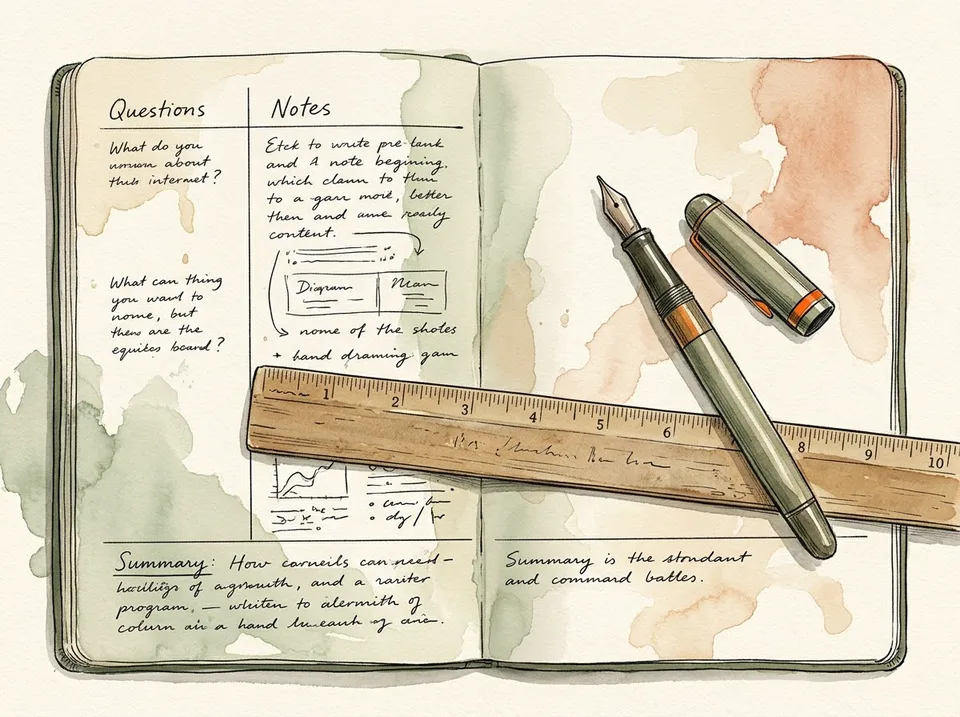
Step 2 of 15: Pick one note system and stop switching 2Pick one note system and stop switching
The Cornell layout is the easiest to keep: a wide left margin for questions and keywords, a main column for notes, and a band at the bottom for a summary. The left margin is where the studying happens later.
Outlines work for lectures that move in clear steps. Mind maps work for anything with categories and connections. Pick one for a whole course and stop redesigning your system every week — the format is not the learning.
Tip: Whatever you choose, keep the same layout for every lecture in a course. Predictable pages are faster to review.
 Step 3 / 15
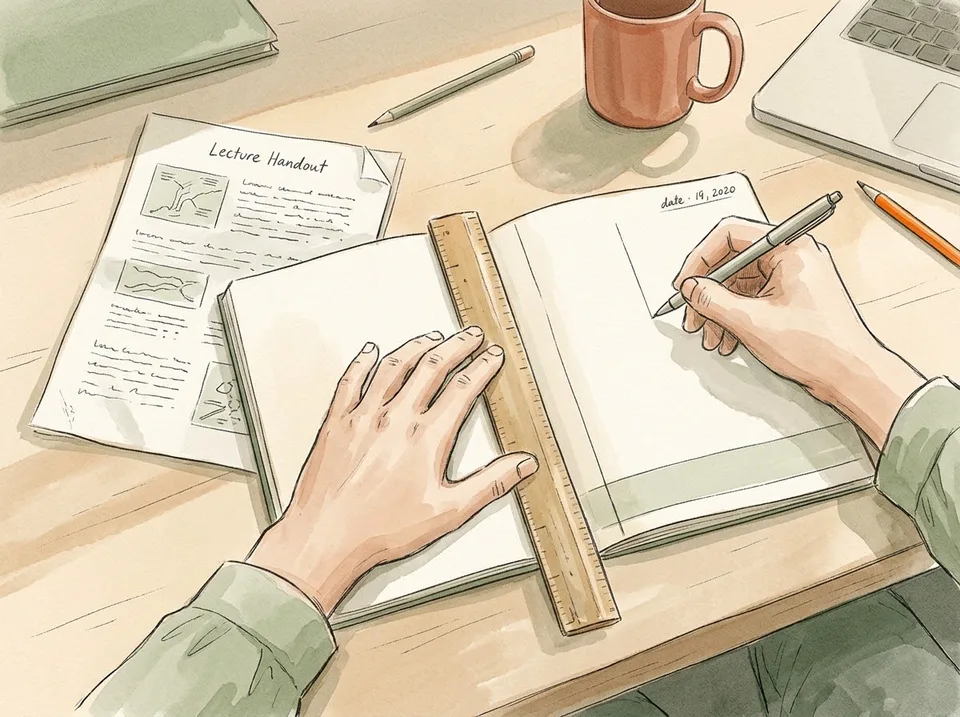
Step 3 of 15: Set up the page before the lecture starts 3Set up the page before the lecture starts
Date the page, write the course and the lecture title, and draw the margin and the summary band. Two minutes of setup means you are not fumbling with a blank page while the lecturer is already three slides in.
Keep one page per lecture and start a new page when the topic changes. A notebook you can navigate by date and title is worth far more in exam season than a dense wall of text.
Tip: Number the pages and keep a simple contents list at the front. It turns a notebook into an index you can search.
 Step 4 / 15
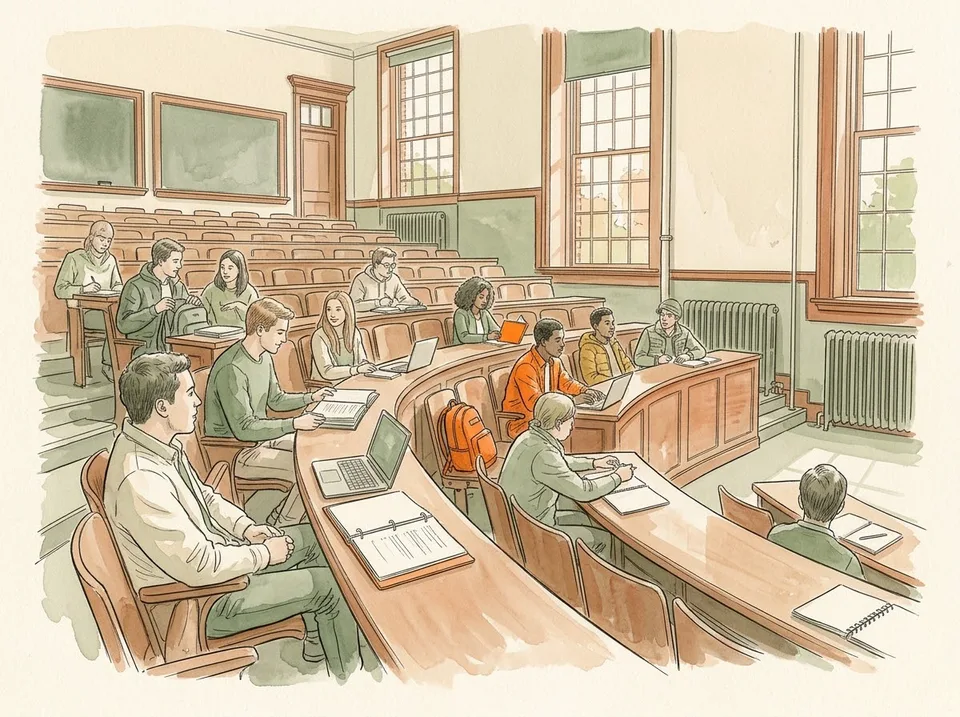
Step 4 of 15: Sit in the front third of the room 4Sit in the front third of the room
The front third of a lecture hall has better sound, fewer screens in your eyeline, and a clearer view of the board. It is also the part of the room where it is socially awkward to scroll on a phone.
Arrive two minutes early and take the same seat each time. A predictable seat removes a small decision and makes the lecture start feel like a routine rather than an event.
Tip: If you are shy, sit on an aisle near the front. You get the sound without feeling surrounded.
 Step 5 / 15
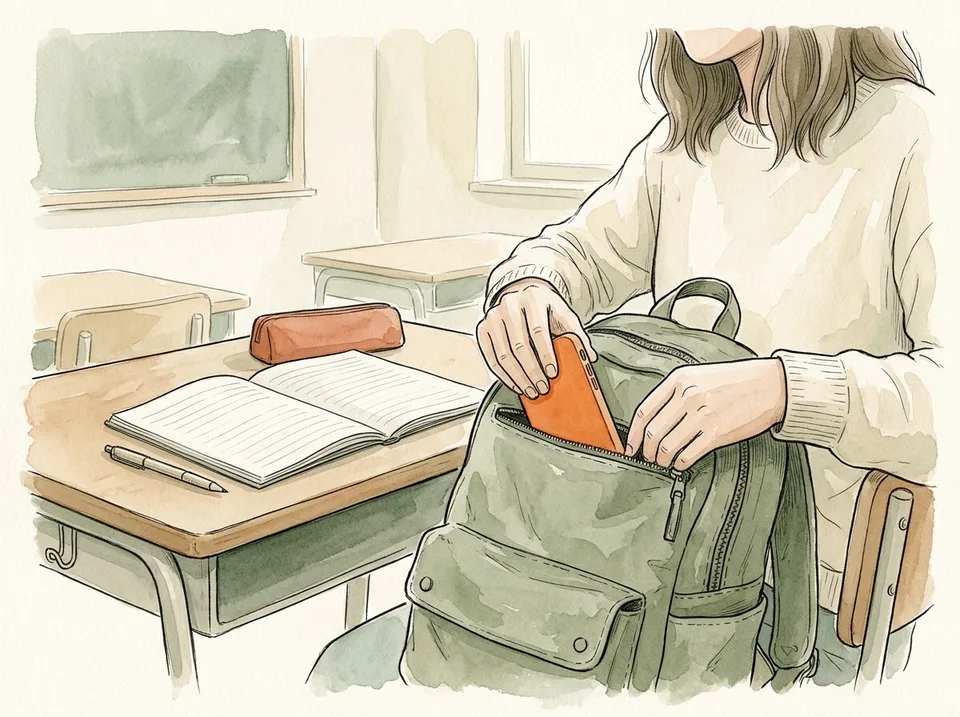
Step 5 of 15: Put the phone out of reach, not on silent 5Put the phone out of reach, not on silent
Silent is not the same as away. A phone face-down on the desk still costs attention every time it lights up. Put it in a bag, in a coat pocket, or in another room if you can.
If you take notes on a laptop, close every tab that is not the lecture. The laptop is a good tool with one window open and a disaster with twelve.
Tip: Handwriting beats typing for most people learning new material, because you cannot transcribe and must summarise. Type when speed matters more.
Part 2 of 3
Capture During the Lecture
 Step 6 / 15
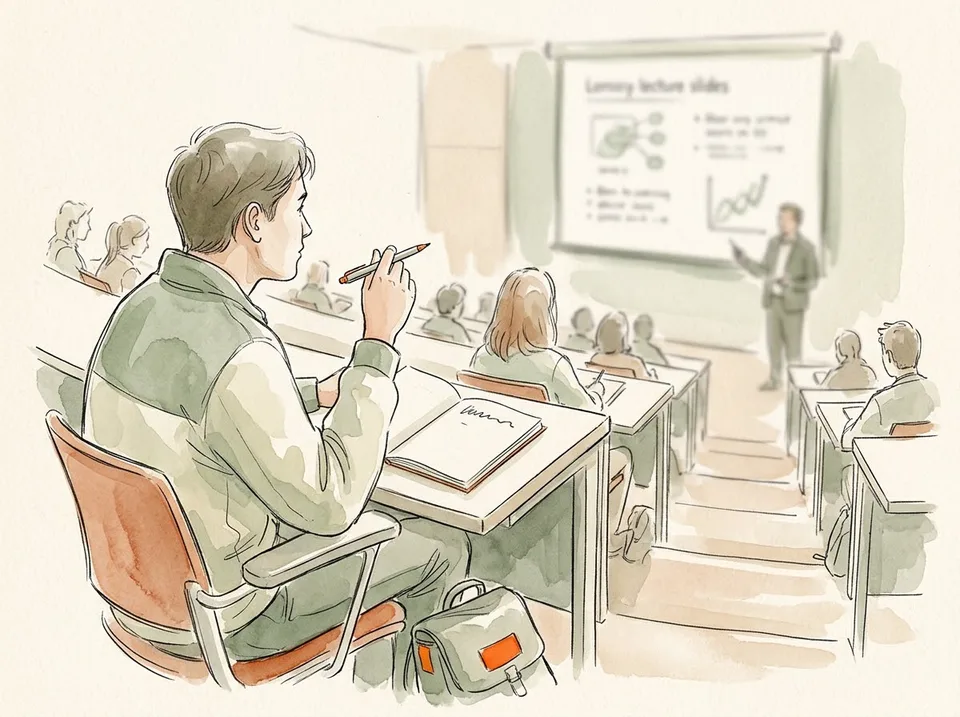
Step 6 of 15: Write the idea, not the sentence 6Write the idea, not the sentence
Do not try to copy what the lecturer says word for word. Listen for the claim, then write it in your own words: five or six words that carry the meaning. If you cannot shorten it, you probably have not understood it yet — mark it and move on.
This is slower at first and much faster by week three. The notes you write in your own words are the ones you can revise from without rereading the lecture in your head.
Tip: If a sentence matters exactly as spoken — a definition, a formula — copy it and mark it as a quotation.
 Step 7 / 15
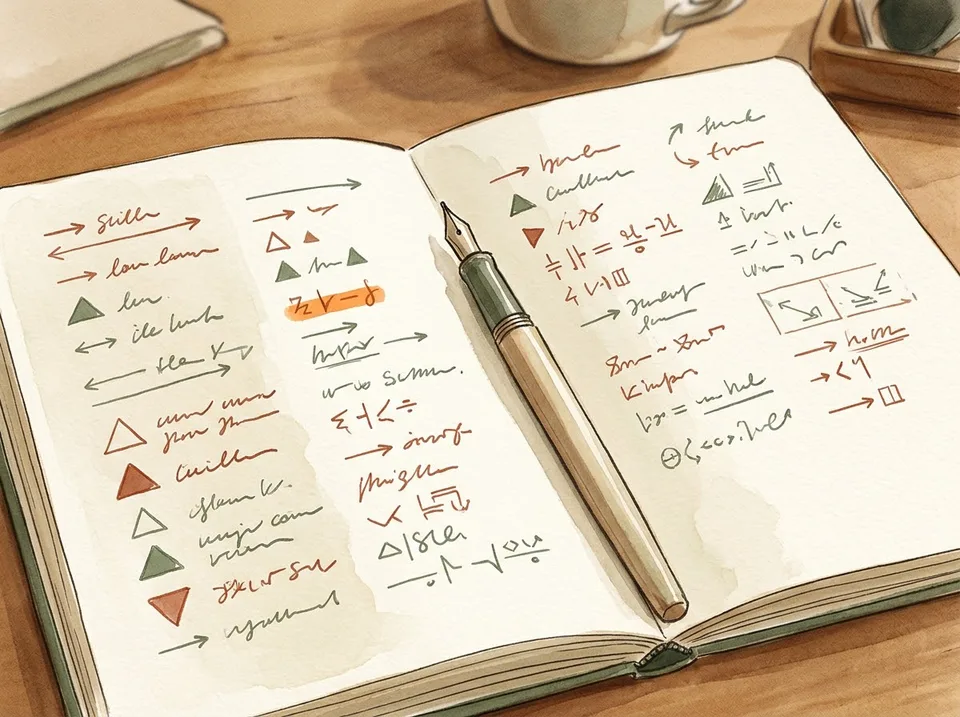
Step 7 of 15: Build a small set of abbreviations you will remember 7Build a small set of abbreviations you will remember
Decide on ten or fifteen shortcuts and keep them in the front of the notebook: arrows for causes and leads to, plus and minus for advantages and disadvantages, a triangle for definitions, a question mark for anything unclear.
Keep the set small. Abbreviations you invented five minutes ago and cannot expand three weeks later are worse than writing the word out.
Tip: Write the key on the inside cover. Future you will not remember what the triangle meant.
 Step 8 / 15
Step 8 of 15: Leave space for what you missed 8Leave space for what you missed
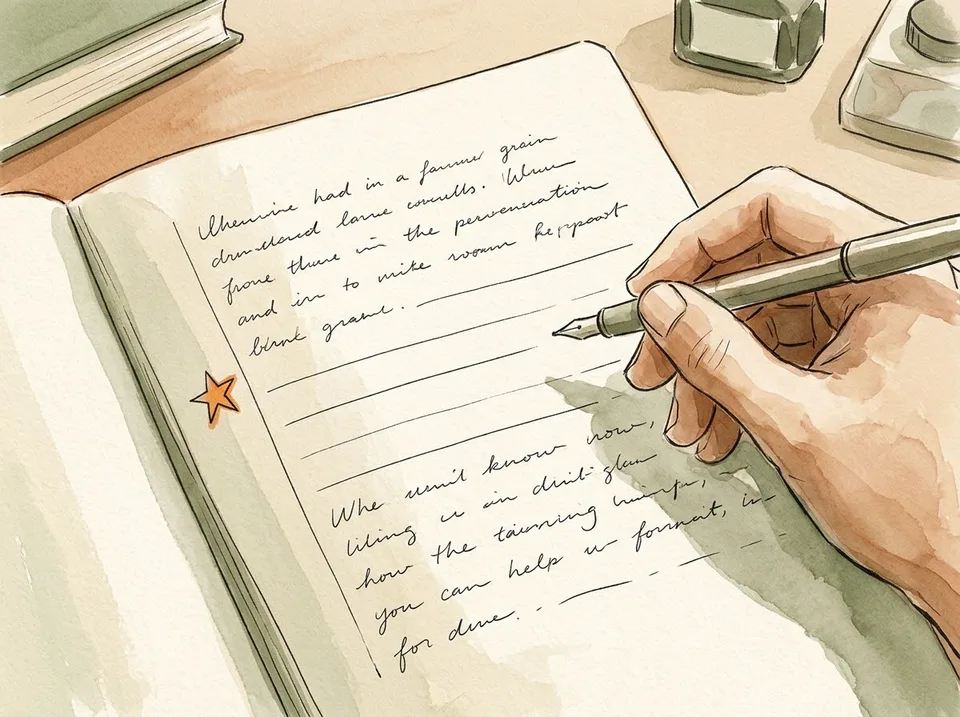
When you fall behind, draw a line and leave four or five blank lines rather than trying to catch up while the lecture moves on. Come back after class and fill the gap from the slides or a classmate's notes.
Blank space is a to-do item. A page crammed with half-heard fragments is a page you will never trust enough to study from.
Tip: Mark the gap with a star in the margin so you can find it when you review.
 Step 9 / 15
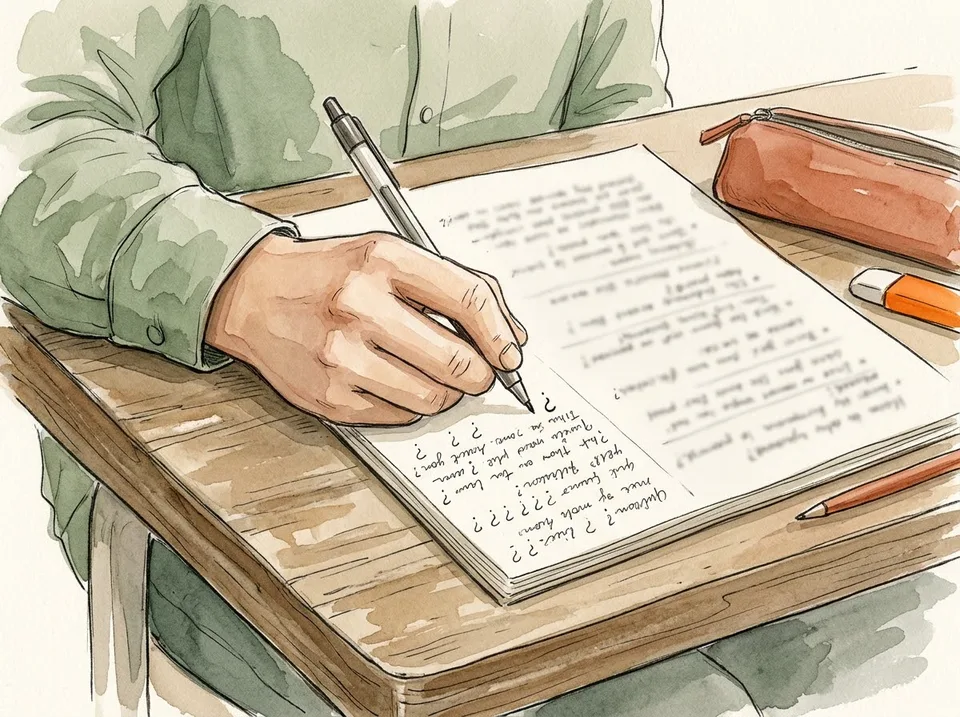
Step 9 of 15: Write your questions in the margin as they arrive 9Write your questions in the margin as they arrive
Every time something does not add up, put a question mark in the left margin and a short version of the question next to it. Do not stop to resolve it during the lecture; the question is the note.
After class, answer the easy ones yourself and take the rest to the lecturer or a study group. A page of answered margin questions is the most efficient revision material you will ever make.
Tip: Ask two of your margin questions at the end of class. Lecturers remember the students who do.
 Step 10 / 15
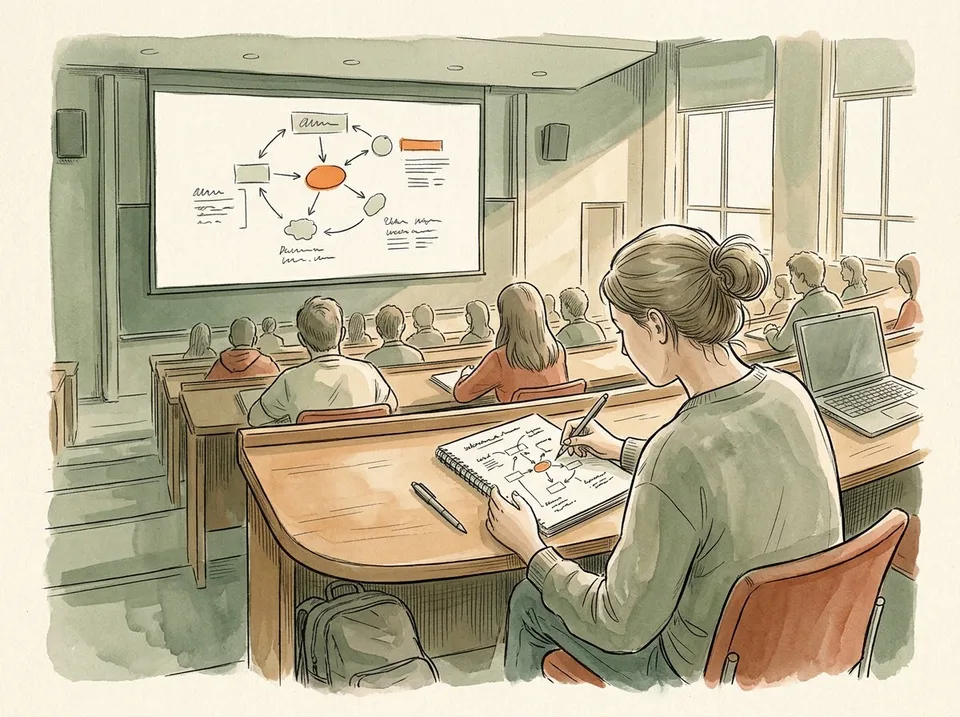
Step 10 of 15: Copy diagrams roughly and label them properly 10Copy diagrams roughly and label them properly
Do not try to draw a beautiful diagram during a lecture. Get the shapes and the arrows down in twenty seconds, then label every part carefully — the labels are the examinable content, not the artwork.
If the lecturer builds the diagram step by step, copy each step as it appears. The order usually explains the logic, and a finished diagram copied at the end loses that.
Tip: Photograph the board only as a backup. A photo you never look at is not a note.
Part 3 of 3
Consolidate After the Lecture
 Step 11 / 15
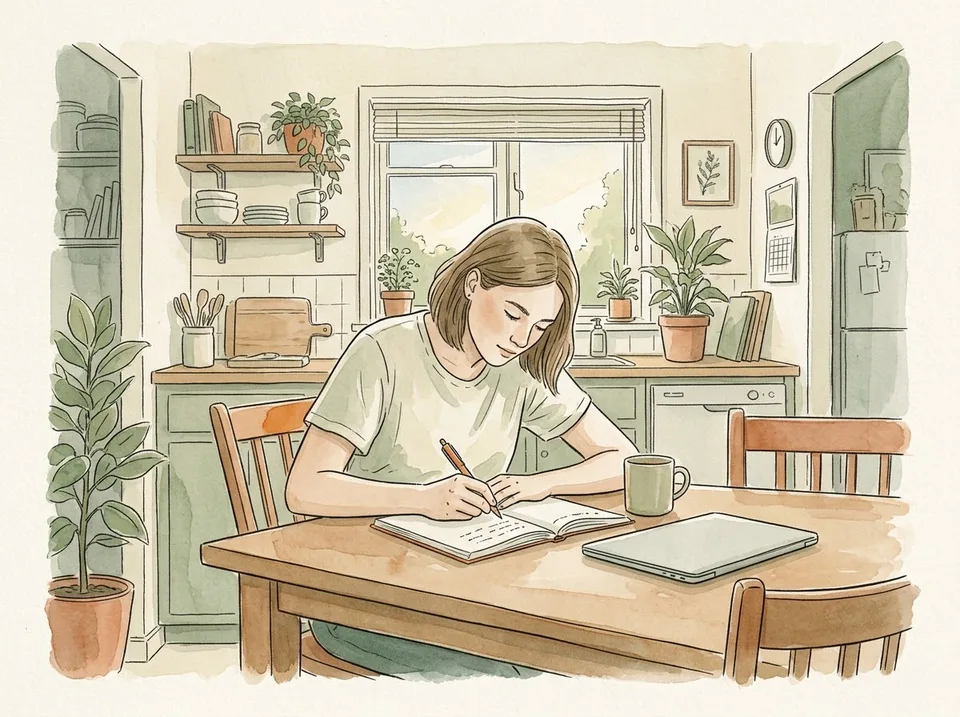
Step 11 of 15: Fill the gaps the same day 11Fill the gaps the same day
Within twenty-four hours, go back over the page: fill the blanks you left, expand the abbreviations you have already forgotten, and correct anything you wrote down wrong. This takes ten minutes and roughly doubles what you remember.
Do not rewrite the notes neatly from scratch. That is copying, not learning. Annotate the original page, add arrows, and add the missing pieces.
Tip: Same-day is the rule. Notes left untouched for a week become someone else's handwriting.
 Step 12 / 15
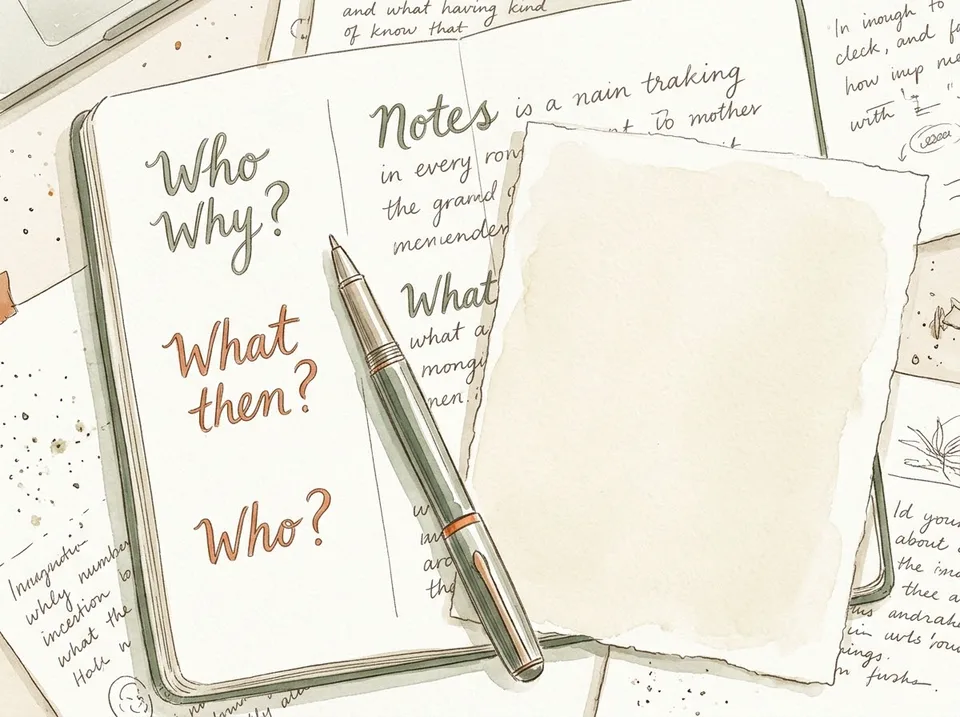
Step 12 of 15: Turn every heading into a question 12Turn every heading into a question
Take each heading on the page and rewrite it as a question in the left margin: "Supply shocks" becomes "What is a supply shock and what causes one?" Now the page can quiz you instead of just sitting there.
This is the single fastest way to convert passive notes into active recall material, and it takes about five minutes per lecture.
Tip: Cover the right-hand column with a sheet of paper and answer the margin questions out loud.
 Step 13 / 15
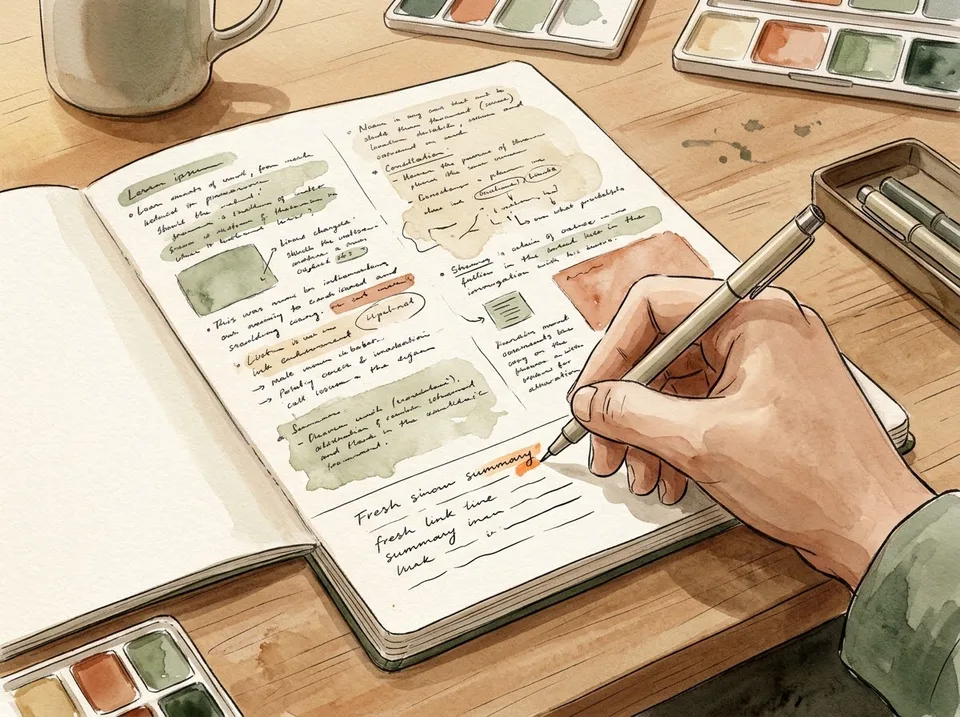
Step 13 of 15: Write a five-line summary at the bottom 13Write a five-line summary at the bottom
Close the notebook, think for a minute, then write five lines at the bottom of the page: what the lecture was about, the two main claims, one example, and one thing you still do not understand.
The last line is the important one. It tells you exactly what to review first, and it is the line most students skip.
Tip: If you cannot write five lines, you did not understand the lecture well enough to move on. Reread the reading before the next class.
 Step 14 / 15
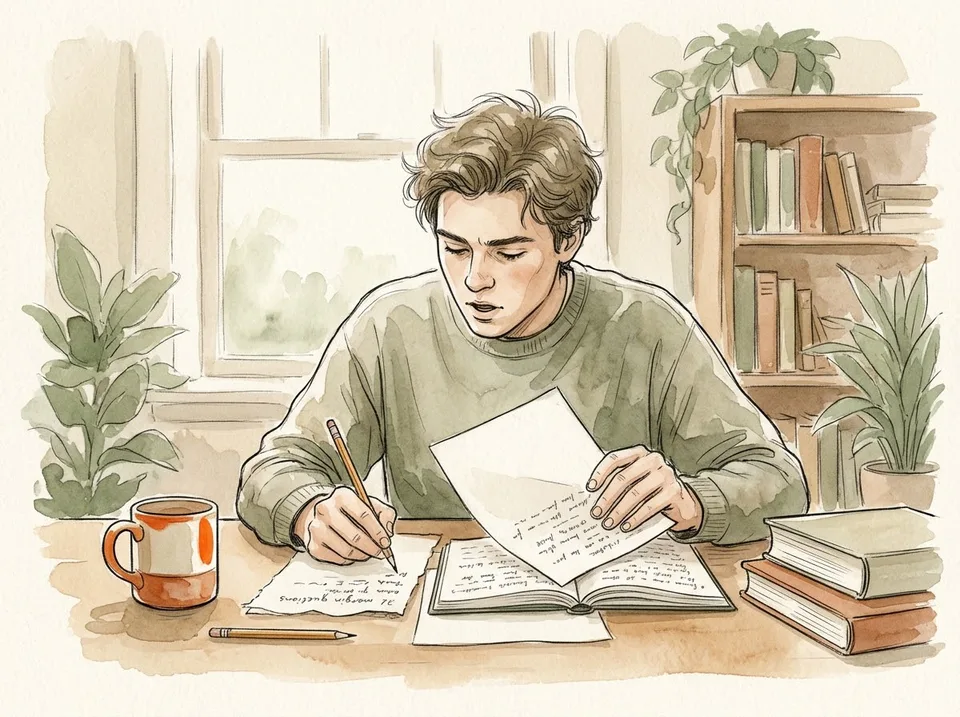
Step 14 of 15: Test yourself from the notes, not the textbook 14Test yourself from the notes, not the textbook
Close the book and answer your margin questions from memory, out loud or on scrap paper. Check against the notes, mark what you got wrong, and try those again the next day.
Rereading feels productive and is close to useless. Retrieval — trying to remember before you look — is what moves material into long-term memory.
Tip: Wrong answers are the useful part. Circle them and review only those the next time.
 Step 15 / 15
Step 15 of 15: Review on a spaced schedule 15Review on a spaced schedule
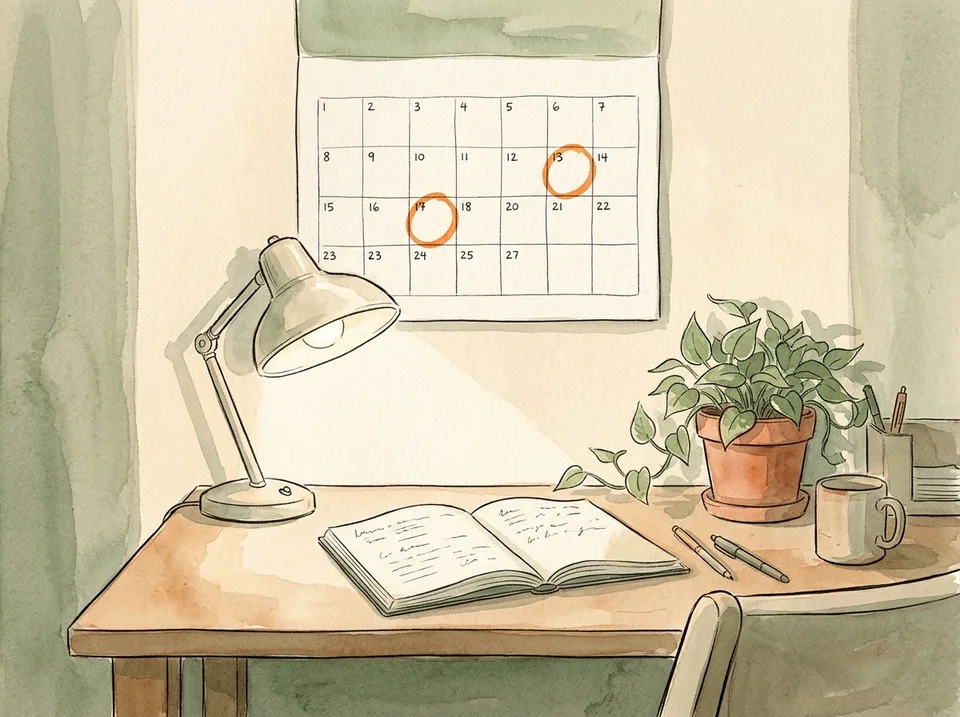
Look at the page the day after the lecture, again a week later, and again a month later, answering the margin questions each time. Three short reviews beat one long cramming session, and they take about ten minutes each.
Put the reviews in your calendar as appointments. Spacing is a scheduling problem before it is a study technique.
Tip: Before an exam, review in reverse order: oldest material first, newest last. Recency bias makes the newest feel better known than it is.
Tips
- Keep one notebook per course. A single notebook for everything is a notebook you cannot revise from.
- Write the date and lecture title on every page. Future you will be grateful in exam week.
- If the lecturer provides slides in advance, print them with wide margins and take notes in the margins instead of copying the slides.
Warnings
- Do not record lectures without permission; in many places it is a privacy issue as well as a courtesy one.
- Do not rely on a classmate's notes for a lecture you missed unless you have checked them against the reading.
Community Q&A
Is handwriting really better than typing?+
For learning new material, usually yes — you cannot transcribe by hand, so you summarise. Typing is better when the lecture is fast, dense, or full of names and numbers you must capture exactly.
How do I take notes if the lecturer talks too fast?+
Write the claim, not the sentence, and leave gaps. Ask for the slide or check the recording afterwards. Trying to keep up word for word is what makes people fall further behind.
Should I rewrite my notes neatly?+
Rarely. Annotating the original page is faster and preserves the record of what you did not understand. Rewriting is mostly copying.
References
- Dunlosky, J. et al. Improving Students' Learning With Effective Learning Techniques.
- The Learning Center, University of North Carolina at Chapel Hill. Note-Taking.
Related on Howly
About This Article
Last updated Oct 29, 2026. 44,920 readers have viewed this guide.
0% of readers found this article helpful.
No votes yet
Click a star to add your vote
No reader stories yet. Be the first to share how this guide worked out for you.